After creating a list attribute, you might decide to change or delete it.
To change or delete a list attribute, you must have Full Data Workbench permissions for all parent segments.
You cannot change the association between the attribute and the event.
You can change the list attribute duration and the maximum elements after the attribute has been saved. A list attribute has a maximum event count and maximum data size. If you shrink the size of the list attribute the data is not lost. You can enlarge the size of a list attribute. Due to the change in list attribute sizes, you might encounter other list attributes where data has been dropped due to a size that couldn't support the number of attributes.
- Open TD Console.
- Navigate to the Data Workbench >Parent Segments.
- Select a parent segment.
- Double-click the list attribute to open it.
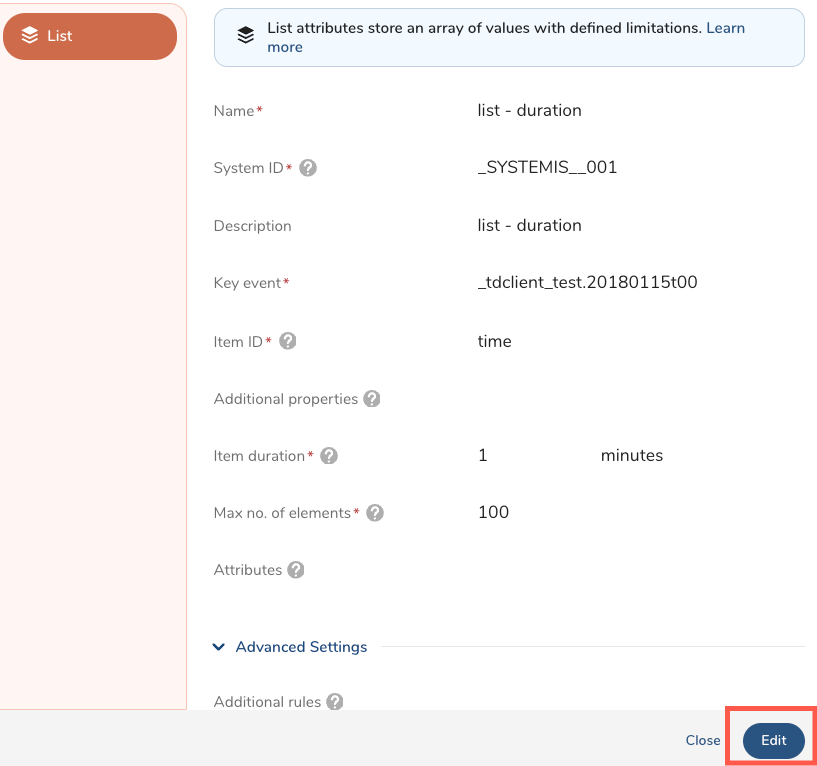
Review the information in the following table to change your list attribute. The table lists only the values that you can change.
| Field Name | Description |
|---|---|
| Name | Change the name of your list attribute. |
| Description | Change the description of your list attribute. |
| Additional properties | Add or remove additional properties to identify other columns for your list attribute. |
| Item duration | Select the amount of sliding time duration of the data. As time progresses, new data is added, and old data beyond the duration is removed. The maximum value is 60 days. |
| Maximum no. of elements | Select the maximum number of items/elements in the list attributes array. As new elements get added, old elements beyond the limit will be removed from the list attribute. The maximum value is 100. |
| Attributes | Select + Add aggregation to add attributes to your attribute list array. |
- Select Create.
- Open TD Console.
- Navigate to the Data Workbench > Parent Segments.
- Select a parent segment.
- Select the Attributes tab.
- Select the ellipses in the row where the list attribute is displayed.

- Select Delete.
See also Real-time Attribute FAQs.