Salesforce(SFDC)は、主要な顧客関係管理(CRM)プラットフォームです。営業、カスタマーサービス、マーケティングオートメーション、eコマース、分析、およびアプリケーション開発に焦点を当てたCRMソフトウェアとアプリケーションを提供しています。大小150,000社以上の企業が、Salesforceでビジネスを成長させています。
このTDエクスポート統合により、Treasure Dataからジョブ結果をSFDCのバージョン2に直接書き込むことができます。
- APIインテグレーション用のSalesforce.comのユーザー名、パスワード、およびセキュリティトークン
- 「API Enabled」権限が有効になっている
- ターゲットSalesforce.comオブジェクトが存在し、それに対する読み取りおよび書き込み権限を持っている
- ユーザープロファイルで「Hard delete」権限が有効になっている
If your security policy requires IP whitelisting, you must add Treasure Data's IP addresses to your allowlist to ensure a successful connection.
Please find the complete list of static IP addresses, organized by region, at the following document
SFDC V2出力は以下の認証タイプをサポートしています:
- Credentials
- OAuth
- Session ID
- TD Consoleを開きます。
- Integrations Hub > Catalogに移動します。
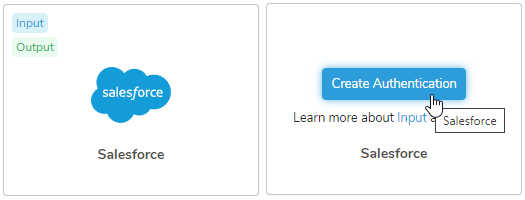
- salesforceを検索してsalesforceを選択します。
- Create Authenticationを選択します。
- 認証するための資格情報を入力します:
| Parameter | Description |
|---|---|
| Login URL | Salesforceログインurl、例: https://login.salesforce.com. 認証方法がSession IDの場合、値はSalesforceインスタンスURLである必要があります |
| Authentication method | 3種類の認証をサポート: - Credentials - OAuth - Session ID |
| OAuth connection | |
| Username | Salesforceログインユーザー名。認証方法がcredentialsの場合に必須 |
| Password | Salesforceログインパスワード。認証方法がcredentialsの場合に必須 |
| Client ID | SalesforceアプリのクライアントID。インプットコネクタのみに必須 |
| Client secret | Salesforceアプリのクライアントシークレット。インプットコネクタのみに必須 |
| Security token | パスワードフィールドに追加されている場合、このフィールドは省略できます |
| Session ID | SalesforceのセッションID |
| Initial retry delay | 接続に失敗した最初の時間、再試行前に待機する秒数(指数バックオフ付き) |
| Retry limit | 再試行の最大回数 |
- Continueを選択します。
- 接続の名前を入力します。
- Doneを選択します
結果エクスポートの問題を回避するため、クエリで列エイリアスを定義して、クエリからの結果列名がデフォルトフィールドのSalesforceフィールド名と、カスタムフィールドのAPI名(通常__cで終わる)と一致するようにします。
Data Workbench > Queriesに移動します。
New Queryを選択します。
クエリを実行して結果セットを検証します。例えば、クエリは次のようになります:
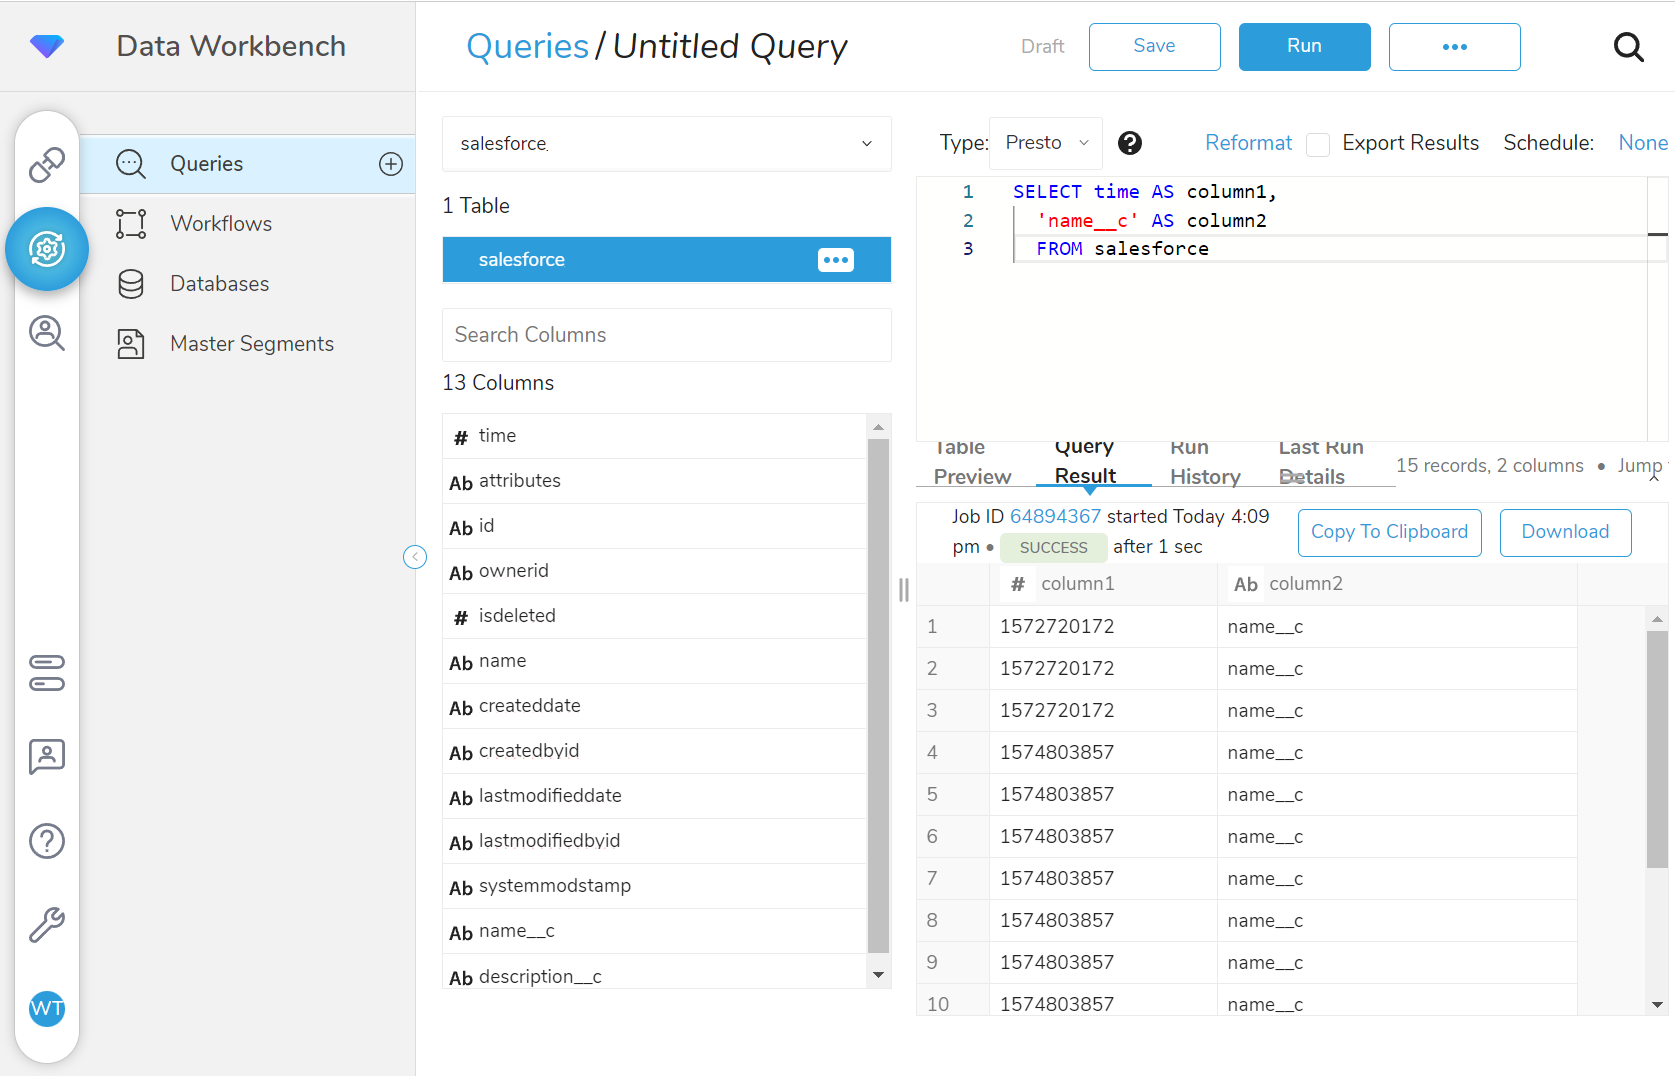
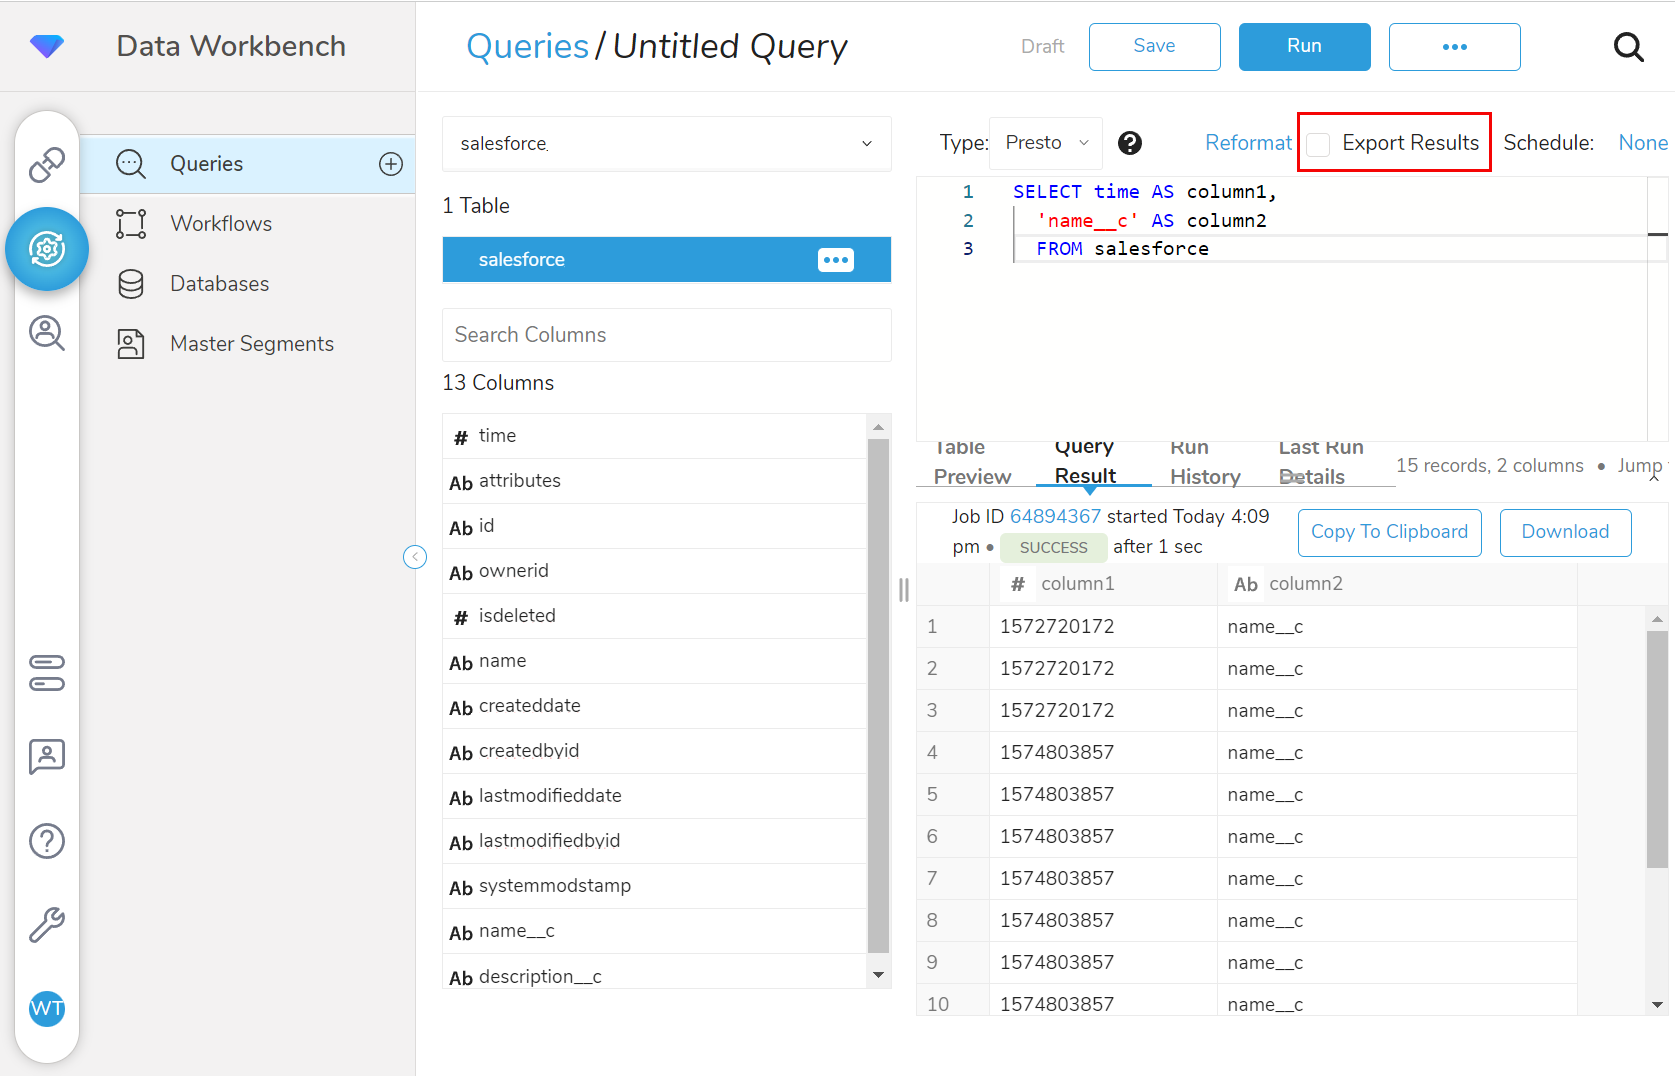
- Export Resultsを選択します。
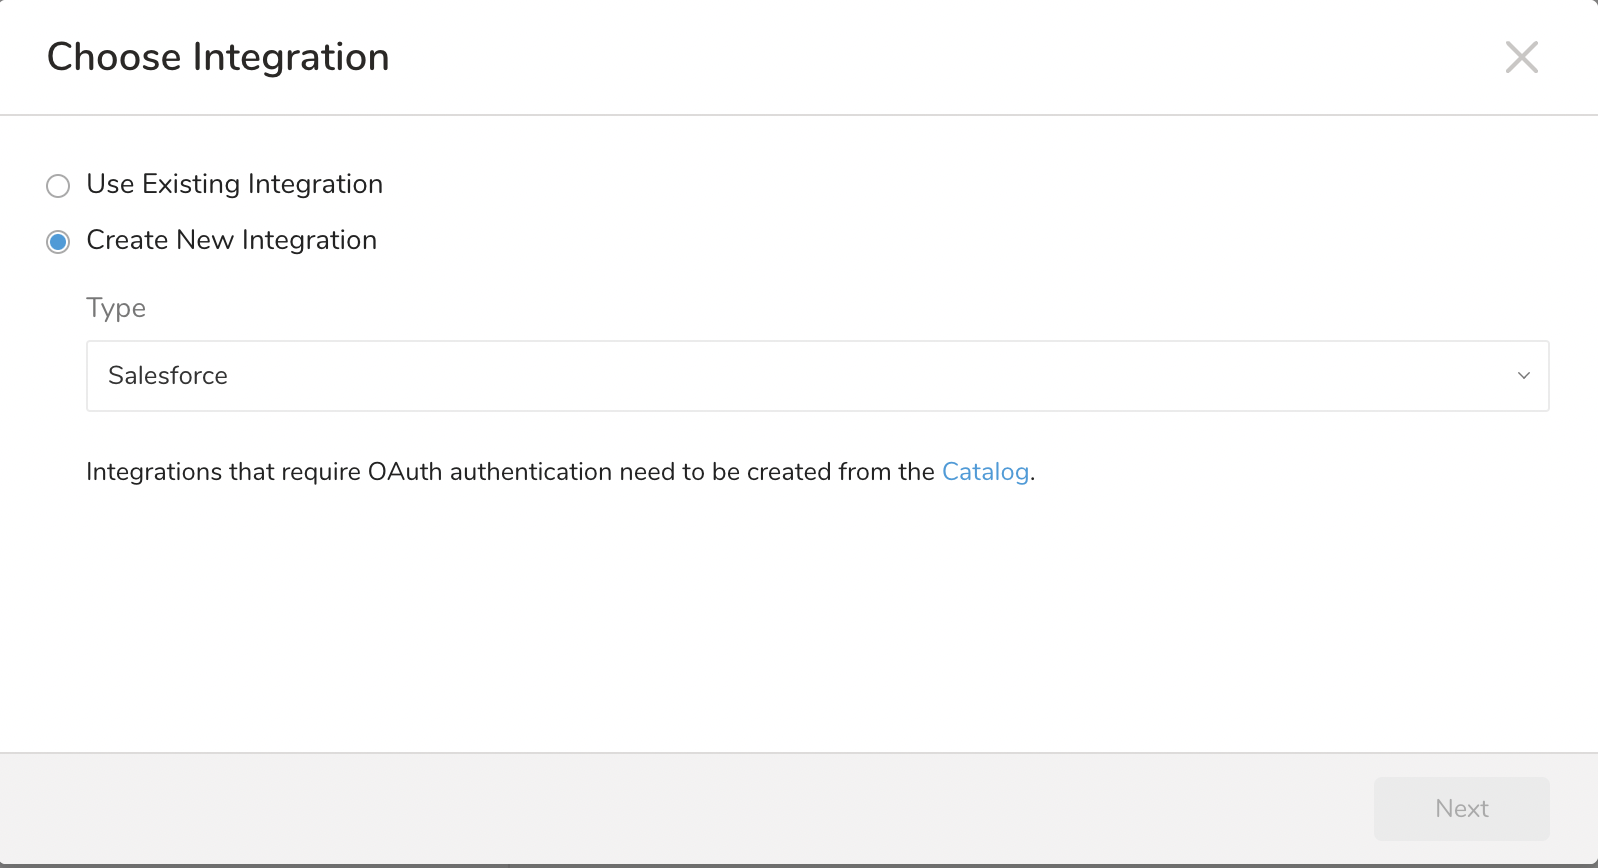
- 出力に使用する外部サービスの既存の認証を選択するか、新しい認証を作成できます。以下のいずれかを選択します:
既存の統合を使用
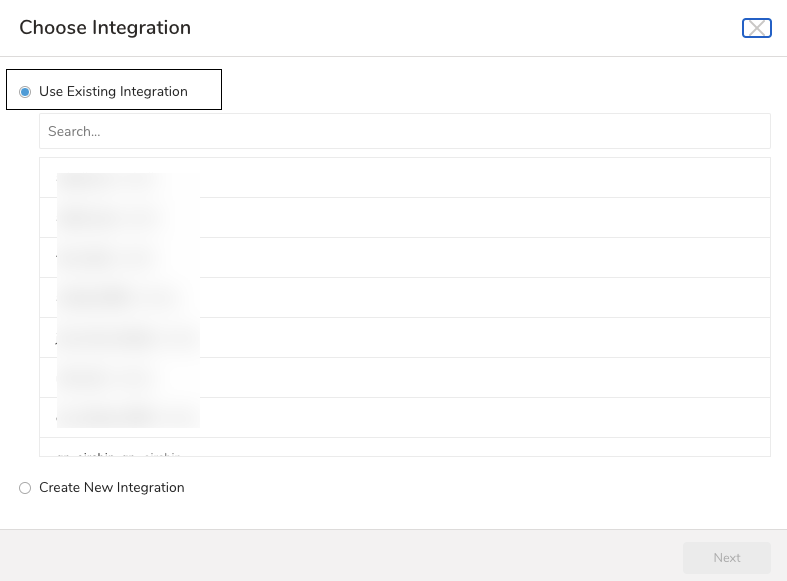
新しい統合を作成: OAuthをサポートするプラグインの場合、このオプションは使用できません。ユーザーはカタログに戻って接続を作成する必要があります
既存の統合を使用の場合
| Parameter | Description |
|---|---|
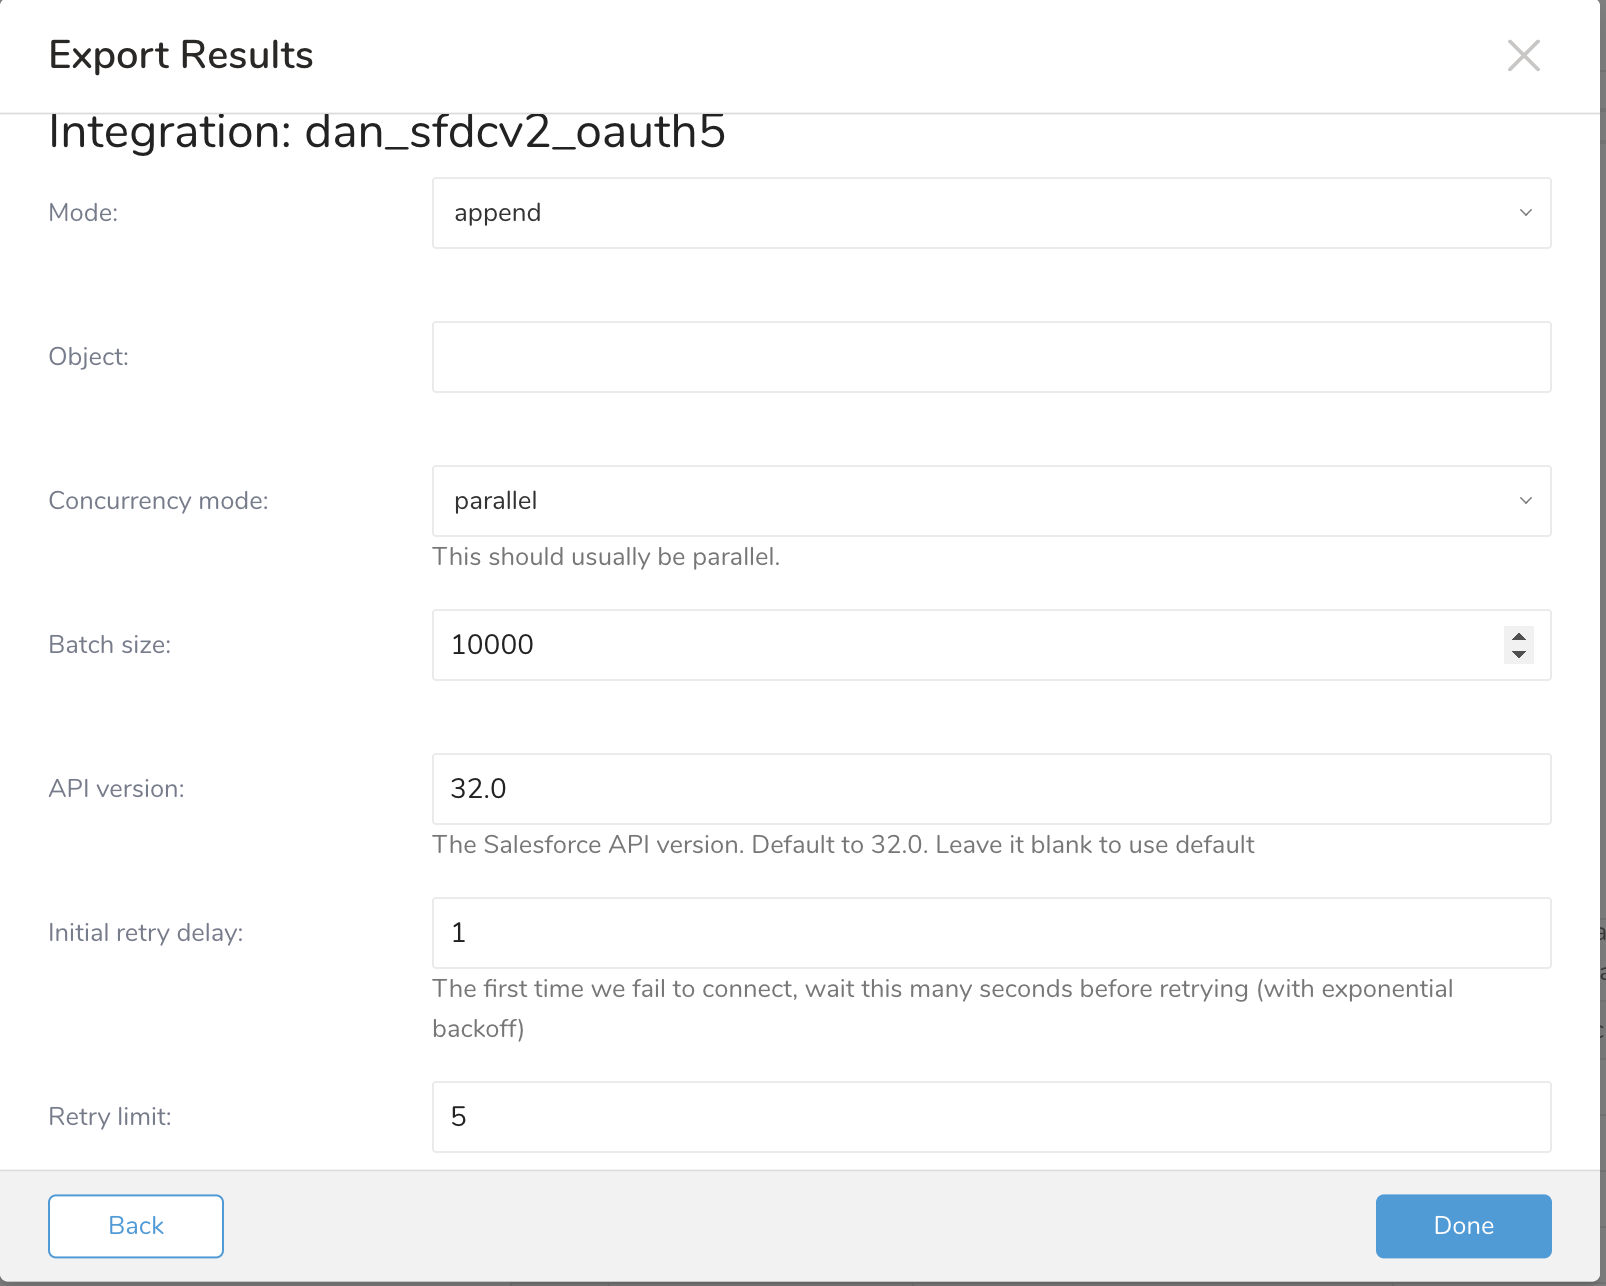
| Mode |
|
| Object | Salesforce.comオブジェクト |
| Upsert new records? | このオプションは、modeがupdateの場合に利用可能です。 |
| Key | このオプションは、modeがupdateの場合に利用可能です。**Upsert new records?**チェックボックスがチェックされている場合、このフィールドはSalesforceのexternalIdフィールドである必要があります。externalIdフィールドはカスタムフィールドに対してのみ設定できます。Id、CreatedDate、LastModifiedDate、CreatedByIDなどのシステムフィールドは、カスタムフィールドではありません。 |
| Hard delete? | このオプションは、modeがtruncateの場合に利用可能です。 |
| Concurrency mode | concurrency_modeオプションは、データがSalesforce.com組織にアップロードされる方法を制御します。デフォルトモードはparallelです。parallelメソッドでは、データは並列でアップロードされます。これはほとんどの状況で最も信頼性が高く効果的な方法です。「UNABLE_TO_LOCK_ROW」というエラーメッセージが表示される場合は、代わりにconcurrency_mode=serialを試してください。 |
| Batch size | デフォルトでは、クエリ結果のレコードを10000レコードのチャンクに分割し、一度に1つのチャンクを一括アップロードします。 |
| API version | Salesforce APIバージョン。デフォルトは32.0です。 |
| Initial retry delay | 接続の最初の試行が失敗した場合、再試行前にこの秒数待機します(指数バックオフ付き)。 |
| Retry limit | このオプションは、エラーが発生した場合に設定されたSalesforce.com宛先に結果を書き込むために試行する回数を設定します。エクスポートが設定された再試行回数よりも多く失敗した場合、クエリは失敗します。 |
- フィールドに必要な情報を入力したら、Doneを選択します。
You can use Scheduled Jobs with Result Export to periodically write the output result to a target destination that you specify.
Treasure Data's scheduler feature supports periodic query execution to achieve high availability.
When two specifications provide conflicting schedule specifications, the specification requesting to execute more often is followed while the other schedule specification is ignored.
For example, if the cron schedule is '0 0 1 * 1', then the 'day of month' specification and 'day of week' are discordant because the former specification requires it to run every first day of each month at midnight (00:00), while the latter specification requires it to run every Monday at midnight (00:00). The latter specification is followed.
Navigate to Data Workbench > Queries
Create a new query or select an existing query.
Next to Schedule, select None.

In the drop-down, select one of the following schedule options:
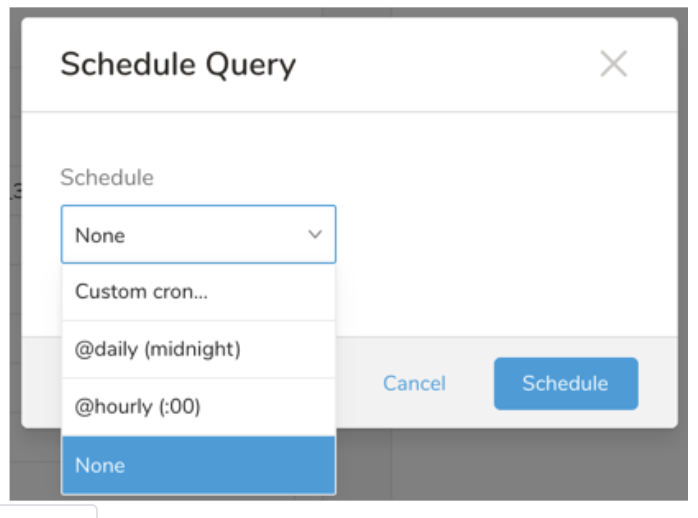
Drop-down Value Description Custom cron... Review Custom cron... details. @daily (midnight) Run once a day at midnight (00:00 am) in the specified time zone. @hourly (:00) Run every hour at 00 minutes. None No schedule.
| Cron Value | Description |
|---|---|
0 * * * * | Run once an hour. |
0 0 * * * | Run once a day at midnight. |
0 0 1 * * | Run once a month at midnight on the morning of the first day of the month. |
| "" | Create a job that has no scheduled run time. |
 *    *    *    *    *
 -    -    -    -    -
 |    |    |    |    |
 |    |    |    |    +----- day of week (0 - 6) (Sunday=0)
 |    |    |    +---------- month (1 - 12)
 |    |    +--------------- day of month (1 - 31)
 |    +-------------------- hour (0 - 23)
 +------------------------- min (0 - 59)
The following named entries can be used:
- Day of Week: sun, mon, tue, wed, thu, fri, sat.
- Month: jan, feb, mar, apr, may, jun, jul, aug, sep, oct, nov, dec.
A single space is required between each field. The values for each field can be composed of:
| Field Value | Example | Example Description |
|---|---|---|
| A single value, within the limits displayed above for each field. | ||
A wildcard '*' to indicate no restriction based on the field. | '0 0 1 * *' | Configures the schedule to run at midnight (00:00) on the first day of each month. |
A range '2-5', indicating the range of accepted values for the field. | '0 0 1-10 * *' | Configures the schedule to run at midnight (00:00) on the first 10 days of each month. |
A list of comma-separated values '2,3,4,5', indicating the list of accepted values for the field. | 0 0 1,11,21 * *' | Configures the schedule to run at midnight (00:00) every 1st, 11th, and 21st day of each month. |
A periodicity indicator '*/5' to express how often based on the field's valid range of values a schedule is allowed to run. | '30 */2 1 * *' | Configures the schedule to run on the 1st of every month, every 2 hours starting at 00:30. '0 0 */5 * *' configures the schedule to run at midnight (00:00) every 5 days starting on the 5th of each month. |
A comma-separated list of any of the above except the '*' wildcard is also supported '2,*/5,8-10'. | '0 0 5,*/10,25 * *' | Configures the schedule to run at midnight (00:00) every 5th, 10th, 20th, and 25th day of each month. |
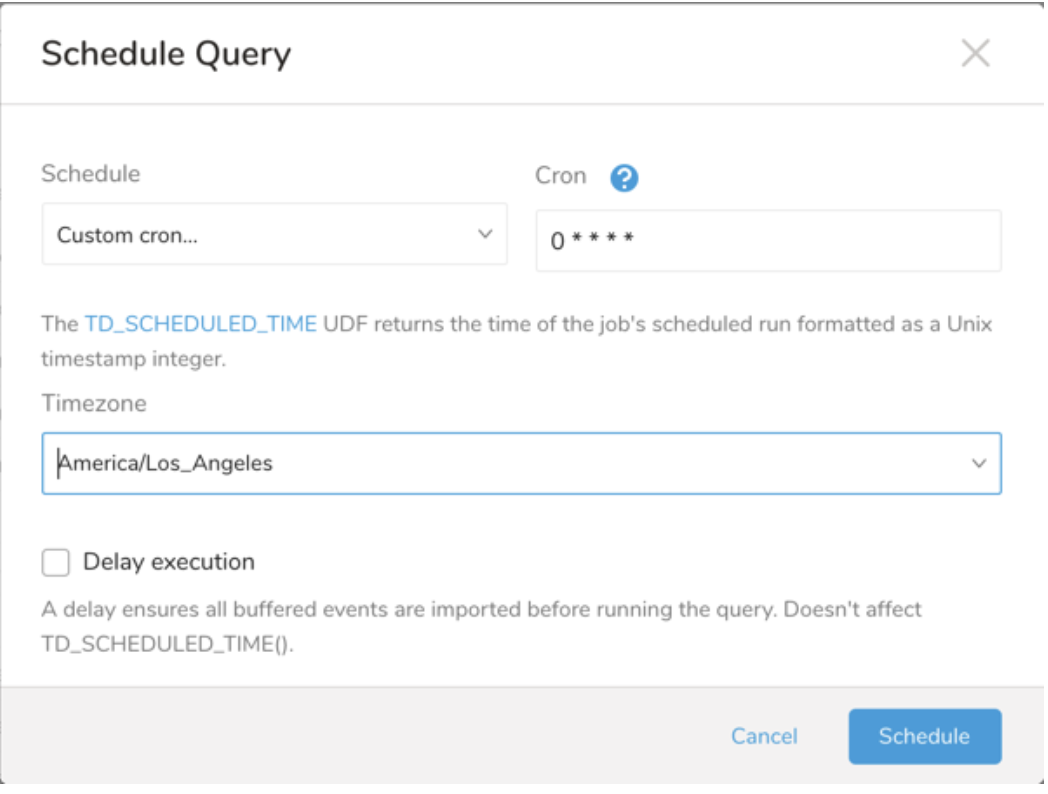
- (Optional) You can delay the start time of a query by enabling the Delay execution.
Save the query with a name and run, or just run the query. Upon successful completion of the query, the query result is automatically exported to the specified destination.
Scheduled jobs that continuously fail due to configuration errors may be disabled on the system side after several notifications.
(Optional) You can delay the start time of a query by enabling the Delay execution.
You can also send segment data to the target platform by creating an activation in the Audience Studio.
- Navigate to Audience Studio.
- Select a parent segment.
- Open the target segment, right-mouse click, and then select Create Activation.
- In the Details panel, enter an Activation name and configure the activation according to the previous section on Configuration Parameters.
- Customize the activation output in the Output Mapping panel.
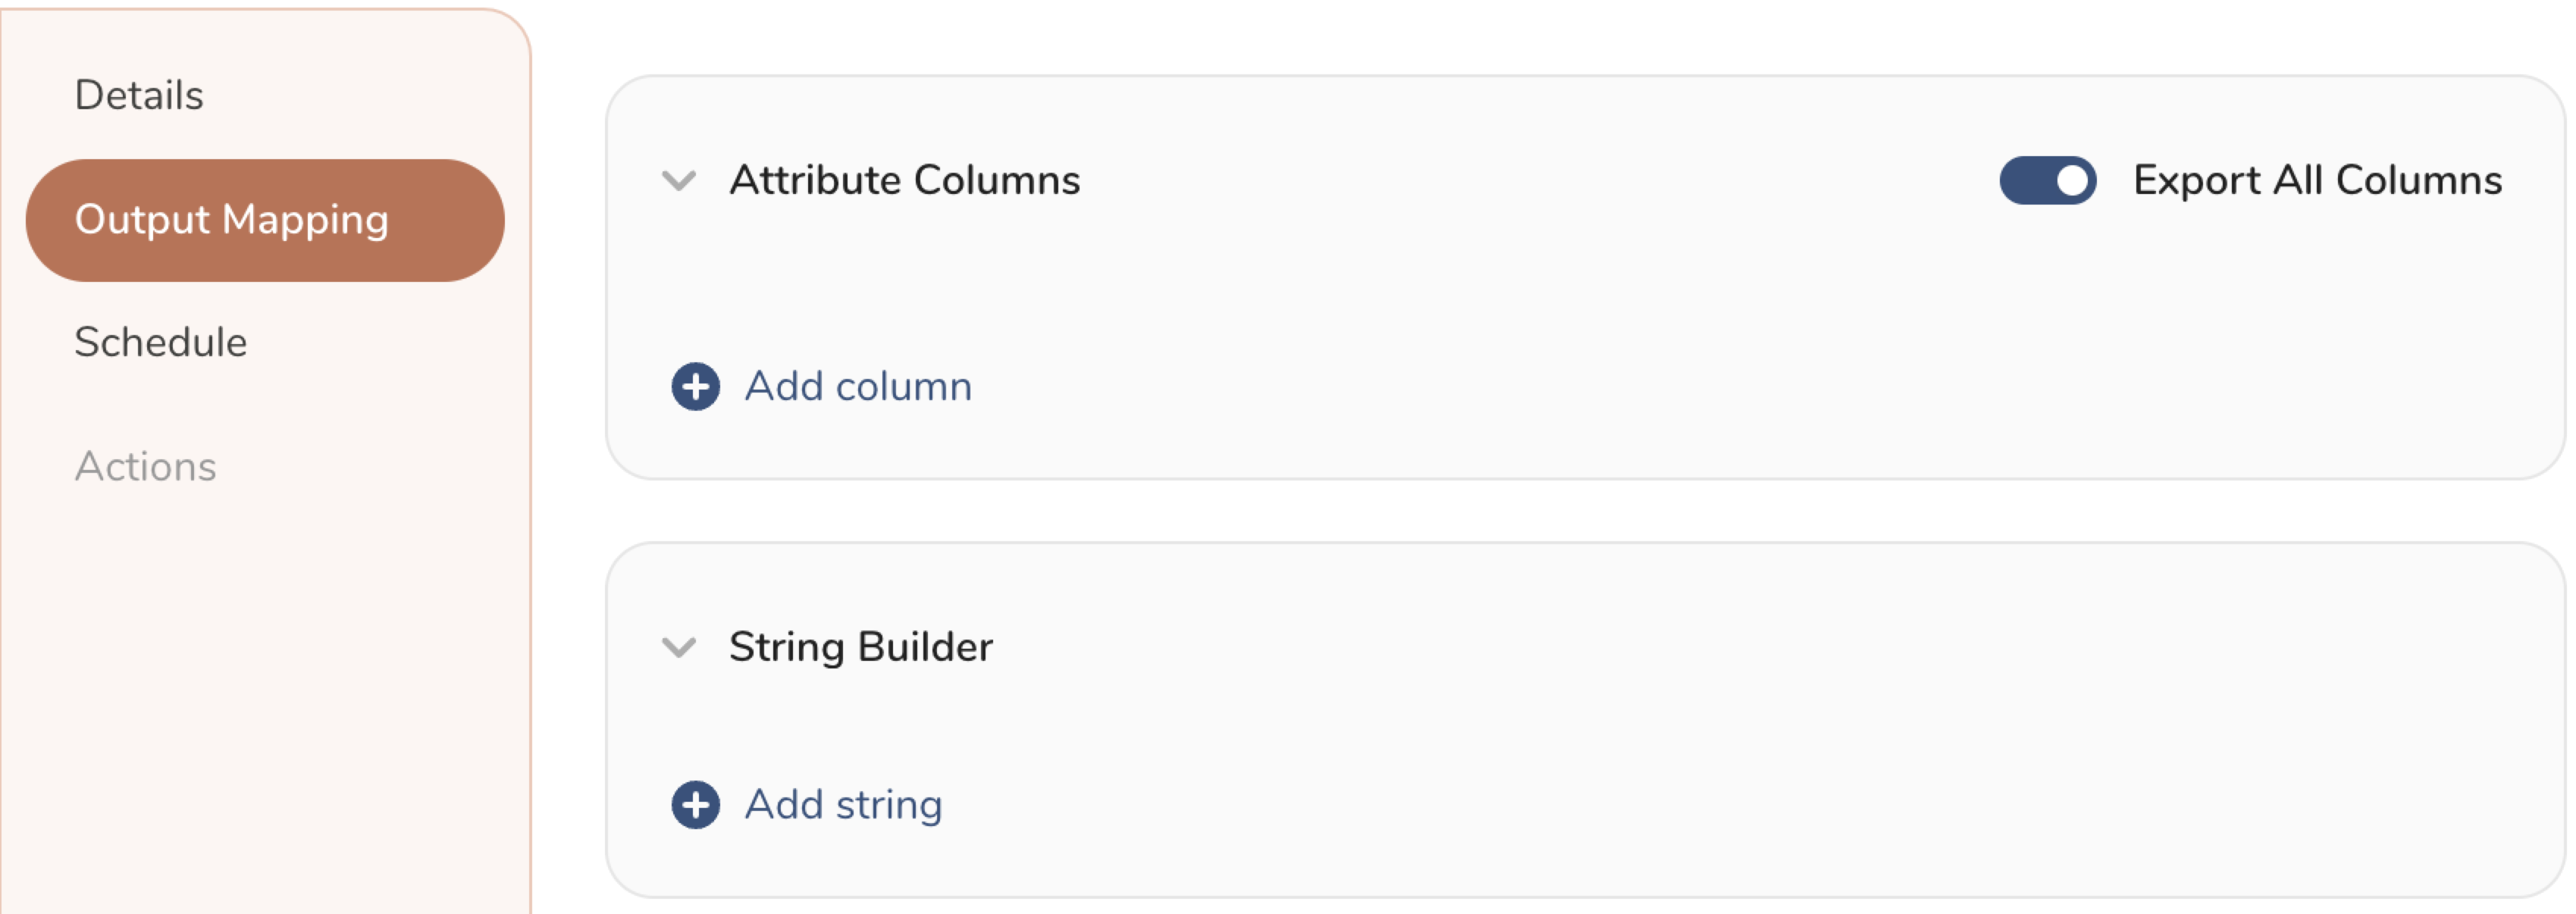
- Attribute Columns
- Select Export All Columns to export all columns without making any changes.
- Select + Add Columns to add specific columns for the export. The Output Column Name pre-populates with the same Source column name. You can update the Output Column Name. Continue to select + Add Columnsto add new columns for your activation output.
- String Builder
- + Add string to create strings for export. Select from the following values:
- String: Choose any value; use text to create a custom value.
- Timestamp: The date and time of the export.
- Segment Id: The segment ID number.
- Segment Name: The segment name.
- Audience Id: The parent segment number.
- + Add string to create strings for export. Select from the following values:
- Set a Schedule.
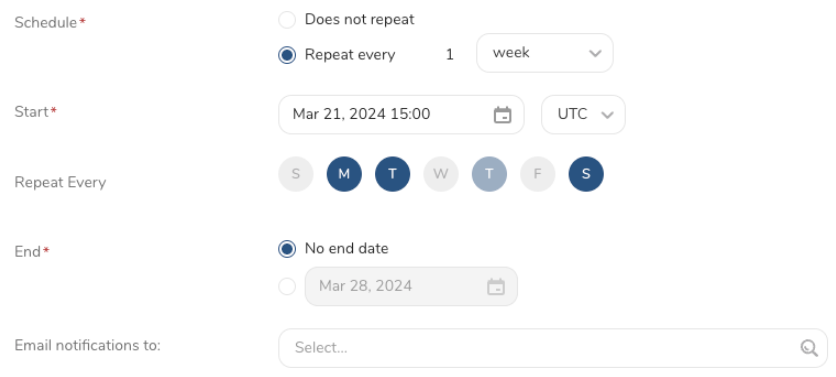
- Select the values to define your schedule and optionally include email notifications.
- Select Create.
If you need to create an activation for a batch journey, review Creating a Batch Journey Activation.