Activation Actions is a Beta release. For more information, contact your Customer Success Representative.
Configuring Activation Actions involves two sub-tasks as follows:
To create a new custom workflow, see Creating and Editing a Workflow. Ensure that a user-defined custom workflow created for an activation meets the following criteria:
- Set with View and Run permissions for the Activation creator(s) else they will not be able to assign this workflow to an activation. See Configuring Workflow Permissions.
- Accepts parameters passed from the activation workflow and allows for dynamic data handling based on the activation output. For parameter details, see Activation Actions Parameters.
Open the TD Console.
Navigate to the Audience Studio.
Open a segment.
Select Activations.
Select an existing activation or select Create activation.
Select Details tab.
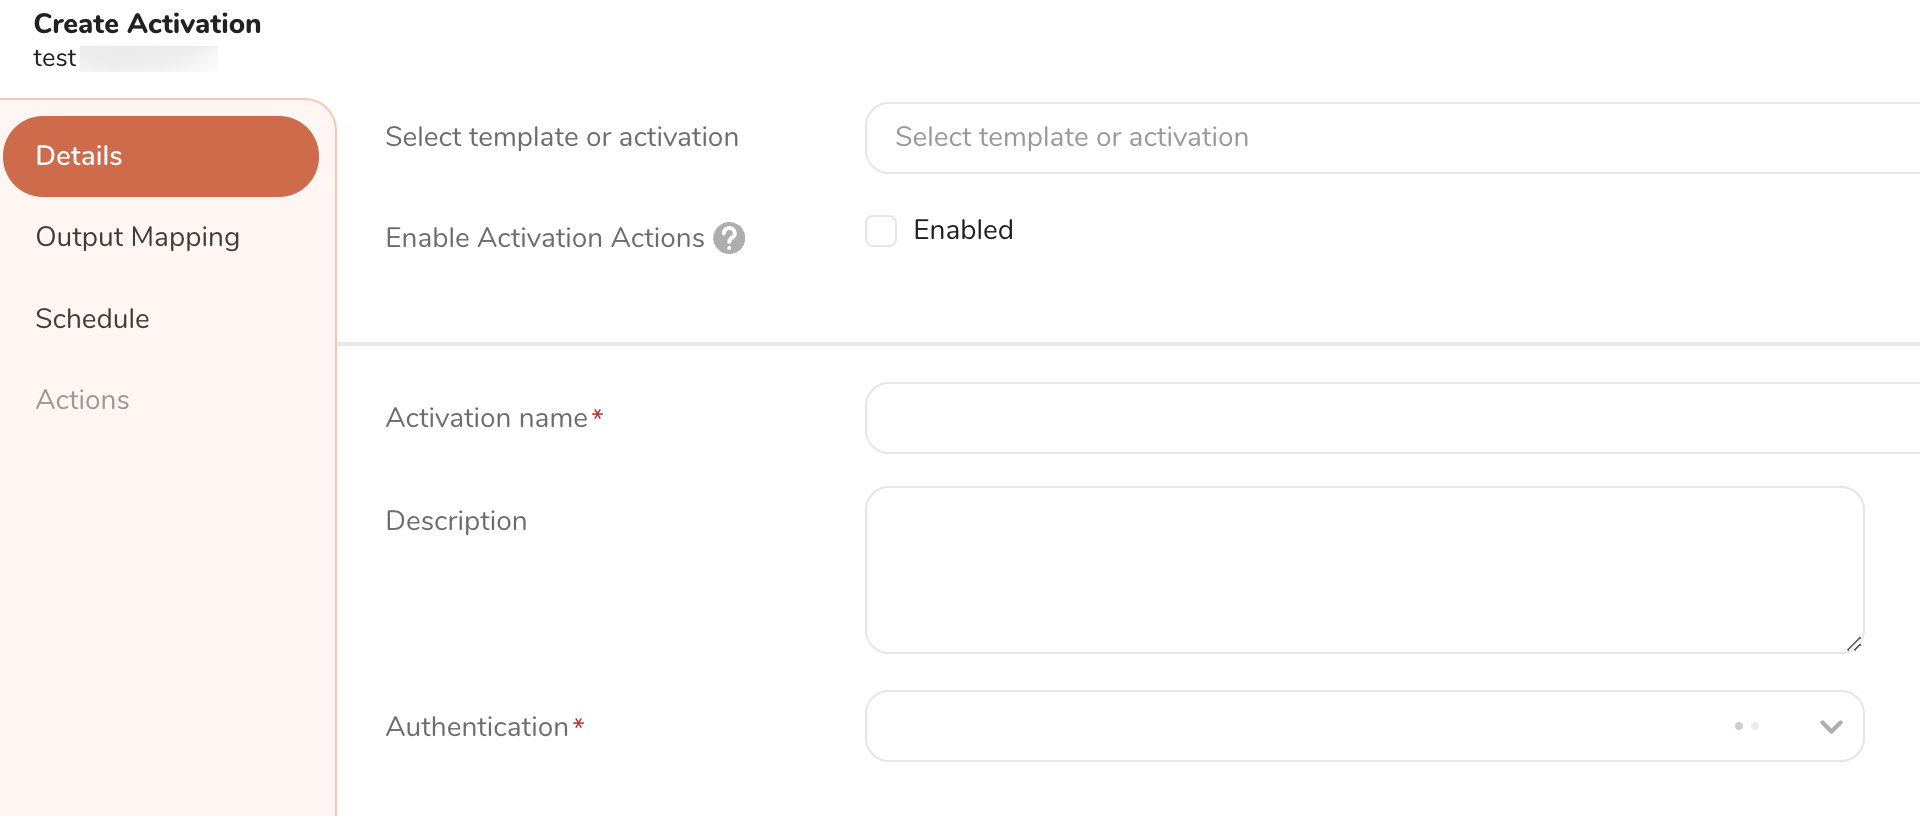
Select Enable Activation Actions.
Select an existing template or activation.
If creating a new activation, provide Activation name.
Select a relevant option from the Authentication dropdown, which includes "Other" for cases without an out-of-the-box (OOTB) connector.
Select Actions tab.
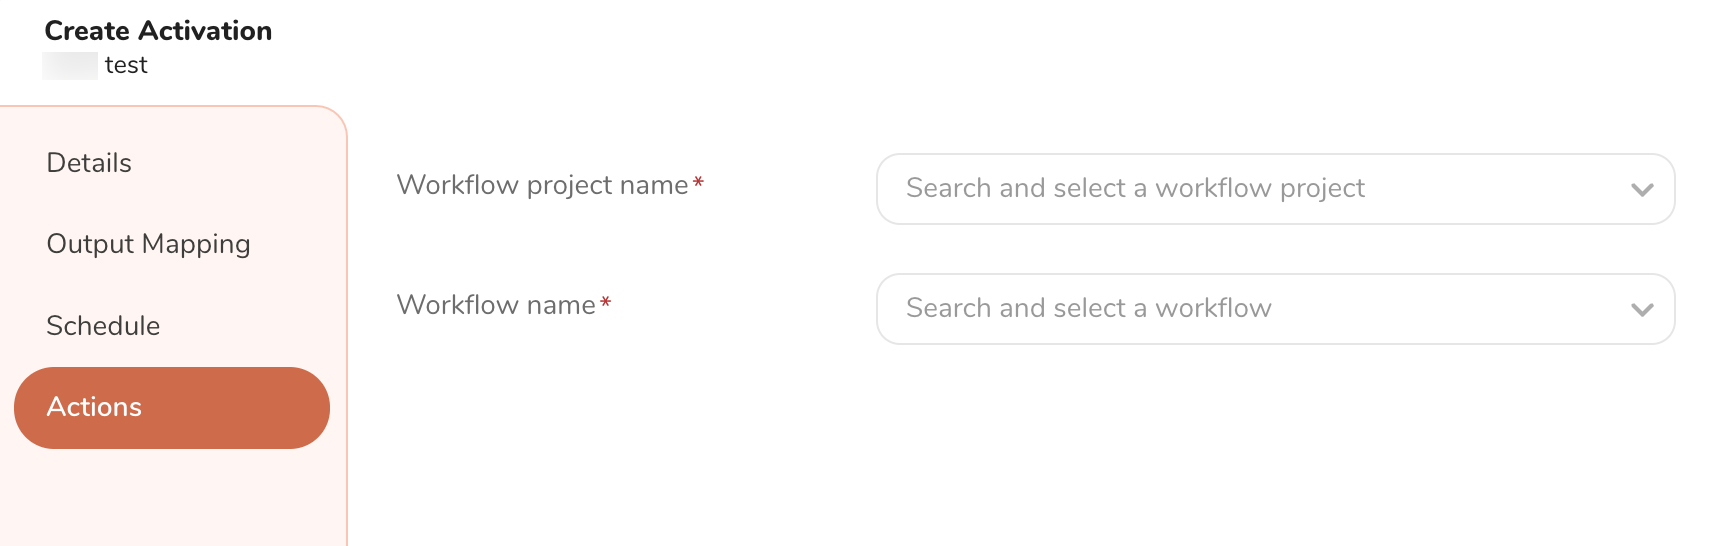
To assign the custom workflow designed for this activation, select the Workflow project name and Workflow name.
You can only search or select workflows that you have View and Run permissions for.