Zendesk® Sunshineのモダンなクラウドベースの CRM プラットフォームは、顧客のニーズやトレンドを特定するために使用されます。Zendesk Export Integration コネクタを使用して、Events データを Zendesk Sunshine にエクスポートできます。
- Treasure Data の基本知識
- Zendesk Sunshine アカウント
結果の出力スキーマは、ターゲットイベントで要求される列(名前とデータ型)と一致する必要があります。
profile_identifier は最大20列まで設定できます(1から20まで連続した昇順で設定)。
| Action | Target | Column required | Column requires at least 1 | Column optional | Note |
|---|---|---|---|---|---|
| Create | Events for profiles | profile_source(String), profile_type(String), event_source(String), event_type(String), event_properties(JSON String) | profile_identifier_1 to profile_identifier_20 (String) | profile_name, profile_created_at, profile_attributes, event_description, event_created_at, event_received_at | 形式と制限については、以下の「識別子列」を参照してください。 |
| Create | Events for a profile ID | profile_id(String), event_source(String), event_type(String), event_properties(JSON String) | event_description, event_created_at, event_received_at | 「Events for a profile ID」の詳細を参照してください。 | |
| Create | Events for a user ID | user_id(String), profile_source(String), profile_type(String), event_source(String), event_type(String), event_properties(JSON String) | profile_identifier_1 to profile_identifier_20 (String) | profile_name, profile_created_at, profile_attributes, event_description, event_created_at, event_received_at | 形式と制限については、以下の「識別子列」を参照してください。 |
必須列
profile_source (String)profile_type (String)event_source (String)event_type (String)event_properties (JSON String)– イベントペイロードのシリアル化されたキーと値のペアを提供します。
識別子(少なくとも1つ)
profile_identifier_1からprofile_identifier_20という名前の最大20列。- 各値は
type,valueパターンに従う必要があります(例:email,example@gmail.com)。
オプション列
profile_nameprofile_created_atprofile_attributesevent_descriptionevent_created_atevent_received_at
必須列
profile_id (String)event_source (String)event_type (String)event_properties (JSON String)
オプション列
event_descriptionevent_created_atevent_received_at
必須列
user_id (String)profile_source (String)profile_type (String)event_source (String)event_type (String)event_properties (JSON String)
識別子(少なくとも1つ)
- 上記と同じ
profile_identifier_1からprofile_identifier_20列およびtype,valueルール。
オプション列
profile_nameprofile_created_atprofile_attributesevent_descriptionevent_created_atevent_received_at
API は標準の作成エンドポイントにレート制限を適用します。制限には、Zendesk Apps フレームワークから行われたリクエストも含まれます。各プランタイプのレート制限は以下の通りです:
| Sunshine Lite | Sunshine Professional | Sunshine Enterprise | |
|---|---|---|---|
| Custom objects | 500 requests per minute | 750 requests per minute | 1,000 requests per minute |
| Profiles | Not included | 250 requests per minute | 500 requests per minute |
| Events | Not included | 250 requests per minute | 500 requests per minute |
次の表は、プロファイルのハード制限を示しています。可用性と制限は Sunshine プランタイプによって異なる場合があります。
| Category | Limit |
|---|---|
| Profiles | 30,000,000 |
| Profile sources | 50 |
| Profile types | 2500 |
| Identifiers per profile | 20 |
| Profile source character length | 40 |
| Profile type character length | 40 |
| Identifier source character length | 60 |
| Identifier type character length | 60 |
次の表は、イベントのハード制限を示しています。可用性と制限は Sunshine プランタイプによって異なる場合があります。
| Category | Limit |
|---|---|
| Event sources | 50 |
| Event types | 2500 |
| Event source character length | 40 |
| Event type character length | 40 |
Treasure Data では、クエリを実行する前に、エクスポート時に使用するデータ接続を作成および設定する必要があります。データ接続の一部として、インテグレーションにアクセスするための認証を提供します。
TD Console を開きます。
Integrations Hub > Catalog に移動します。
Zendesk を検索して選択します。
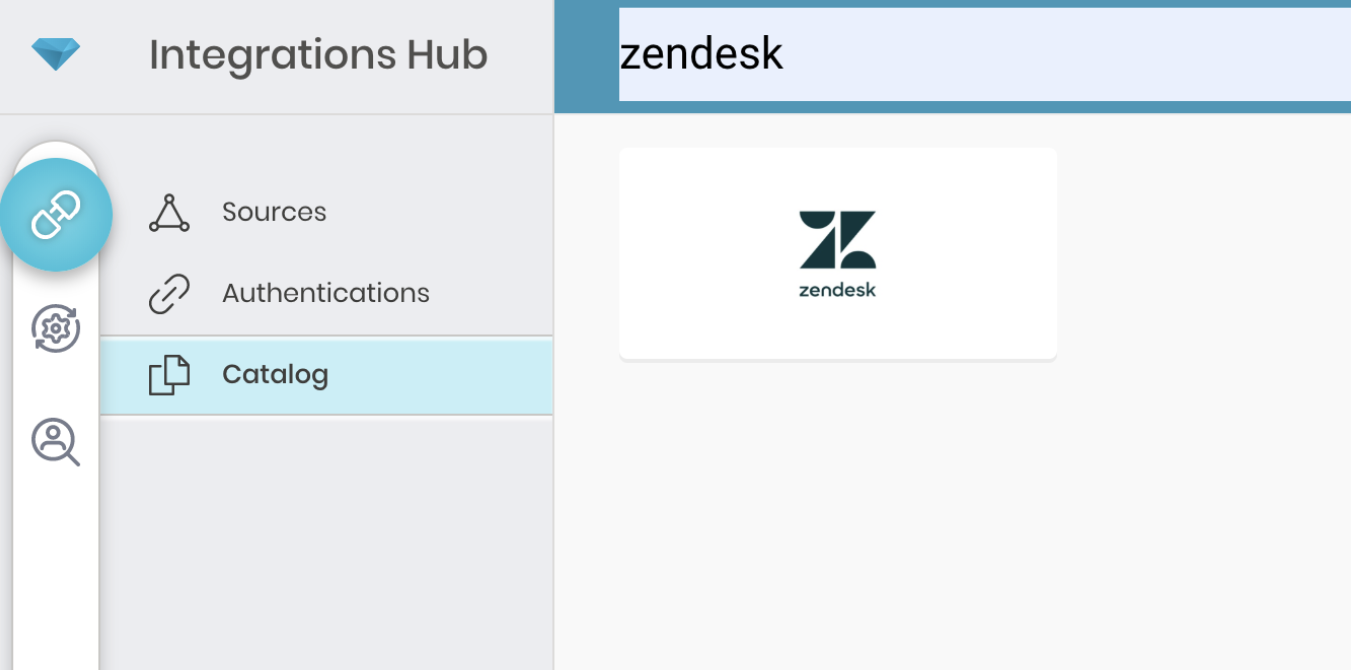
- Create をクリックします。認証済み接続を作成しています。次のダイアログが開きます。
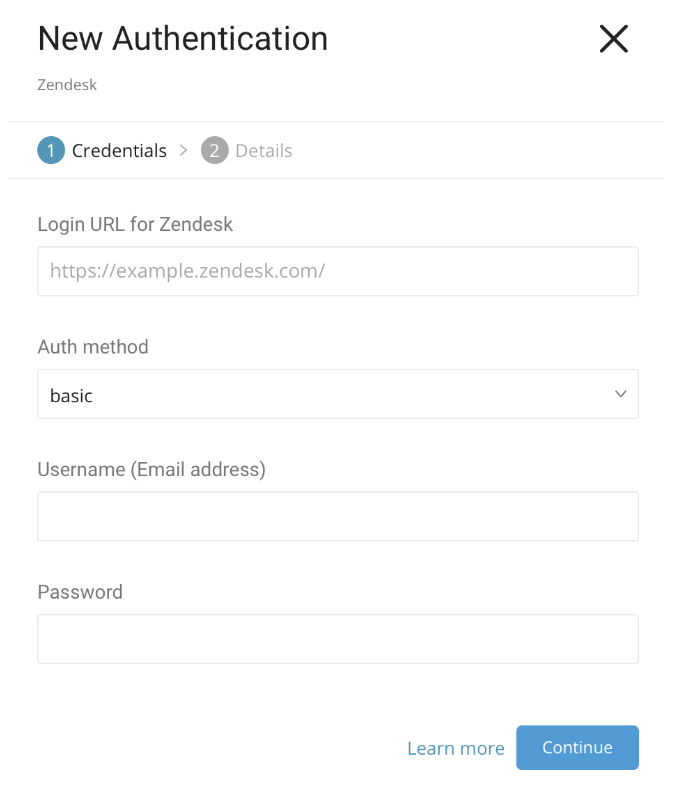
イベントデータをエクスポートするには、Zendesk のログイン URL を入力します。例: https://{your_domain}.zendesk.com。
Auth method には、basic、token、OAuth の異なるオプションがあります。
オプションで、基本認証の場合は、username と password の値を入力します。
オプションで、token の場合は、username と token の値を入力します。
オプションで、OAuth の場合は、OAuth Access Token の値を入力します。
Continue を選択します。
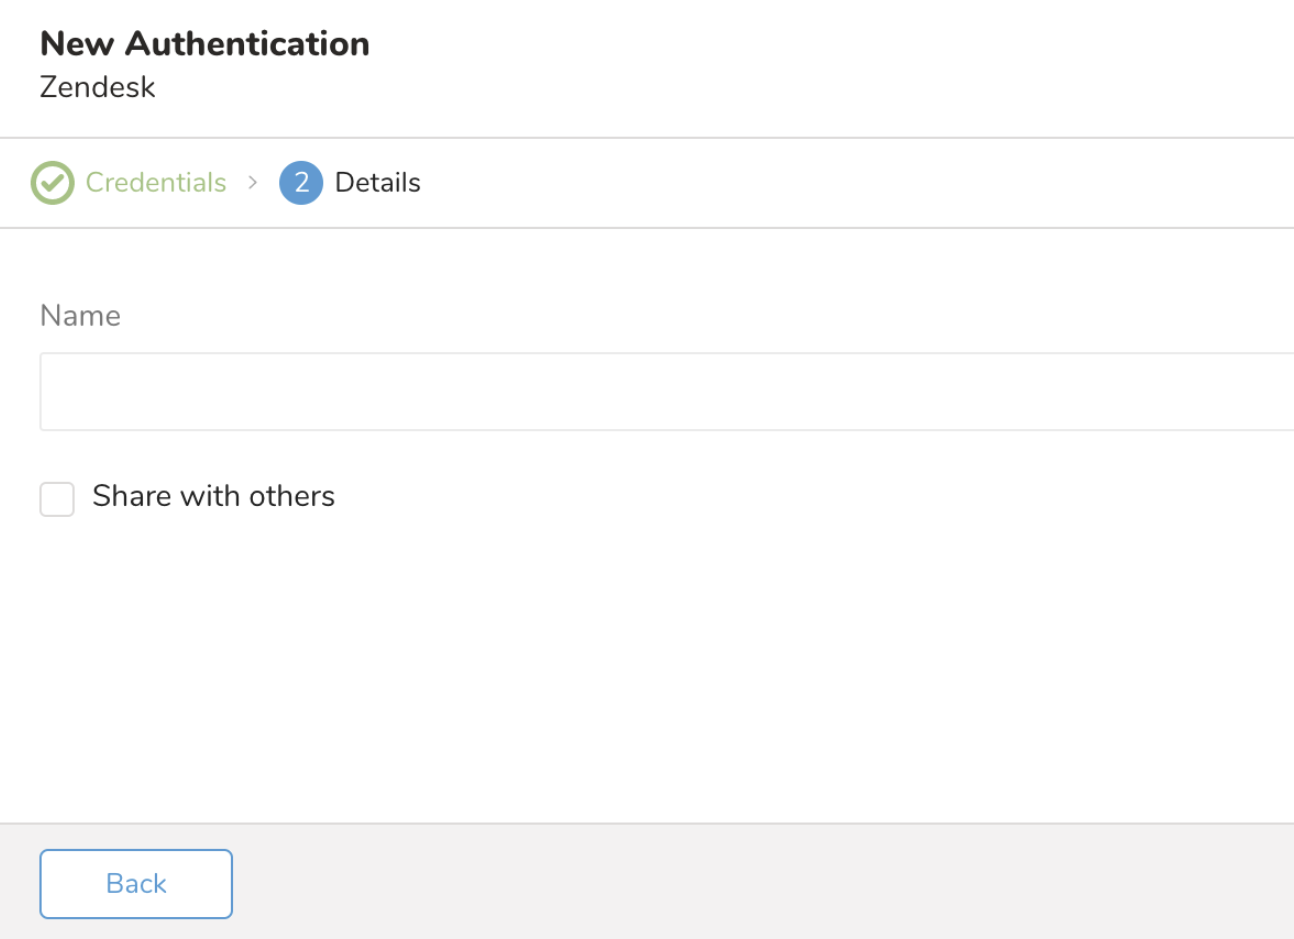
新しい Zendesk 接続に名前を付けます。
Done を選択します。
クエリを作成または再利用します。
場合によっては、クエリで列マッピングを定義する必要があります。
TD Console を開きます。
Data Workbench > Queries に移動します。
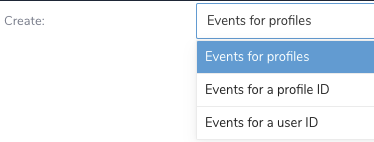
データのエクスポートに使用する予定のクエリを選択します。各タイプのリソースには特定の列と正確な列名(大文字小文字を区別)およびデータ型が必要です。データのエクスポートに使用できるコード例:
Events for profiles
SELECT
 profile_source,
 profile_type,
 profile_identifier_1,
 event_source,
 event_type,
 event_properties
FROM
  your_table;
Events for profile ID
SELECT p
 profile_id,
 event_source,
 event_type,
 event_properties
FROM
 your_table;
Events for user id
SELECT
 user_id,
 profile_source,
 profile_type,
 profile_identifier_1,
 event_source,
 event_type,
 event_properties
FROM
 your_table;
クエリエディタの上部にある Export Results を選択します。Choose Integration ダイアログが開きます。結果をエクスポートする接続を選択する際には、既存の接続を使用するか、新しい接続を作成するかの2つのオプションがあります。これらの手順では、既存の接続を選択することを前提としています。
検索ボックスに接続名を入力してフィルタリングします。
接続を選択します。
次のいずれかを選択します:
オプションで、Skip invalid records を選択します。
Done を選択します。
Scheduled Jobs と Result Export を使用して、指定したターゲット宛先に出力結果を定期的に書き込むことができます。
Treasure Data のスケジューラー機能は、高可用性を実現するために定期的なクエリ実行をサポートしています。
2 つの仕様が競合するスケジュール仕様を提供する場合、より頻繁に実行するよう要求する仕様が優先され、もう一方のスケジュール仕様は無視されます。
例えば、cron スケジュールが '0 0 1 * 1' の場合、「月の日」の仕様と「週の曜日」が矛盾します。前者の仕様は毎月 1 日の午前 0 時 (00:00) に実行することを要求し、後者の仕様は毎週月曜日の午前 0 時 (00:00) に実行することを要求するためです。後者の仕様が優先されます。
Data Workbench > Queries に移動します
新しいクエリを作成するか、既存のクエリを選択します。
Schedule の横にある None を選択します。

ドロップダウンで、次のスケジュールオプションのいずれかを選択します:
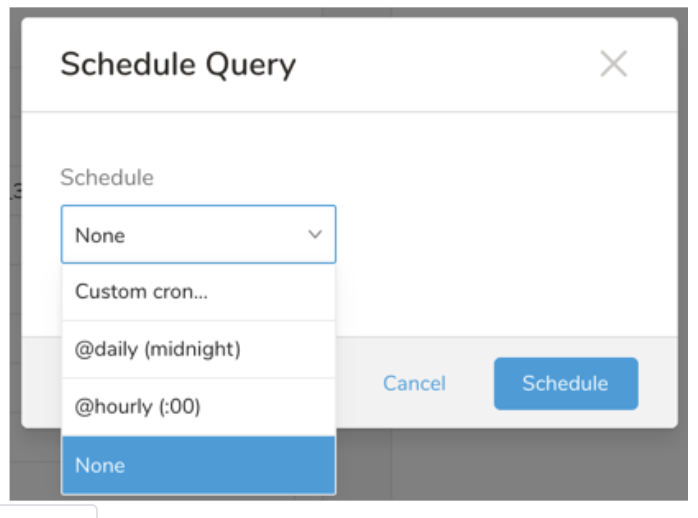
ドロップダウン値 説明 Custom cron... Custom cron... の詳細を参照してください。 @daily (midnight) 指定されたタイムゾーンで 1 日 1 回午前 0 時 (00:00 am) に実行します。 @hourly (:00) 毎時 00 分に実行します。 None スケジュールなし。
| Cron 値 | 説明 |
|---|---|
0 * * * * | 1 時間に 1 回実行します。 |
0 0 * * * | 1 日 1 回午前 0 時に実行します。 |
0 0 1 * * | 毎月 1 日の午前 0 時に 1 回実行します。 |
| "" | スケジュールされた実行時刻のないジョブを作成します。 |
 *    *    *    *    *
 -    -    -    -    -
 |    |    |    |    |
 |    |    |    |    +----- day of week (0 - 6) (Sunday=0)
 |    |    |    +---------- month (1 - 12)
 |    |    +--------------- day of month (1 - 31)
 |    +-------------------- hour (0 - 23)
 +------------------------- min (0 - 59)
次の名前付きエントリを使用できます:
- Day of Week: sun, mon, tue, wed, thu, fri, sat.
- Month: jan, feb, mar, apr, may, jun, jul, aug, sep, oct, nov, dec.
各フィールド間には単一のスペースが必要です。各フィールドの値は、次のもので構成できます:
| フィールド値 | 例 | 例の説明 |
|---|---|---|
| 各フィールドに対して上記で表示された制限内の単一の値。 | ||
フィールドに基づく制限がないことを示すワイルドカード '*'。 | '0 0 1 * *' | 毎月 1 日の午前 0 時 (00:00) に実行するようにスケジュールを設定します。 |
範囲 '2-5' フィールドの許可される値の範囲を示します。 | '0 0 1-10 * *' | 毎月 1 日から 10 日までの午前 0 時 (00:00) に実行するようにスケジュールを設定します。 |
カンマ区切りの値のリスト '2,3,4,5' フィールドの許可される値のリストを示します。 | 0 0 1,11,21 * *' | 毎月 1 日、11 日、21 日の午前 0 時 (00:00) に実行するようにスケジュールを設定します。 |
周期性インジケータ '*/5' フィールドの有効な値の範囲に基づいて、 スケジュールが実行を許可される頻度を表現します。 | '30 */2 1 * *' | 毎月 1 日、00:30 から 2 時間ごとに実行するようにスケジュールを設定します。 '0 0 */5 * *' は、毎月 5 日から 5 日ごとに午前 0 時 (00:00) に実行するようにスケジュールを設定します。 |
'*' ワイルドカードを除く上記の いずれかのカンマ区切りリストもサポートされています '2,*/5,8-10' | '0 0 5,*/10,25 * *' | 毎月 5 日、10 日、20 日、25 日の午前 0 時 (00:00) に実行するようにスケジュールを設定します。 |
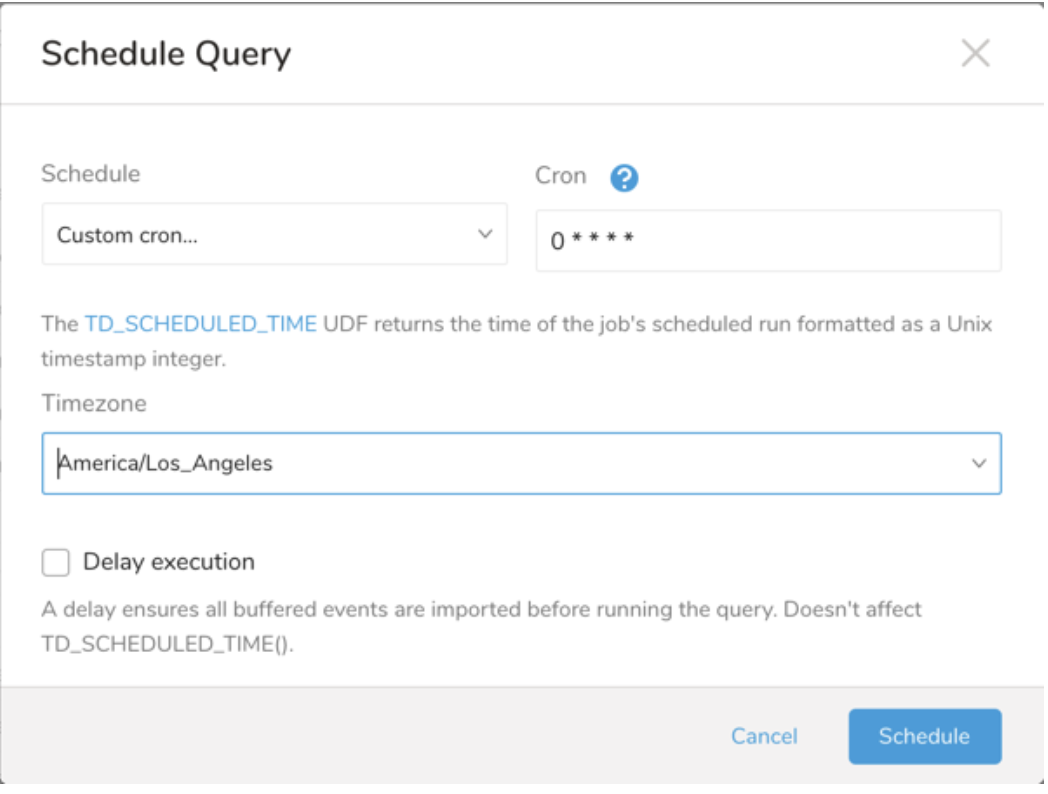
- (オプション) Delay execution を有効にすることで、クエリの開始時刻を遅延させることができます。
クエリに名前を付けて保存して実行するか、単にクエリを実行します。クエリが正常に完了すると、クエリ結果は指定された宛先に自動的にエクスポートされます。
設定エラーにより継続的に失敗するスケジュールジョブは、複数回通知された後、システム側で無効化される場合があります。
(オプション) Delay execution を有効にすることで、クエリの開始時刻を遅延させることができます。
Audience Studio で activation を作成することで、segment データをターゲットプラットフォームに送信することもできます。
- Audience Studio に移動します。
- parent segment を選択します。
- ターゲット segment を開き、右クリックして、Create Activation を選択します。
- Details パネルで、Activation 名を入力し、前述の Configuration Parameters のセクションに従って activation を設定します。
- Output Mapping パネルで activation 出力をカスタマイズします。
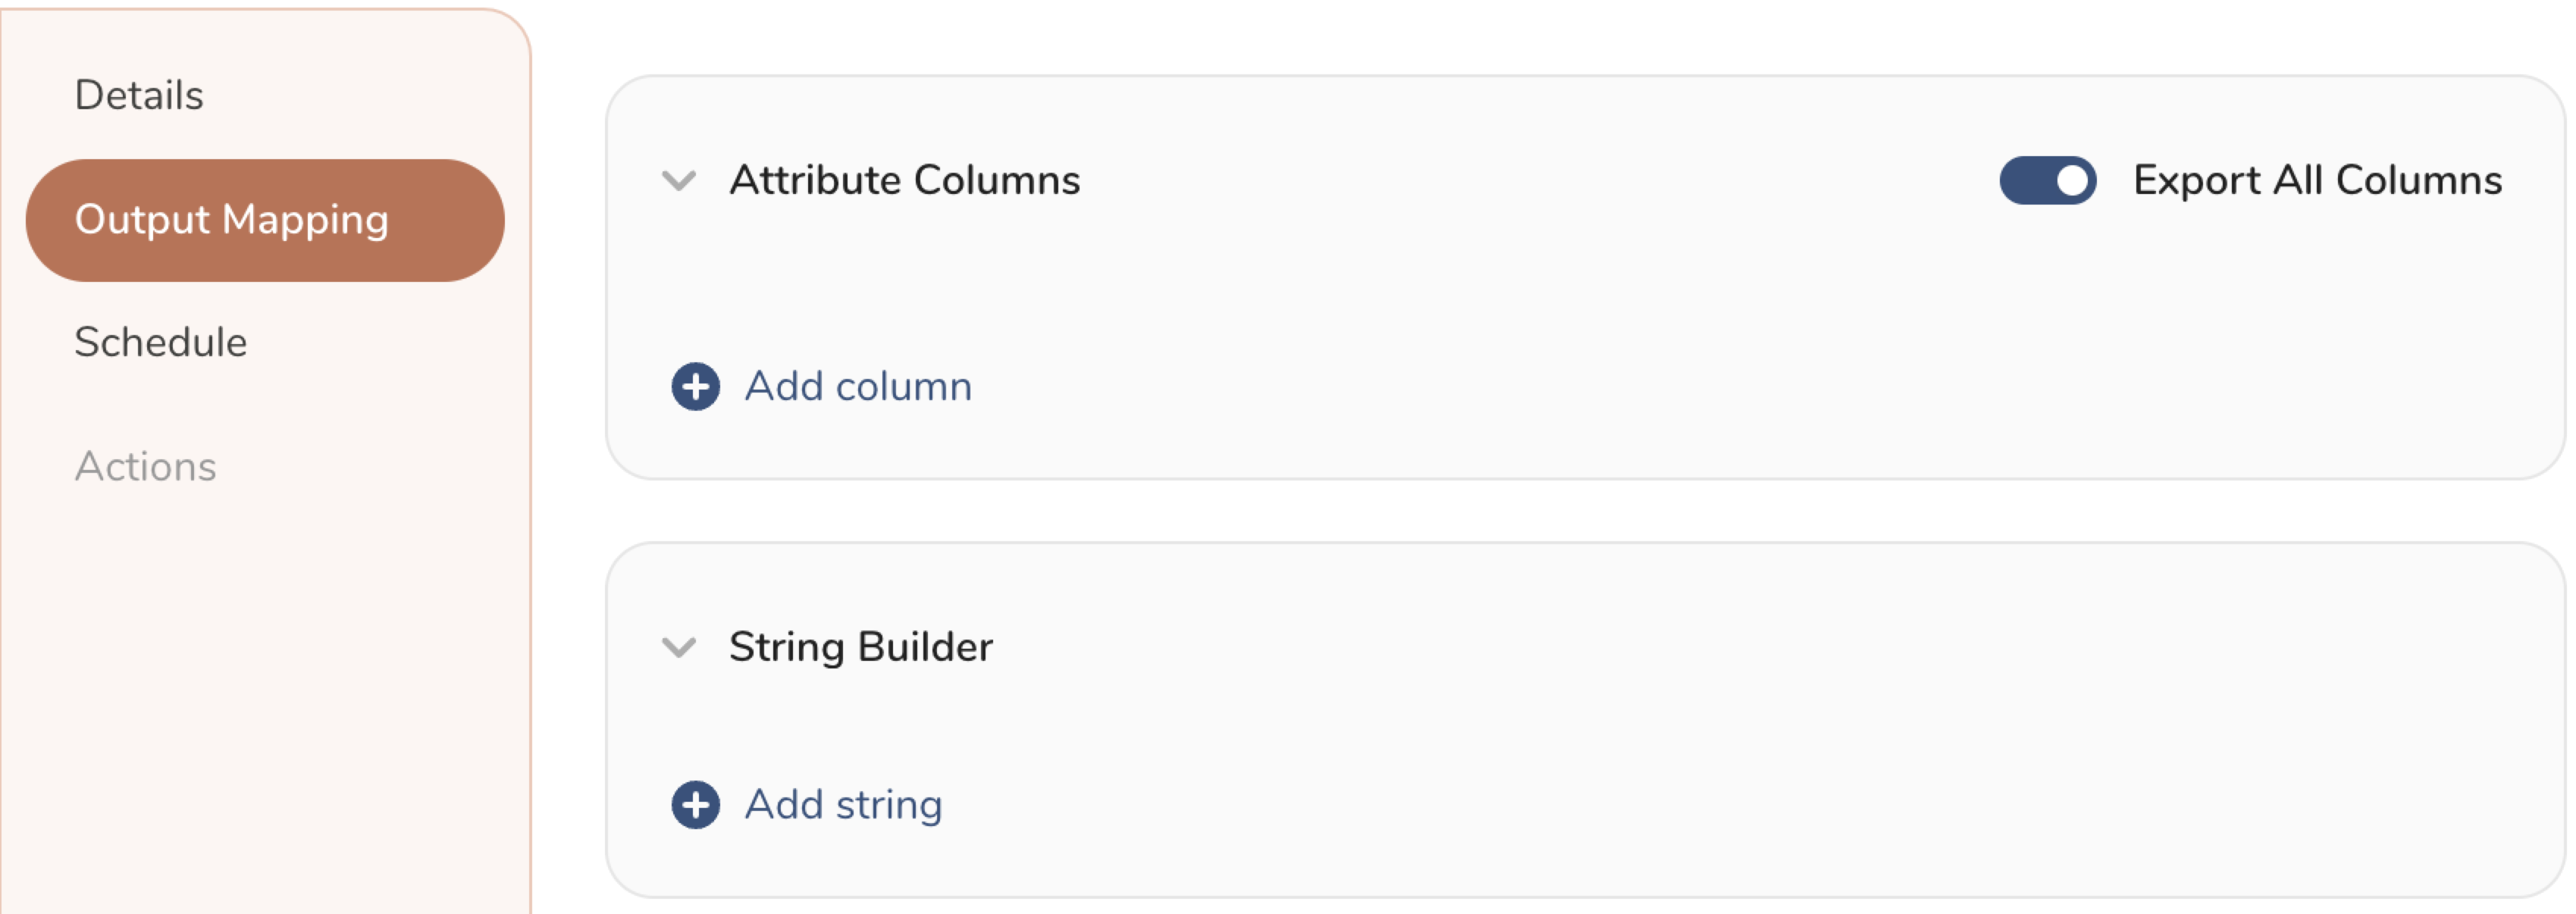
- Attribute Columns
- Export All Columns を選択すると、変更を加えずにすべての列をエクスポートできます。
- + Add Columns を選択して、エクスポート用の特定の列を追加します。Output Column Name には、Source 列名と同じ名前があらかじめ入力されます。Output Column Name を更新できます。+ Add Columns を選択し続けて、activation 出力用の新しい列を追加します。
- String Builder
- + Add string を選択して、エクスポート用の文字列を作成します。次の値から選択します:
- String: 任意の値を選択します。テキストを使用してカスタム値を作成します。
- Timestamp: エクスポートの日時。
- Segment Id: segment ID 番号。
- Segment Name: segment 名。
- Audience Id: parent segment 番号。
- + Add string を選択して、エクスポート用の文字列を作成します。次の値から選択します:
- Schedule を設定します。
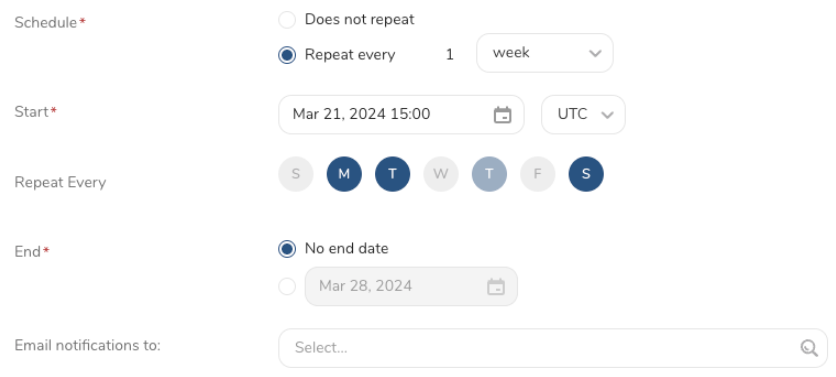
- スケジュールを定義する値を選択し、オプションでメール通知を含めます。
- Create を選択します。
batch journey の activation を作成する必要がある場合は、Creating a Batch Journey Activation を参照してください。
ワークフローでデータコネクタを使用してデータをエクスポートする方法の詳細については、About Using Workflows to Export Data with the TD Toolbelt を参照してください。
Basic Auth を使用:
timezone: UTC

_export:
  td:
    database: sample_datasets

+td-result-into-target:
  td>: queries/sample.sql
  result_connection: your_connections_name
  result_settings:
    login_url: https://{example}.zendesk.com
    auth_method: basic
    username: {username}
    password: {password}
    target: event_profile
    skip_invalid_records: true
Auth Token を使用:
timezone: UTC

_export:
  td:
    database: sample_datasets

+td-result-into-target:
  td>: queries/sample.sql
  result_connection: your_connections_name
  result_settings:
    login_url: https://{example}.zendesk.com
    auth_method: token
    username: {username}
    token: {token}
    target: event_profile
    skip_invalid_records: true
OAuth Token を使用
timezone: UTC

_export:
  td:
    database: sample_datasets

+td-result-into-target:
  td>: queries/sample.sql
  result_connection: your_connections_name
  result_settings:
    login_url: https://{example}.zendesk.com
    auth_method: oauth
    access_token: {access_token}
    target: event_profile
skip_invalid_records: trueBasic Auth を使用
timezone: UTC

_export:
  td:
    database: sample_datasets

+td-result-into-target:
  td>: queries/sample.sql
  result_connection: your_connections_name
  result_settings:
    login_url: https://{example}.zendesk.com
    auth_method: basic
    username: {username}
    password: {password}
    target: event_profile_id
    skip_invalid_records: true
Basic Auth を使用
timezone: UTC

_export:
  td:
    database: sample_datasets

+td-result-into-target:
  td>: queries/sample.sql
  result_connection: your_connections_name
  result_settings:
    login_url: https://{example}.zendesk.com
    auth_method: basic
    username: {username}
    password: {password}
    target: event_user_id
    skip_invalid_records: true