
Treasure Dataに保存されたデータからPUSHCODEリストを作成できます。使用例には以下が含まれます:
- セグメンテーションによるパーソナライゼーション: ウェブサイトまたはモバイルアプリからユーザー行動をキャプチャし、すべてのユーザーイベントをTreasure Dataに収集します。次に、SQLでパーソナライゼーションロジックを記述し、セグメント化されたメーリングリストをPUSHCODEにエクスポートして、ターゲットキャンペーンを実施します。
- 顧客維持: SaaSやサブスクリプション型eコマースビジネスでは、顧客維持が成長を促進できます。Treasure Dataに保存されたユーザーイベントで「リスクのある」ユーザーを特定し、PUSHCODEにプッシュします。リスクのあるユーザーに対してターゲットプロモーションを送信して、再エンゲージメントを促します。
Google Cloud Storageを介したPUSHCODEとの統合により、パーソナライズされたプッシュ通知のためのターゲットユーザーIDのリストをPUSHCODEにアップロードできます。
- 特定の条件に基づいてPUSHCODEユーザーIDのリストをエクスポート。この情報は、キャンペーンのユーザーエクスペリエンスを向上させる正確な顧客セグメントの構築に役立ちます。
- Treasure Dataの基本知識
- PUSHCODEの基本知識
- PUSHCODE Import Integrationによって取り込まれたユーザーIDのみを使用できます
- ファイルがGCSにエクスポートされると、リストは即座にPUSHCODEアカウントに適用されます
Treasure Dataでは、クエリを実行する前にデータ接続を作成して設定する必要があります。データ接続の一部として、統合にアクセスするための認証を提供します。
PUSHCODE統合はGoogle Cloud Storage統合を使用します。JSONキーファイルを使用して認証を作成するには、Google Cloud Storage Export Integrationの手順に従ってください。
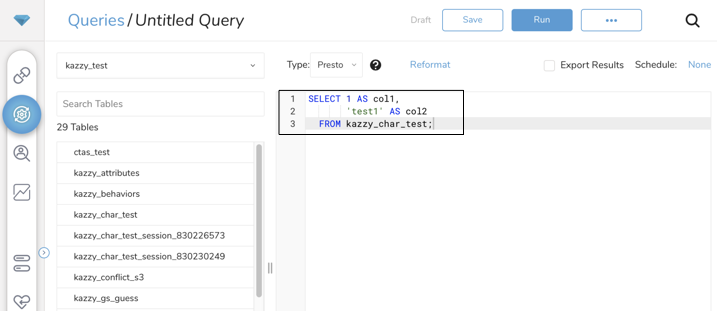
Data Workbench > Queriesに移動します。
New Queryを選択します。
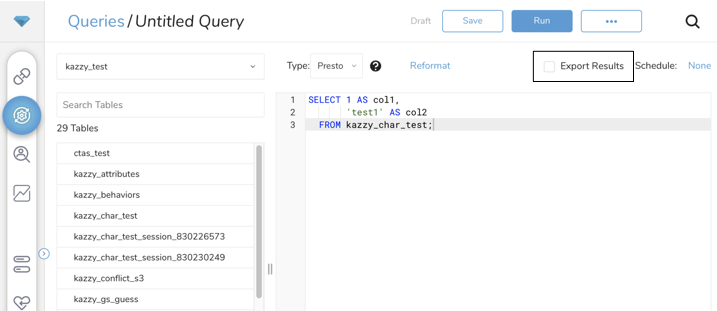
クエリを実行して結果セットを検証します。
- Export Resultsを選択します。
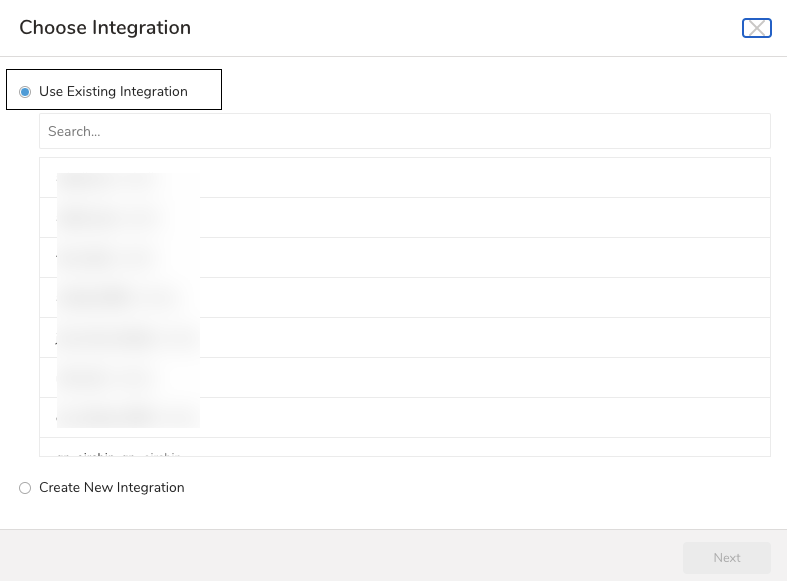
- 出力に使用する外部サービスの既存の認証を選択するか、新しい認証を作成できます。以下のいずれかを選択します:
既存の統合を使用
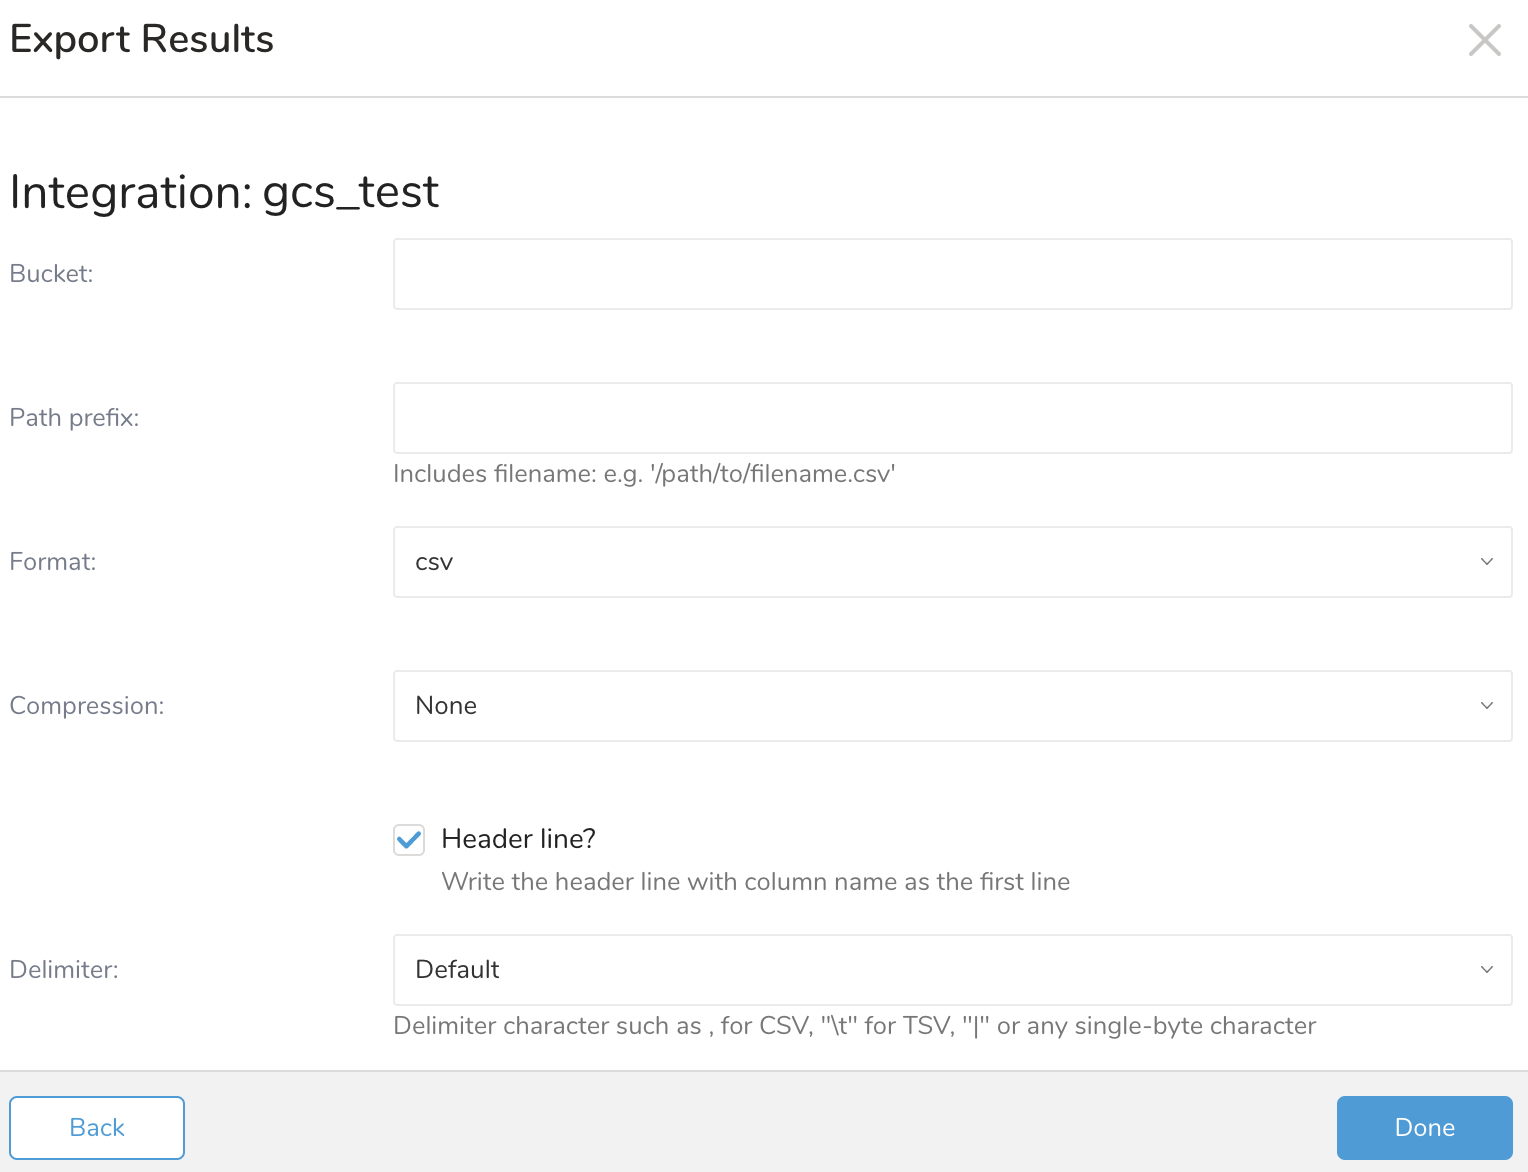
Export Resultsインターフェースが開きます。パラメータを編集します。
| Parameter | Data | Description |
|---|---|---|
| Bucket | Bucket NameはPUSHCODEコンソールで確認できます | ターゲットGCSバケット |
| Path Prefix | userid_list/YYYYMMDDHHMM_A_B.csv.gz | - YYYYMMDDHHMM: 予想されるエクスポートタイムスタンプを入力 - A_B: <list_id>_<list_name>。Aが空白の場合、名前Bの新しいリストが作成されます。 |
| Format | CSV | - CSVを選択 |
| Compression | gz | - GZを選択 |
| Header Line | unchecked | |
| Delimiter | default | |
| Null String | default | |
| End of Line Character | CRLF | |
| Application Name | APIリクエストに関連付けられた任意のクライアント名。例えば、Treasure Data GCS Output。 |
エクスポート結果の特定のuser_idのみ。例えば、
SELECT user_id as user_id FROM subscriber_listYou can use Scheduled Jobs with Result Export to periodically write the output result to a target destination that you specify.
Treasure Data's scheduler feature supports periodic query execution to achieve high availability.
When two specifications provide conflicting schedule specifications, the specification requesting to execute more often is followed while the other schedule specification is ignored.
For example, if the cron schedule is '0 0 1 * 1', then the 'day of month' specification and 'day of week' are discordant because the former specification requires it to run every first day of each month at midnight (00:00), while the latter specification requires it to run every Monday at midnight (00:00). The latter specification is followed.
Navigate to Data Workbench > Queries
Create a new query or select an existing query.
Next to Schedule, select None.

In the drop-down, select one of the following schedule options:
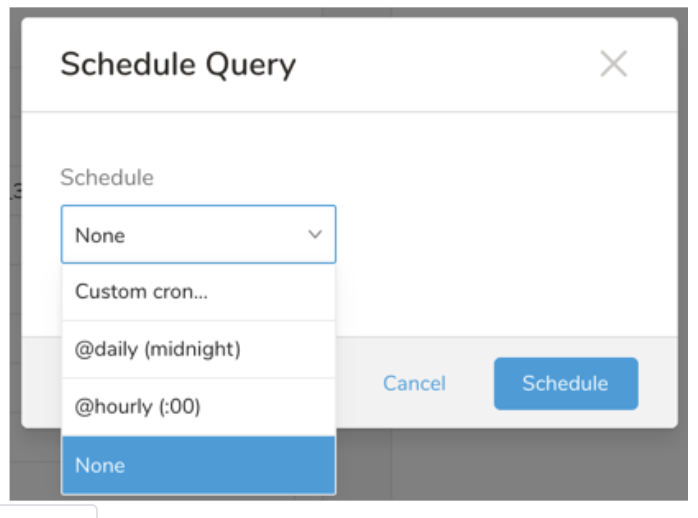
Drop-down Value Description Custom cron... Review Custom cron... details. @daily (midnight) Run once a day at midnight (00:00 am) in the specified time zone. @hourly (:00) Run every hour at 00 minutes. None No schedule.
| Cron Value | Description |
|---|---|
0 * * * * | Run once an hour. |
0 0 * * * | Run once a day at midnight. |
0 0 1 * * | Run once a month at midnight on the morning of the first day of the month. |
| "" | Create a job that has no scheduled run time. |
 *    *    *    *    *
 -    -    -    -    -
 |    |    |    |    |
 |    |    |    |    +----- day of week (0 - 6) (Sunday=0)
 |    |    |    +---------- month (1 - 12)
 |    |    +--------------- day of month (1 - 31)
 |    +-------------------- hour (0 - 23)
 +------------------------- min (0 - 59)
The following named entries can be used:
- Day of Week: sun, mon, tue, wed, thu, fri, sat.
- Month: jan, feb, mar, apr, may, jun, jul, aug, sep, oct, nov, dec.
A single space is required between each field. The values for each field can be composed of:
| Field Value | Example | Example Description |
|---|---|---|
| A single value, within the limits displayed above for each field. | ||
A wildcard '*' to indicate no restriction based on the field. | '0 0 1 * *' | Configures the schedule to run at midnight (00:00) on the first day of each month. |
A range '2-5', indicating the range of accepted values for the field. | '0 0 1-10 * *' | Configures the schedule to run at midnight (00:00) on the first 10 days of each month. |
A list of comma-separated values '2,3,4,5', indicating the list of accepted values for the field. | 0 0 1,11,21 * *' | Configures the schedule to run at midnight (00:00) every 1st, 11th, and 21st day of each month. |
A periodicity indicator '*/5' to express how often based on the field's valid range of values a schedule is allowed to run. | '30 */2 1 * *' | Configures the schedule to run on the 1st of every month, every 2 hours starting at 00:30. '0 0 */5 * *' configures the schedule to run at midnight (00:00) every 5 days starting on the 5th of each month. |
A comma-separated list of any of the above except the '*' wildcard is also supported '2,*/5,8-10'. | '0 0 5,*/10,25 * *' | Configures the schedule to run at midnight (00:00) every 5th, 10th, 20th, and 25th day of each month. |
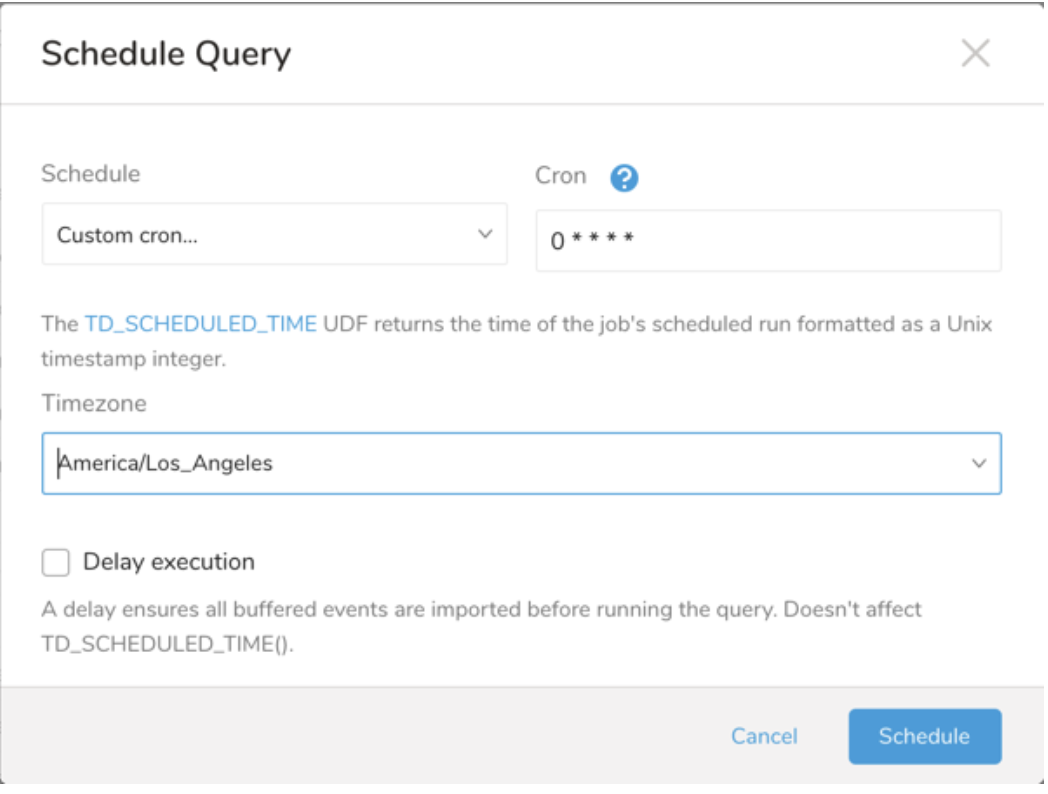
- (Optional) You can delay the start time of a query by enabling the Delay execution.
Save the query with a name and run, or just run the query. Upon successful completion of the query, the query result is automatically exported to the specified destination.
Scheduled jobs that continuously fail due to configuration errors may be disabled on the system side after several notifications.
(Optional) You can delay the start time of a query by enabling the Delay execution.
You can also send segment data to the target platform by creating an activation in the Audience Studio.
- Navigate to Audience Studio.
- Select a parent segment.
- Open the target segment, right-mouse click, and then select Create Activation.
- In the Details panel, enter an Activation name and configure the activation according to the previous section on Configuration Parameters.
- Customize the activation output in the Output Mapping panel.
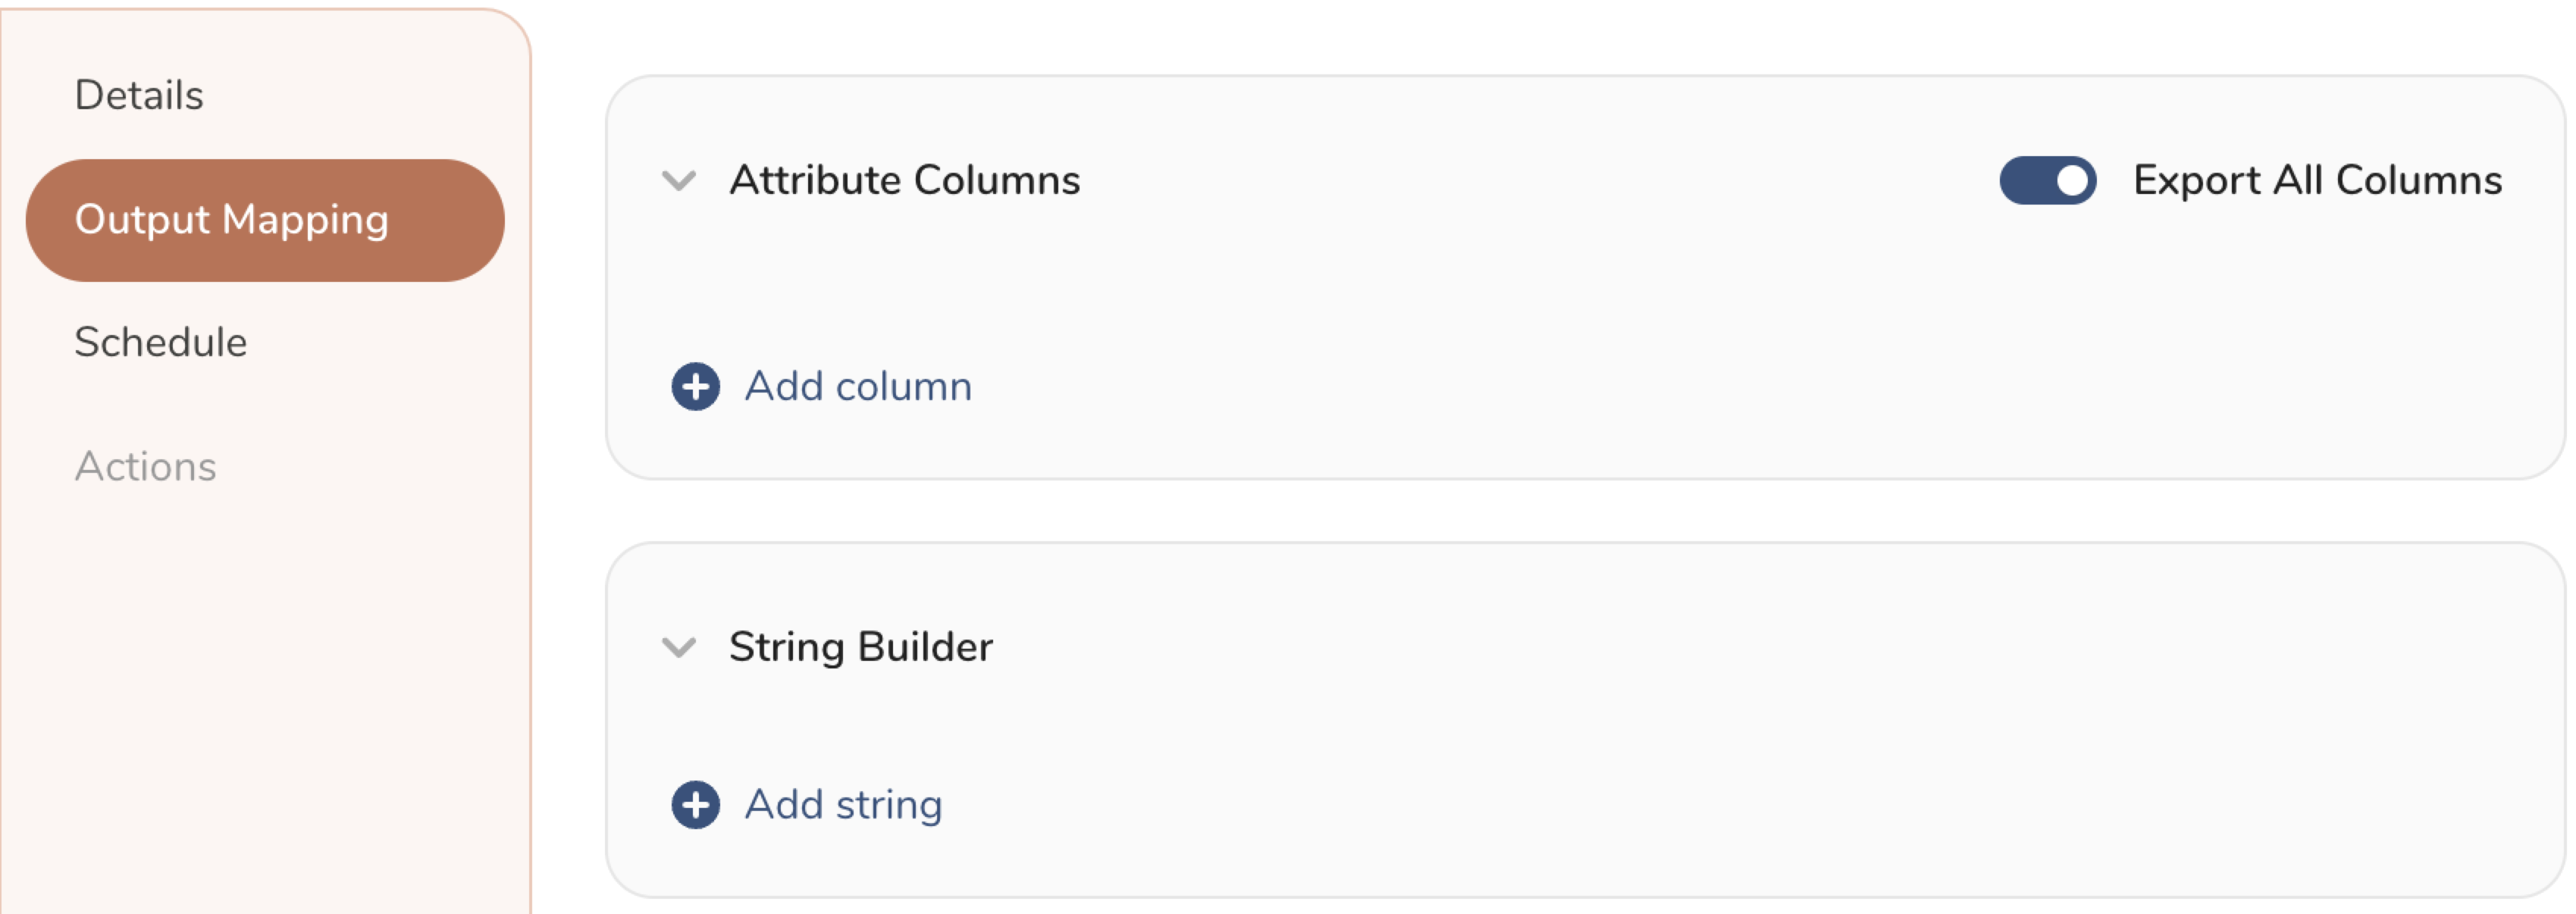
- Attribute Columns
- Select Export All Columns to export all columns without making any changes.
- Select + Add Columns to add specific columns for the export. The Output Column Name pre-populates with the same Source column name. You can update the Output Column Name. Continue to select + Add Columnsto add new columns for your activation output.
- String Builder
- + Add string to create strings for export. Select from the following values:
- String: Choose any value; use text to create a custom value.
- Timestamp: The date and time of the export.
- Segment Id: The segment ID number.
- Segment Name: The segment name.
- Audience Id: The parent segment number.
- + Add string to create strings for export. Select from the following values:
- Set a Schedule.
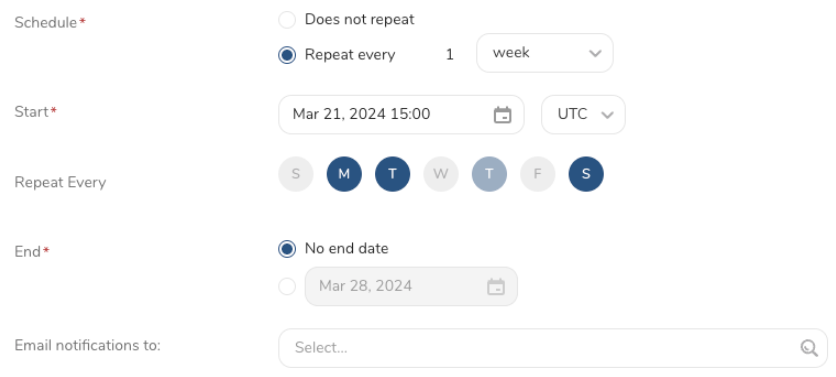
- Select the values to define your schedule and optionally include email notifications.
- Select Create.
If you need to create an activation for a batch journey, review Creating a Batch Journey Activation.