
PUSHCODEは、個々のサイト訪問者に最も関連性の高いコンテンツを適切なタイミングで配信する、日本で人気のあるWebプッシュサービスです。
PUSHCODEのこのインポート統合により、Google Cloud StorageからPUSHCODEが提供する以下のデータをインポートできます:
- Subscriber List
- Segment List
- Push Result
- Treasure Dataの基本知識
- PUSHCODEの基本知識
- Google Cloud StorageのImport Connectorの基本知識
- PUSHCODEアカウント
- PUSHCODEでTreasure Data Integration設定を有効にする
- Subscriber List / Segment List / Push Resultのファイルは毎日作成されます
- PUSHCODE Console > Account Settingsに移動します。
- Treasure Data統合を有効にします。

Treasure Data統合を設定すると、以下の情報が提供されます。
- 割り当てられたGoogle Cloud Storage Bucket Name
- Google Cloud Storageサービスアカウントキー(JSONファイル)
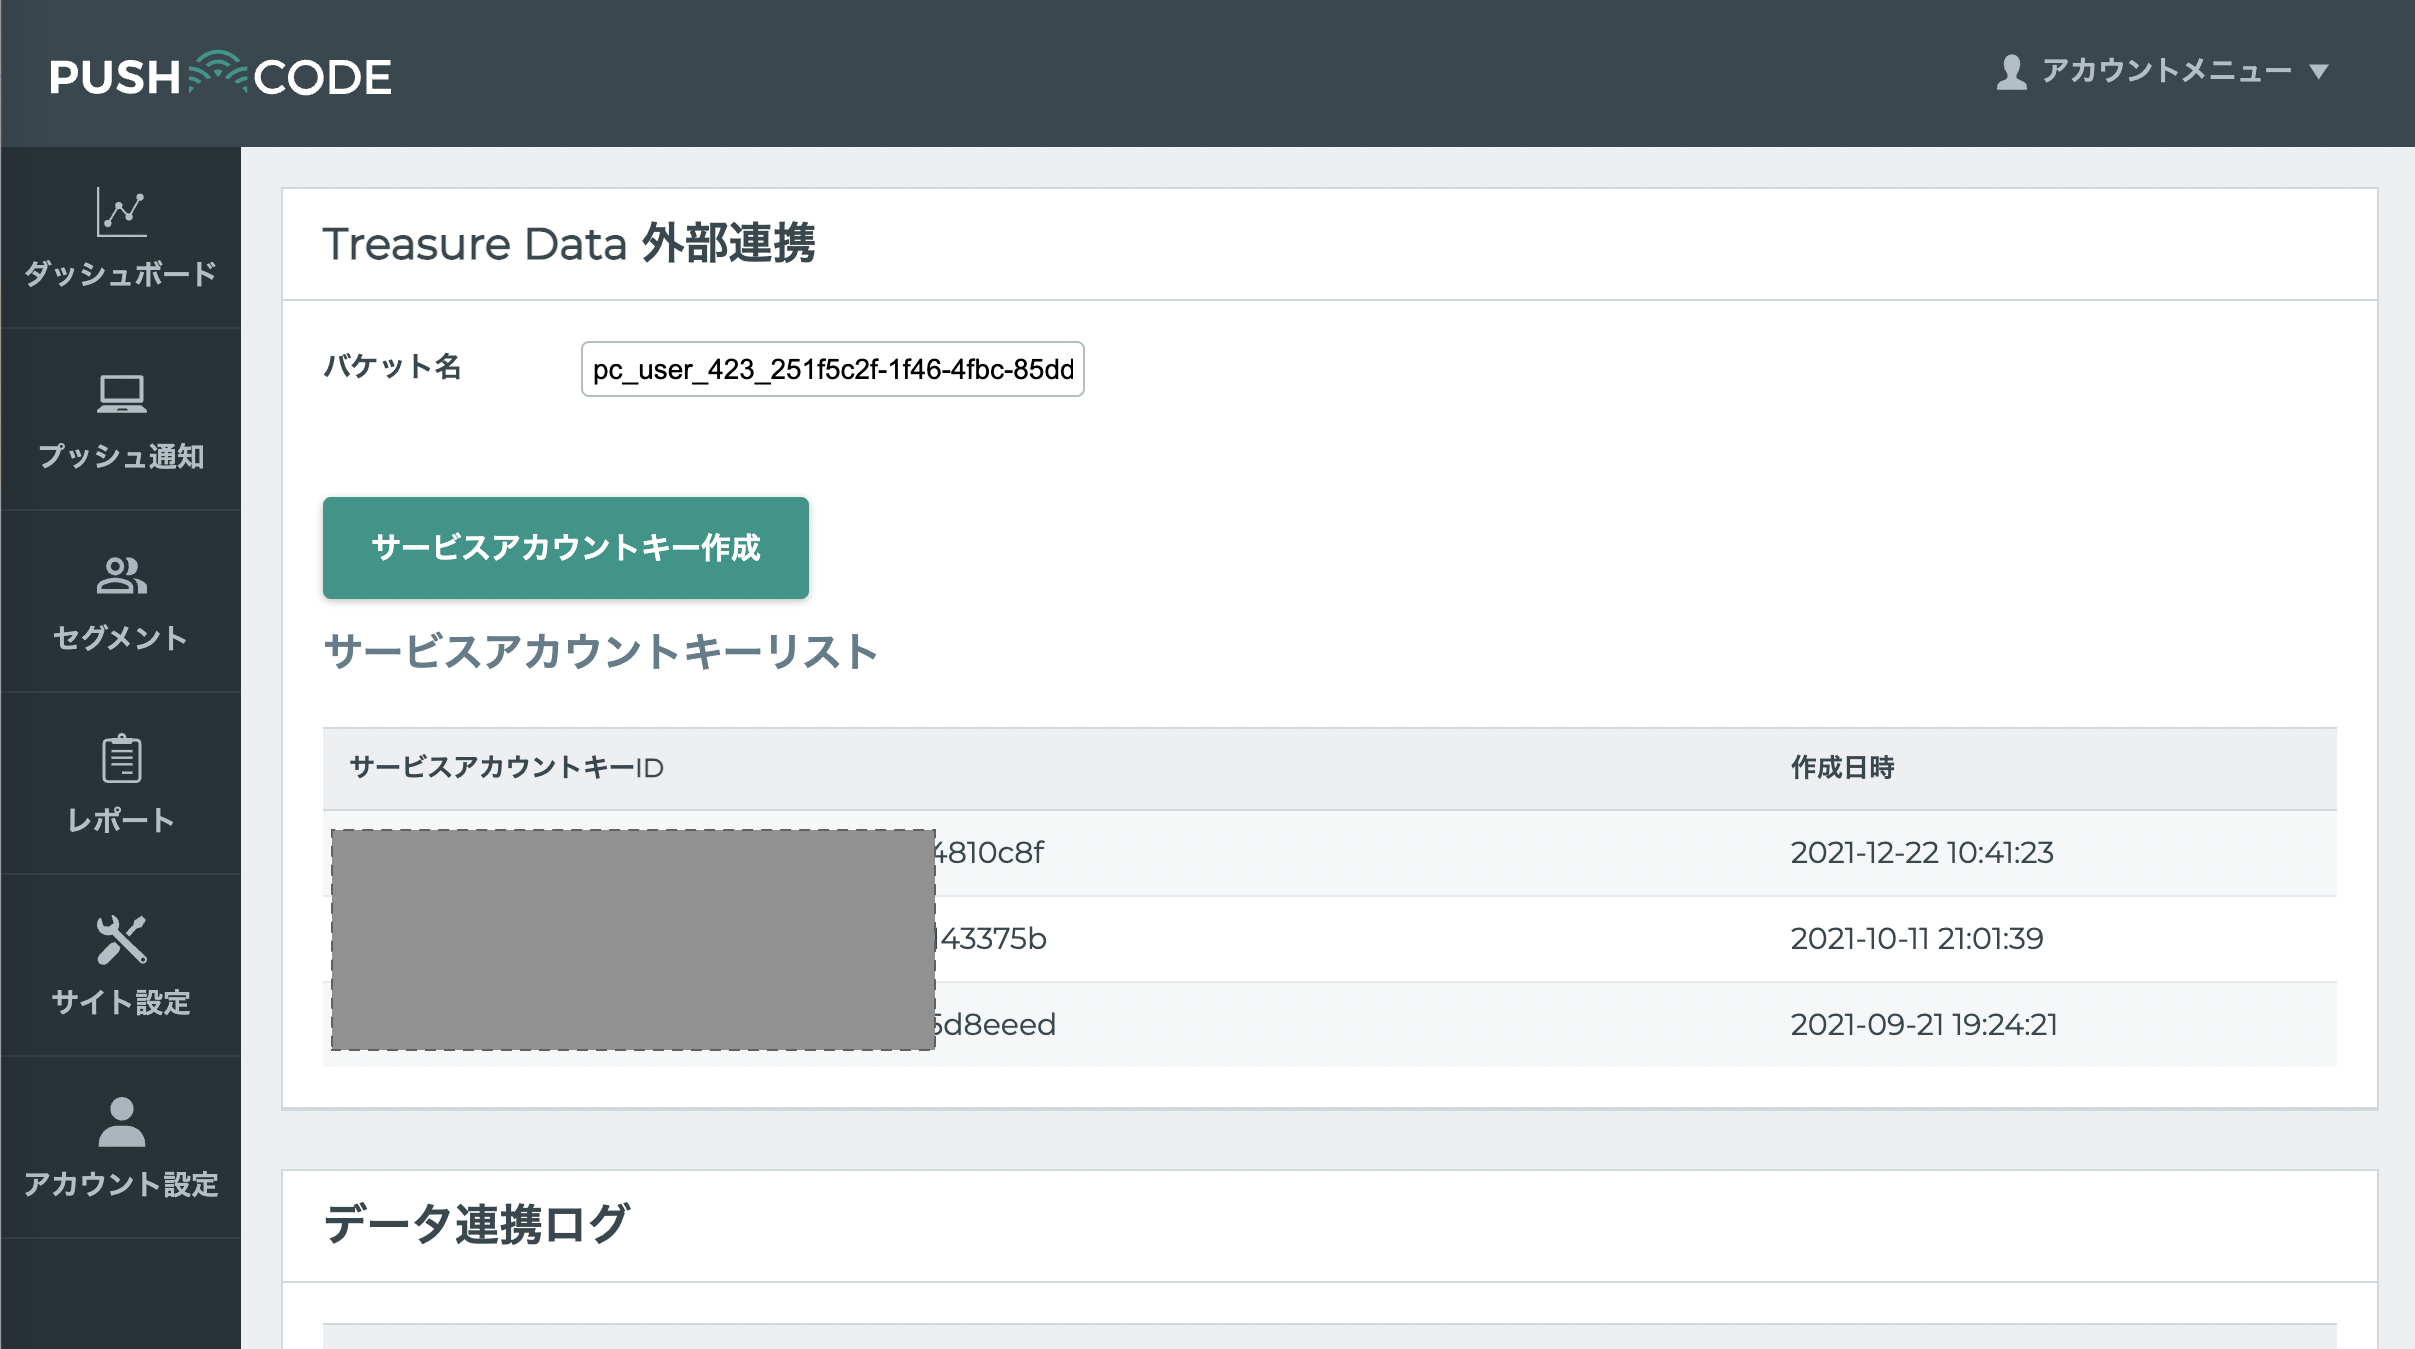
Treasure Data Consoleでの設定のために、これらを利用可能な状態にしておいてください。
PUSHCODE統合はGoogle Cloud Storage統合を使用します。JSONキーファイルを使用して認証を作成するには、Google Cloud Storage Import Integrationの手順に従ってください。
TD Consoleを開きます。
Integrations Hub > Authenticationsに移動します。
新しい認証を見つけて、New Sourceを選択します。
| Parameter | Description |
|---|---|
| Data Transfer Name | 転送の名前を定義できます。 |
| Authentication | 転送に使用される認証名。 |
Data Transfer Nameフィールドにソース名を入力します。
Nextを選択します。
Create Sourceページが表示され、Source Tableタブが選択されています。
- Nextを選択します。
- source Tableダイアログが開きます。ターゲットPUSHCODEデータに基づいて以下のパラメータを編集します。
| Import Target List | Parameter | Description |
|---|---|---|
| Subscriber List | Bucket | Bucket NameはPUSHCODEコンソールで確認できます |
| Path Prefix | "subscriber_list/subscriber_list_" | |
| Path Regex | "subscriber_list/subscriber_list_[0-9]{12}.csv.gz$" | |
| Start after path | 最新のファイル*'subscriber_list/subscriber_list_YYYYMMDD0000.csv.gz'*のみをインポートするには、YYYYは年、MMは月、DDは日(ゼロパディング)です。すべての過去データをインポートするには、空白のままにします。 | |
| Incremental? | インクリメンタルローディングを行う場合はチェックします。 | |
| Segment List | Bucket | Bucket NameはPUSHCODEコンソールで確認できます |
| Path Prefix | "segment_list/segment_list_" | |
| Path Regex | "segment_list/segment_list_[0-9]{12}.csv.gz$" | |
| Start after path | 最新のファイル*'segment_list/segment_list_YYYYMMDD0000.csv.gz'*のみをインポートするには、YYYYは年、MMは月、DDは日(ゼロパディング)です。すべての過去データをインポートするには、空白のままにします。 | |
| Incremental? | Checked | |
| Push Result | Bucket | Bucket NameはPUSHCODEコンソールで確認できます |
| Path Prefix | "push_result/push_result_" | |
| Path Regex | "push_result/push_result_[0-9]{12}.csv.gz$" | |
| Start after path | 最新のファイル*'"push_result/push_result_[0-9]{12}.csv.gz$'*のみをインポートするには、YYYYは年、MMは月、DDは日(ゼロパディング)です。すべての過去データをインポートするには、空白のままにします。 | |
| Incremental? | Checked |
インポートされるファイル形式は以下の通りです。コネクタがこれらの形式を自動的に推測するため、データ設定を手動で定義する必要はありません。
| Import Target List | Name | Description | Type |
|---|---|---|---|
| Subscriber list | domain_id | 設定されたサイトID | int |
| domain | 設定されたサイトドメイン | string | |
| user_id | 購読したユーザーID | int | |
| browser_id | 購読したブラウザID | int | |
| user_agent | ブラウザのUser Agent | string | |
| subscribe_time | ユーザーが購読した時刻 | string | |
| status | 0: 購読済み / 1: 拒否 | int | |
| unsubscribe_time | ユーザーが拒否した時刻(ユーザーが拒否していない場合、この値は追加されません) | string | |
| Segment list | list_id | ユーザーリストID | int |
| list_name | ユーザーリスト名 | string | |
| user_id | 配信されたユーザーID | string | |
| Push Result | domain_id | 設定されたサイトID | int |
| domain | 設定されたサイトドメイン | string | |
| push_scenario_inst_i | プッシュ通知ID | int | |
| browser_id | 購読したブラウザID | int | |
| user_id | 購読したユーザーID | int | |
| push_create_time | PUSHCODEがプッシュ通知を登録した時刻 | string | |
| push_sent_time | PUSHCODEがプッシュ通知を送信した時刻 | string | |
| push_view_time | ユーザーがプッシュ通知を表示した時刻 | int | |
| push_click_time | ユーザーがプッシュ通知をクリックした時刻 | string |
Nextを選択します。
You can see a preview of your data before running the import by selecting Generate Preview. Data preview is optional and you can safely skip to the next page of the dialog if you choose to.
- Select Next. The Data Preview page opens.
- If you want to preview your data, select Generate Preview.
- Verify the data.
For data placement, select the target database and table where you want your data placed and indicate how often the import should run.
Select Next. Under Storage, you will create a new or select an existing database and create a new or select an existing table for where you want to place the imported data.
Select a Database > Select an existing or Create New Database.
Optionally, type a database name.
Select a Table> Select an existing or Create New Table.
Optionally, type a table name.
Choose the method for importing the data.
- Append (default)-Data import results are appended to the table. If the table does not exist, it will be created.
- Always Replace-Replaces the entire content of an existing table with the result output of the query. If the table does not exist, a new table is created.
- Replace on New Data-Only replace the entire content of an existing table with the result output when there is new data.
Select the Timestamp-based Partition Key column. If you want to set a different partition key seed than the default key, you can specify the long or timestamp column as the partitioning time. As a default time column, it uses upload_time with the add_time filter.
Select the Timezone for your data storage.
Under Schedule, you can choose when and how often you want to run this query.
- Select Off.
- Select Scheduling Timezone.
- Select Create & Run Now.
- Select On.
- Select the Schedule. The UI provides these four options: @hourly, @daily and @monthly or custom cron.
- You can also select Delay Transfer and add a delay of execution time.
- Select Scheduling Timezone.
- Select Create & Run Now.
After your transfer has run, you can see the results of your transfer in Data Workbench > Databases.
ワークフローのtd_load>:オペレータを使用して、PUSHCODEからデータをインポートできます。すでにSOURCEを作成している場合は実行できます。SOURCEを作成したくない場合は、YAMLファイルを使用してインポートできます。
ソースを識別します。
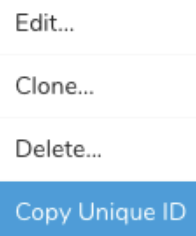
一意のIDを取得するには、ソースリストを開いて、作成したソースを検索します。
メニューを開き、「Copy Unique ID」を選択します。
- td_load>オペレータを使用してワークフロータスクを定義します。
+load:
  td_load>: unique_id_of_your_source
  database: ${td.dest_db}
table: ${td.dest_table}- ワークフローを実行します。
ymlファイルを識別します。ymlファイルを作成する必要がある場合は、参考のためにGoogle Cloud Storage Import Integrationを確認してください。
td_load>オペレータを使用してワークフロータスクを定義します。
+load:
  td_load>: config/daily_load.yml
  database: ${td.dest_db}
Table: ${td.dest_table}- ワークフローを実行します
サンプルワークフローコードについては、Treasure Boxesをご覧ください。
コネクタを設定する前に、最新のTD Toolbeltをインストールしてください。
CLIを使用したPUSHCODE統合は、Google Cloud Storage統合を使用します。JSONキーファイルを選択して認証を作成するには、Google Cloud Storage Import Integrationの手順に従ってください。
必要なパラメータを取得するには、Define Data Settingsを参照してください。