TD Console の Identity Federation で PingOne for Enterprise の値を設定できます。まず PingOne アプリケーションを設定する必要があります。
- 制限事項
- PingOne for Enterprise の値の設定
- PingOne for Enterprise Identity Federation に新規ユーザーを追加
- PingOne Enterprise Identity Federation に既存ユーザーを追加
Identity Federation を実装すると、現在 Google SSO を使用して TD Console にサインインしているアカウントユーザーは無効になります。
TD Console を開きます。
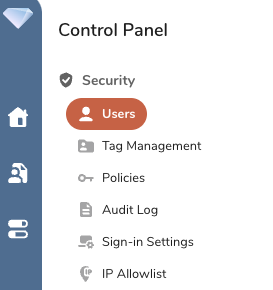
Control Panel を選択します。
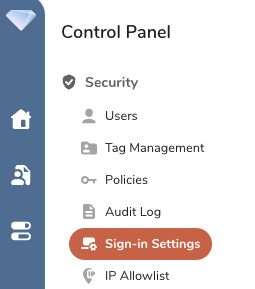
- Sign-in Settings を選択します。
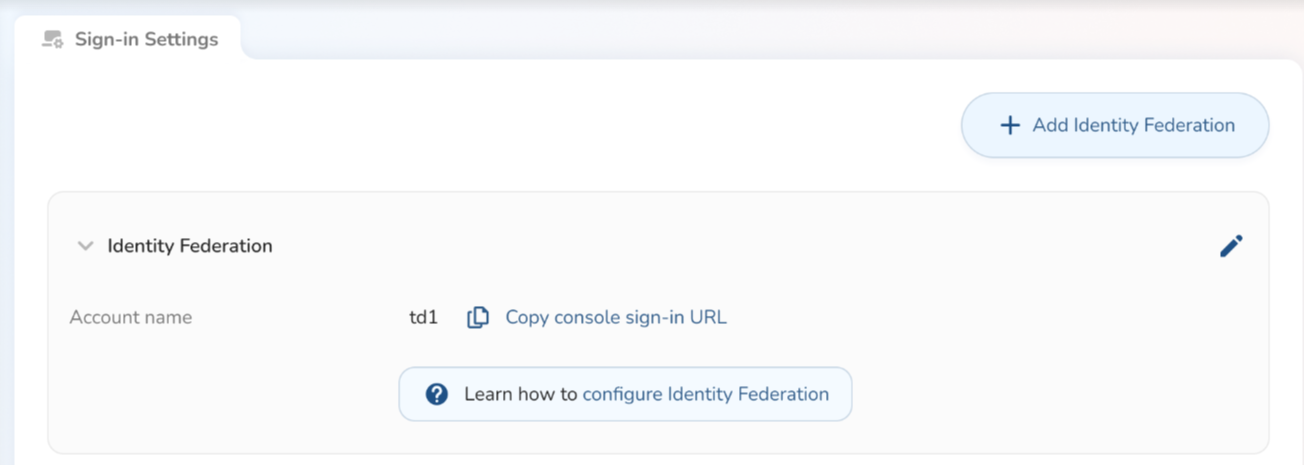
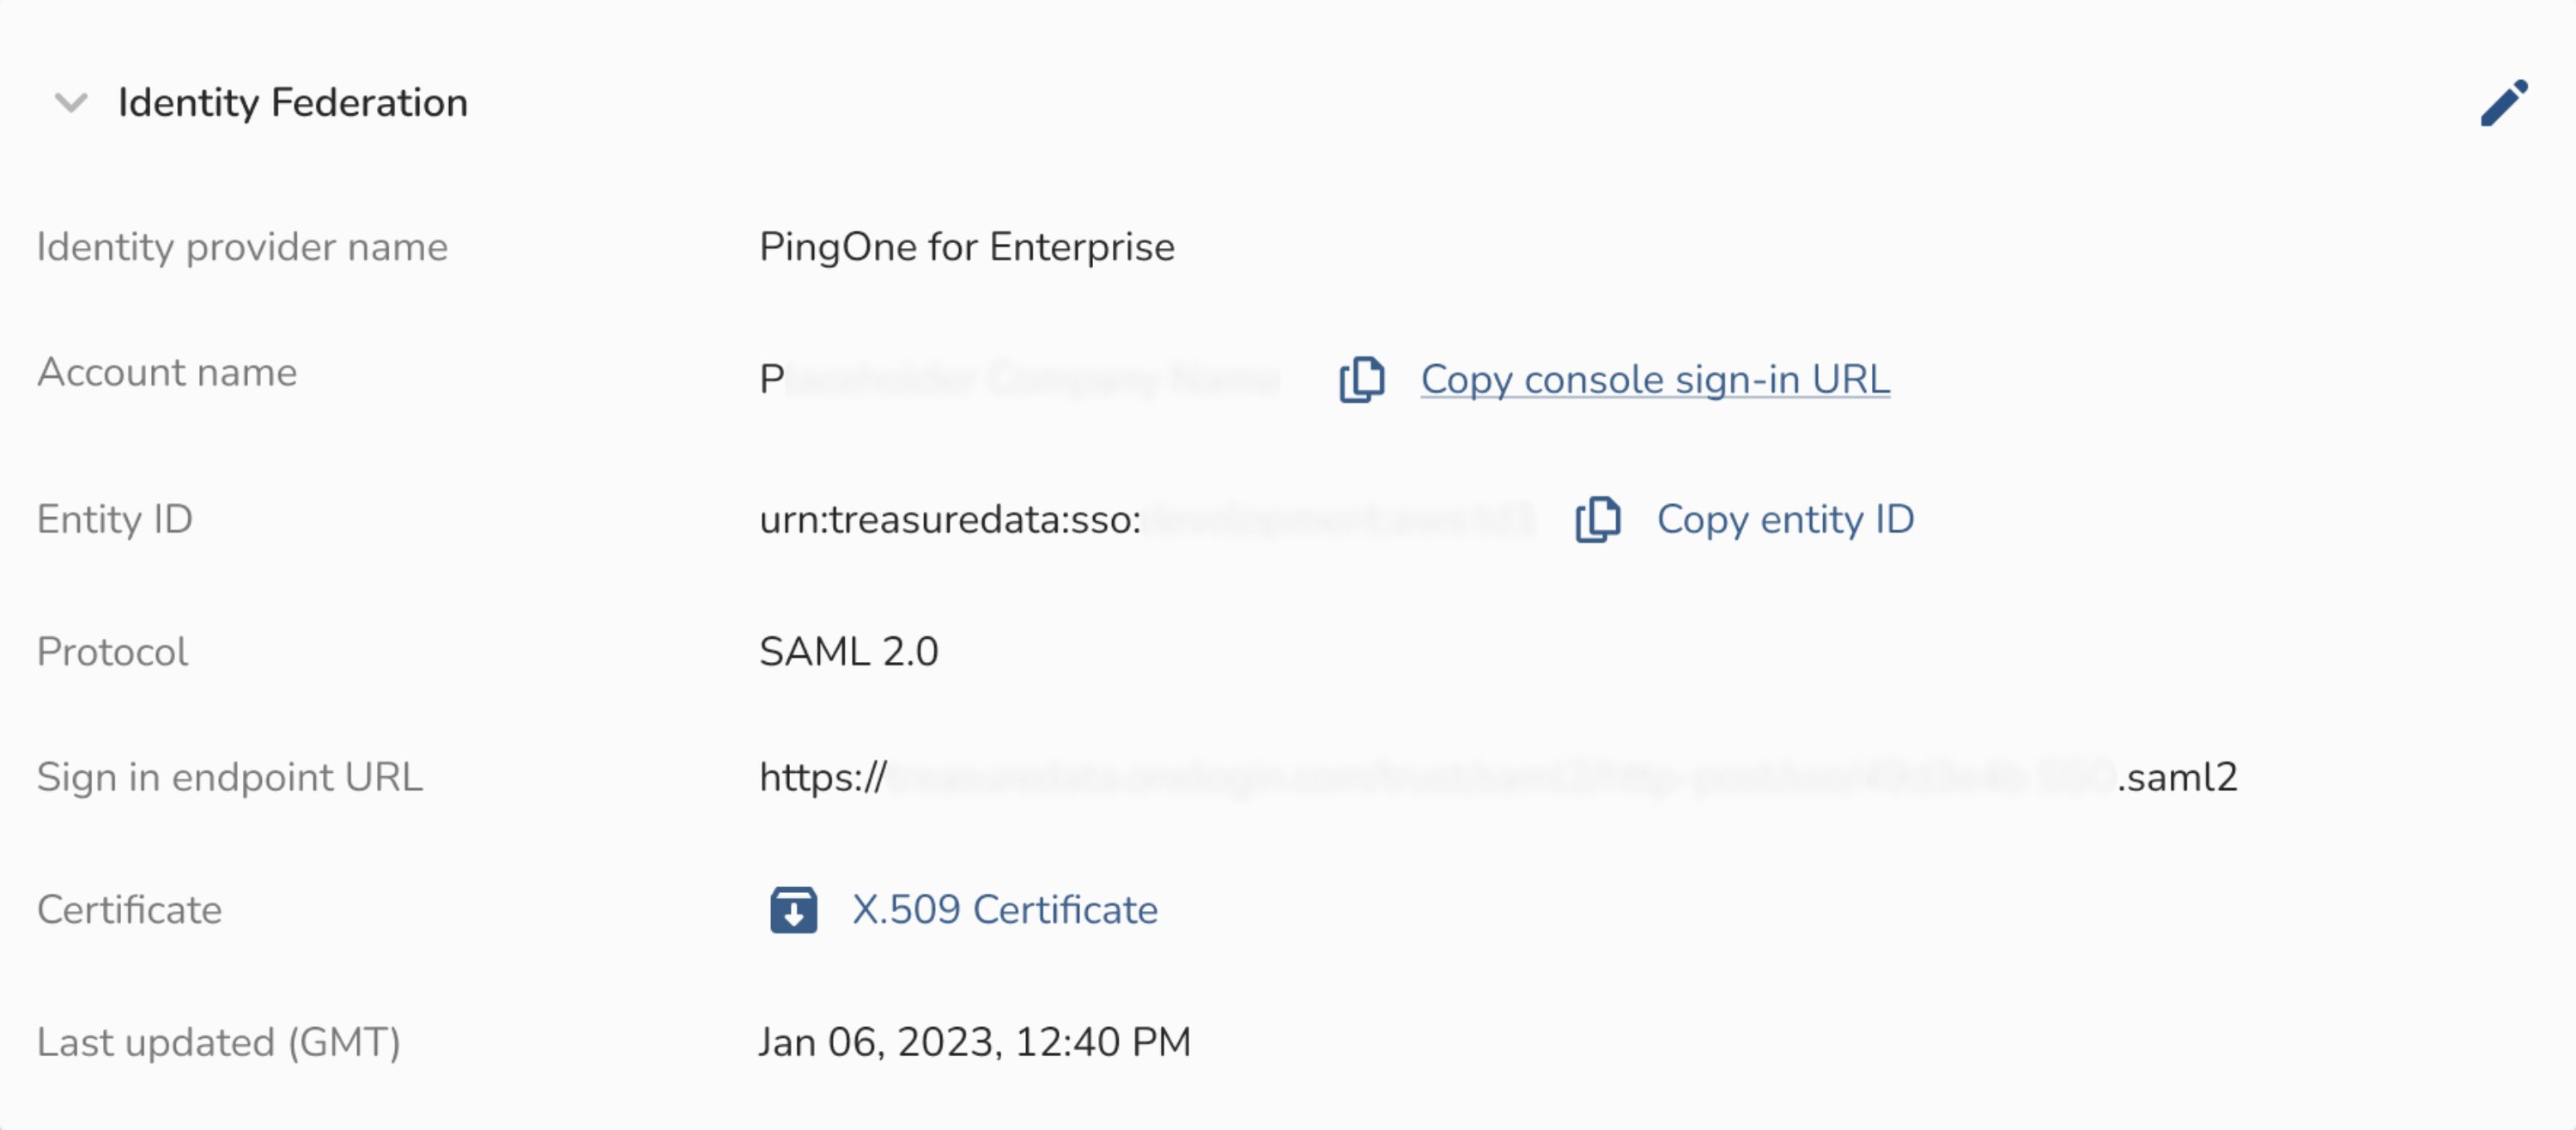
以下のフィールドは事前に入力されています:
Account Name
Entity ID
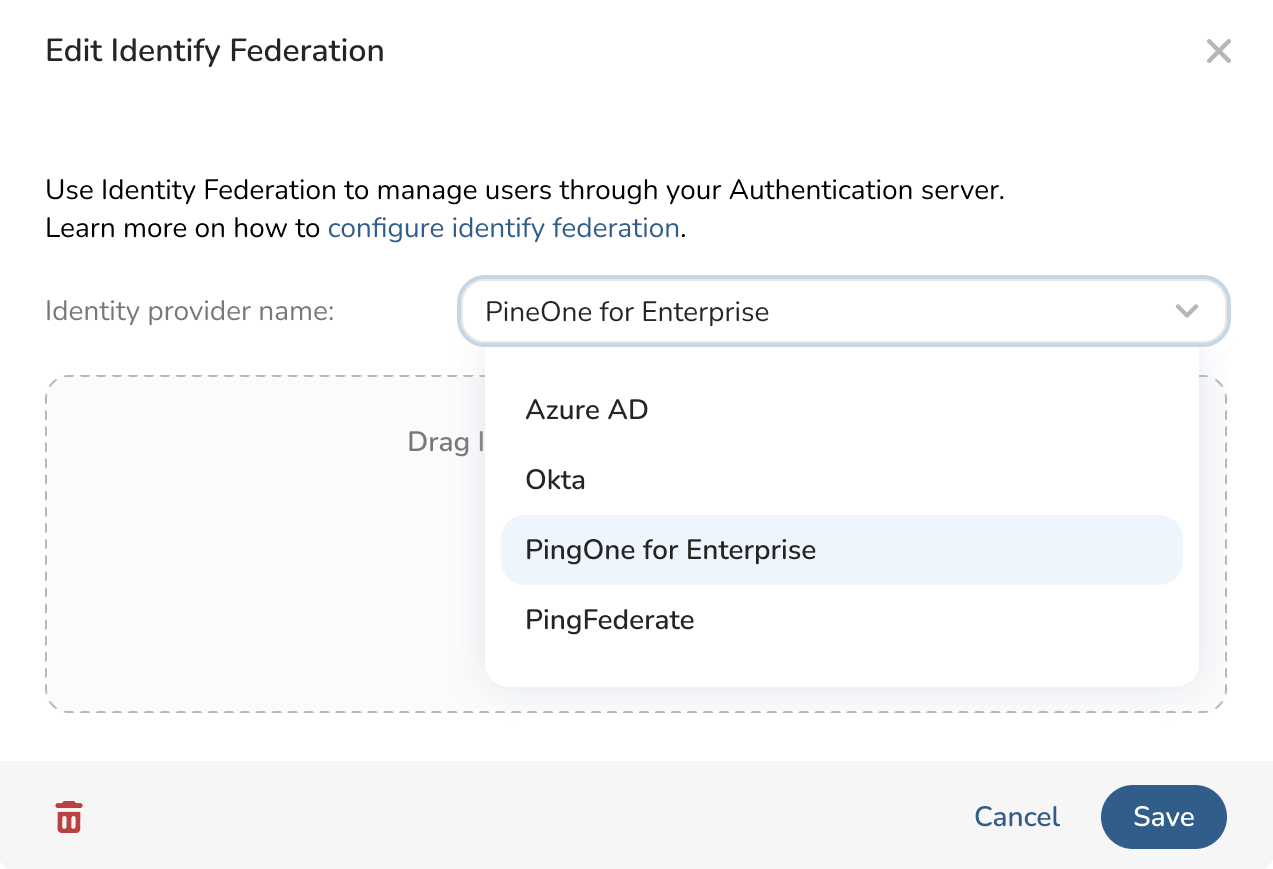
- Edit ツールを選択します。Edit Identity Federation ダイアログが開きます。
- Identity Provider Name として PingOne for Enterprise を選択します。
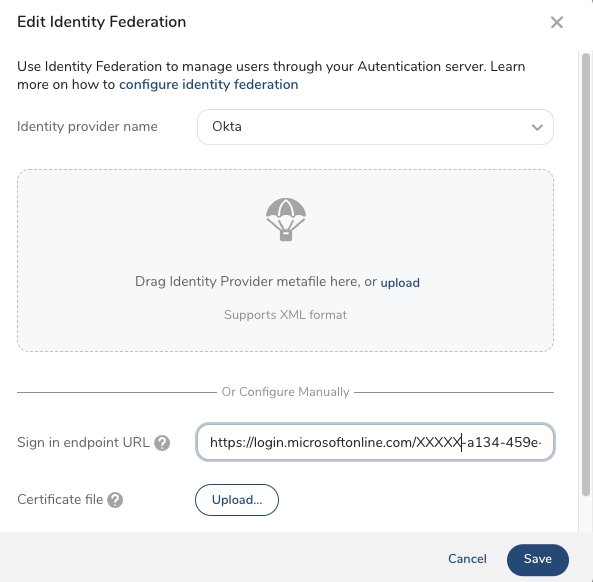
以下のいずれかの方法で Identity Federation を設定できます:
メタデータ XML ファイルをアップロードする
X.509 証明書 .crt ファイル、サインイン URL、サインアウト URL を使用してフィールドを手動で設定する
この情報は、PingOne for Enterprise で接続を設定する際にダウンロードできます。
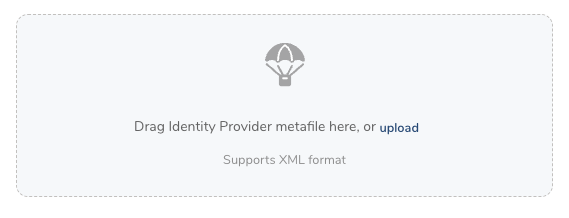
メタファイルをアップロード PingOne からダウンロードした XML メタファイルをドラッグまたは参照します。
手動で設定 以下のフィールドに PingOne の情報を入力します。
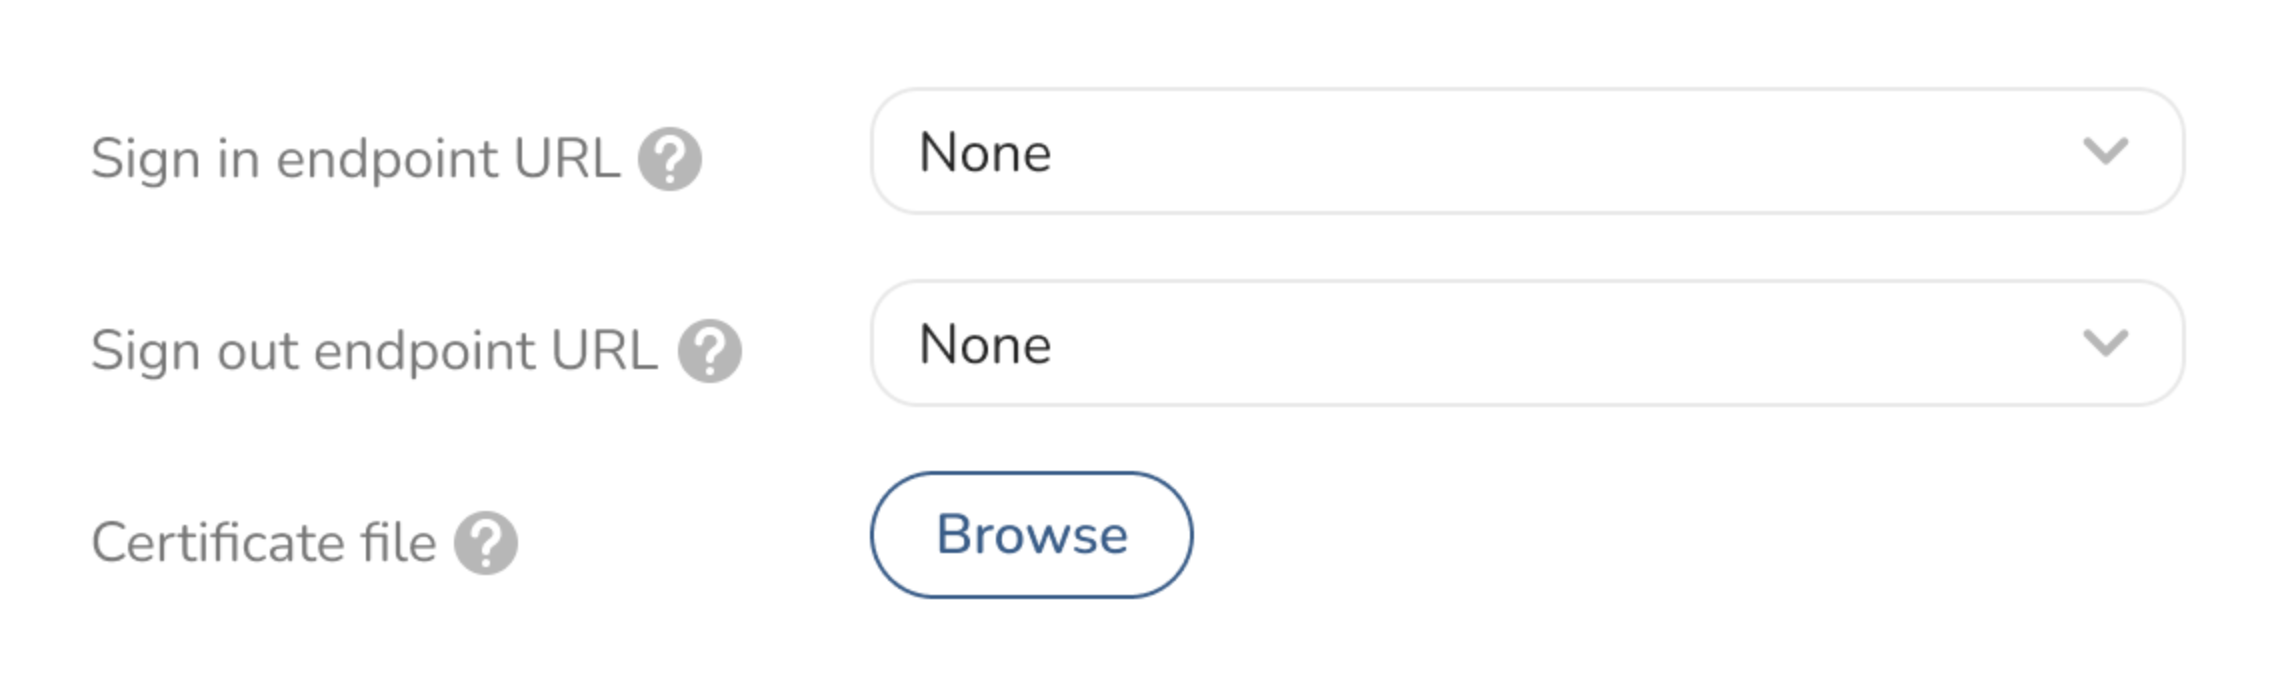
Sign-in Endpoint URL: ユーザーが Treasure Data にサインインするために使用する IdP URL です。IdP から取得します。
Sign-out Endpoint URL: ユーザーが Treasure Data からサインアウトするときの IdP URL です。IdP から取得します。
Certificate File: Privacy Enhanced Mail 証明書ファイルです。IdP から Treasure Data への SAML レスポンスを検証するために、IdP から生成された .pem 証明書をアップロードします。セットアップ時に IdP から取得します。
- Save を選択します。
- Identity Federation の設定が完了したら、Control Panel > Users に移動します。
 2. 右上の Action メニューから Add User を選択します。
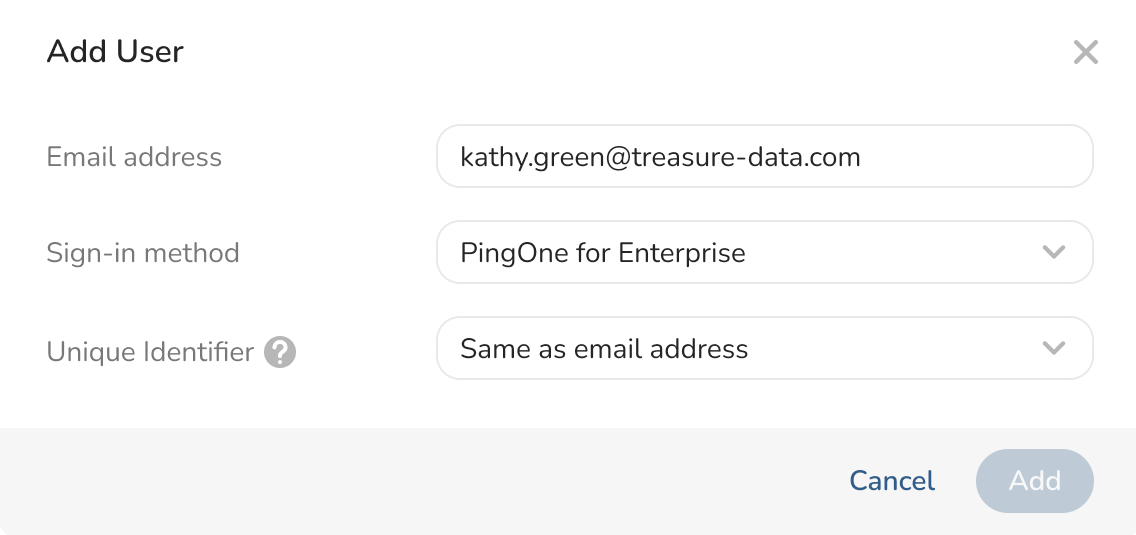
- Add User ダイアログが開きます。ユーザーのメールアドレスを入力します。Sign-in Method ドロップダウンから PingOne for Enterprise を選択します。Unique Identifier として Same as email address を選択します。Add を選択します。
 4. Sign-In Settings ページで、Copy Console Sign-in URL を選択します。
 5. この URL は、登録された TD ユーザーを正しいサインインページに誘導します。
- Identity Federation の設定が完了したら、Control Panel > Users に移動します。
 2. 登録するユーザーを選択します。Personal Info の下にある編集ペンシルを選択します。
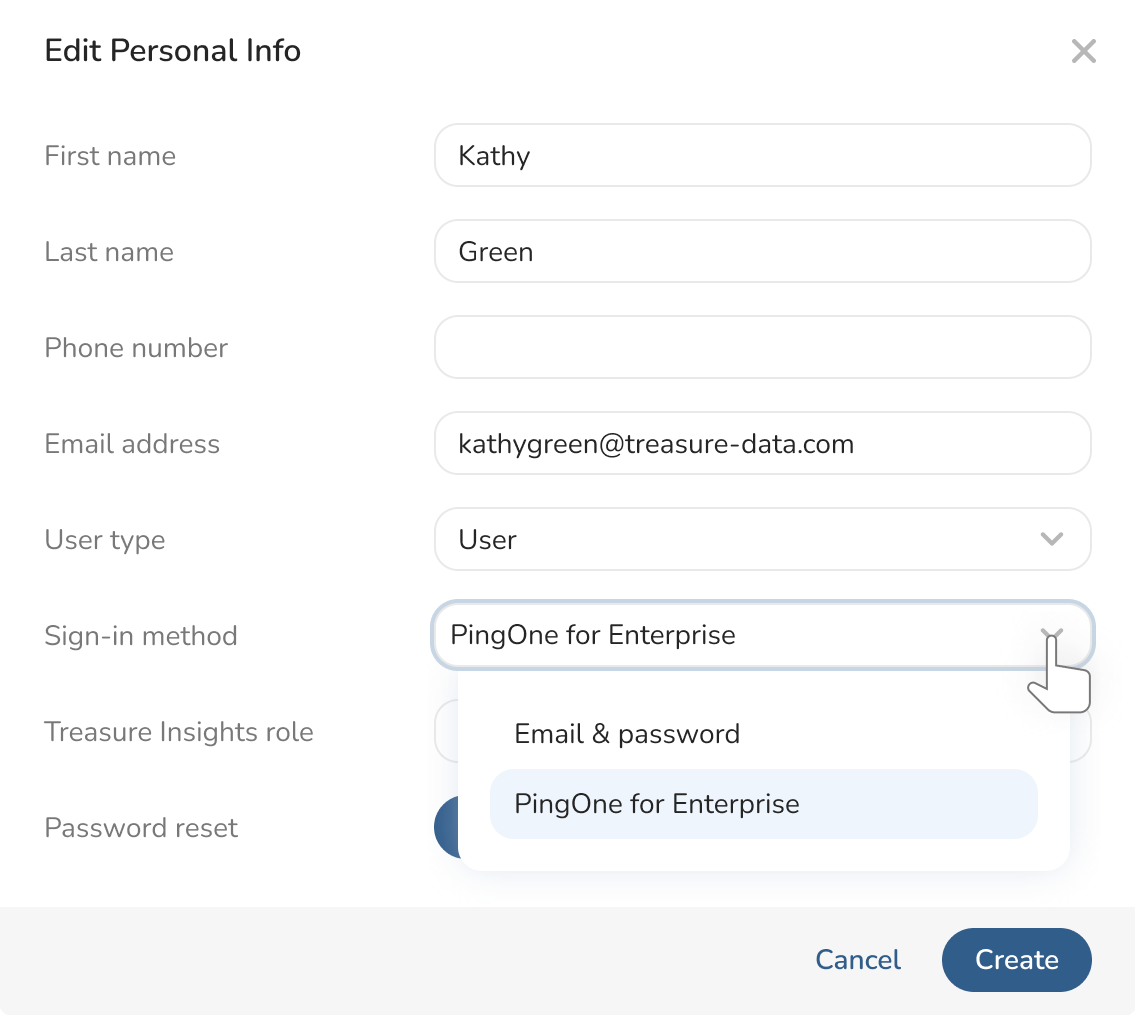
- Edit Personal Info ダイアログが開きます。Sign-in Method で PingOne for Enterprise を選択します。Save を選択します。
 4. Sign-In Settings ページで、Copy Console Sign-in URL を選択します。
 5. この URL は、登録された TD ユーザーを正しいサインインページに誘導します。