You can write job results from Treasure Data directly to Snapchat. Use this data connector to create User Segments, upload data into existing segments, and remove users from a segment. The connector supports follow features:
- Add, replace, or remove users from multiple segments
- Auto-create a new segment if the segment does not exist
- Clear all users from segments
- Auto-detect and hash the user ID (email, phone, or mobile_ad_id) if the value is not hashed
- Specify an option to skip or stop invalid values
- Basic knowledge of Treasure Data, including the TD toolbelt
- A valid Snapchat Ad Account account
- Authorized Treasure Data account access to Snapchat Marketing account
You must create and configure the data connection to be used during export prior to running your query. As part of the data connection, you provide authentication to access the integration.
Go to the Catalog, search and select Snapchat.
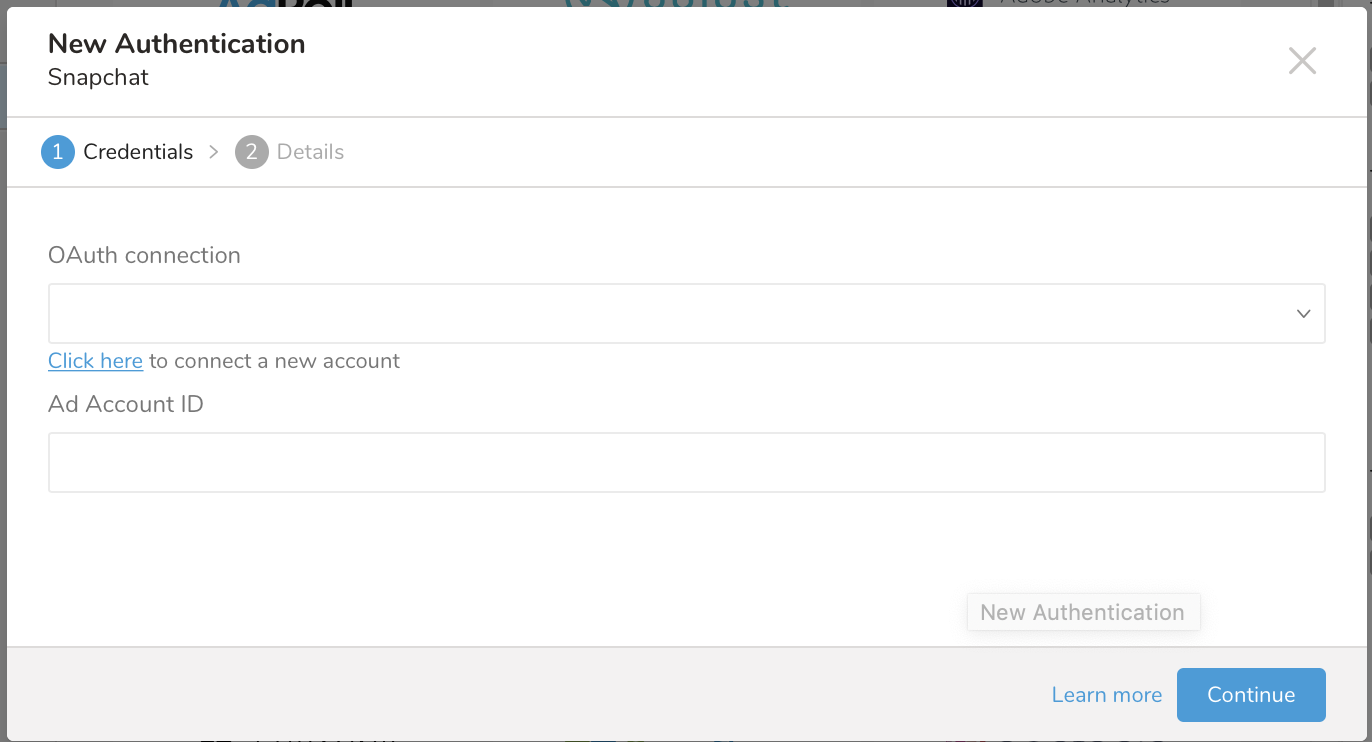
The following dialog opens.
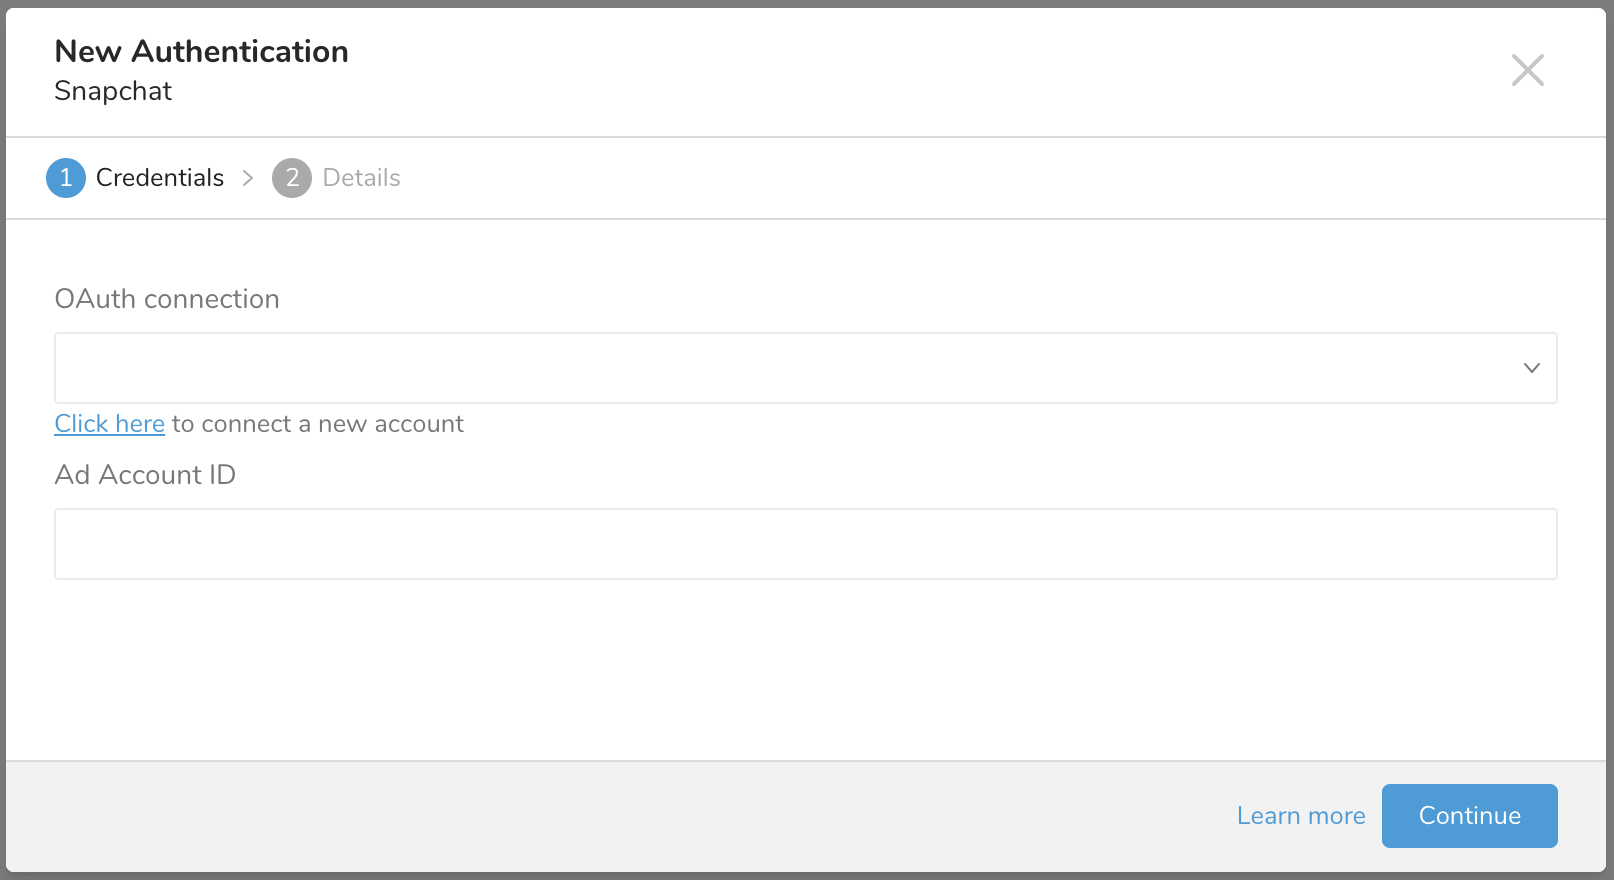
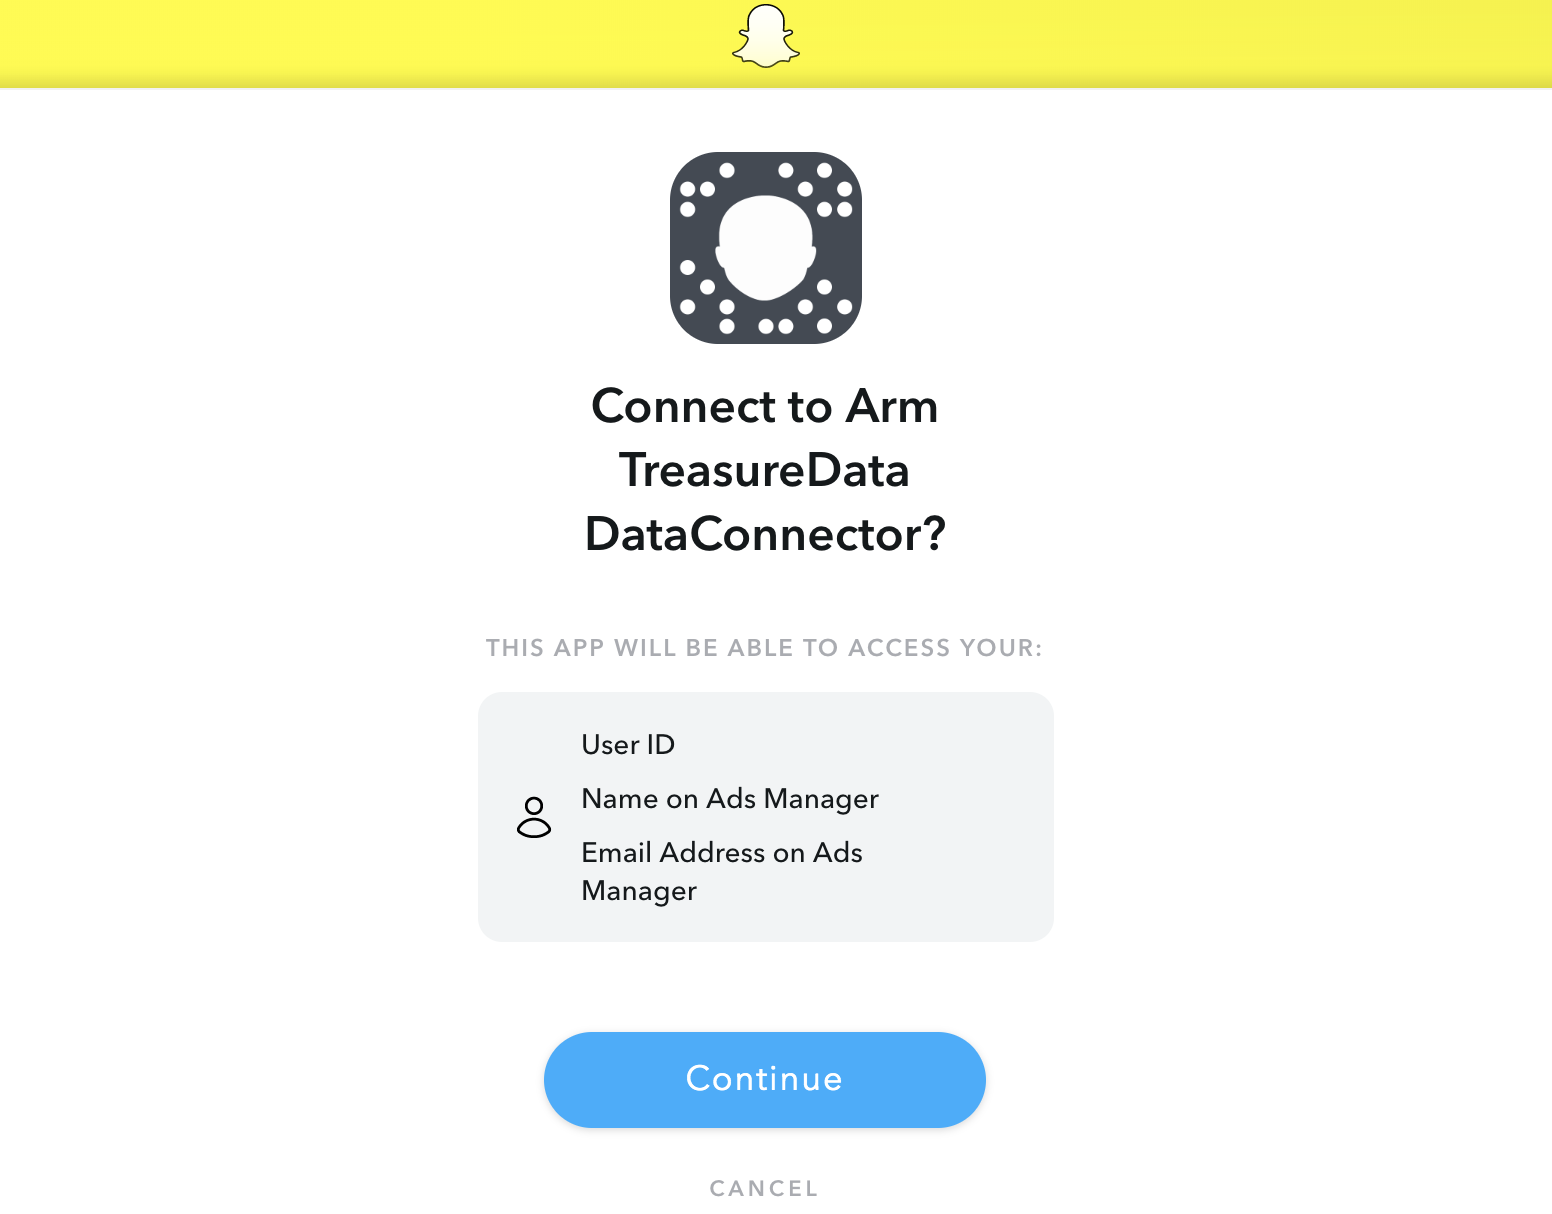
Select Click here to connect to a new account. You are redirected to Snapchat to log in if you haven't yet, or to the consent page to grant access to Treasure Data.
You will be redirected back to TD Console. Repeat the first step (Create a new connection) and choose your new OAuth connection.
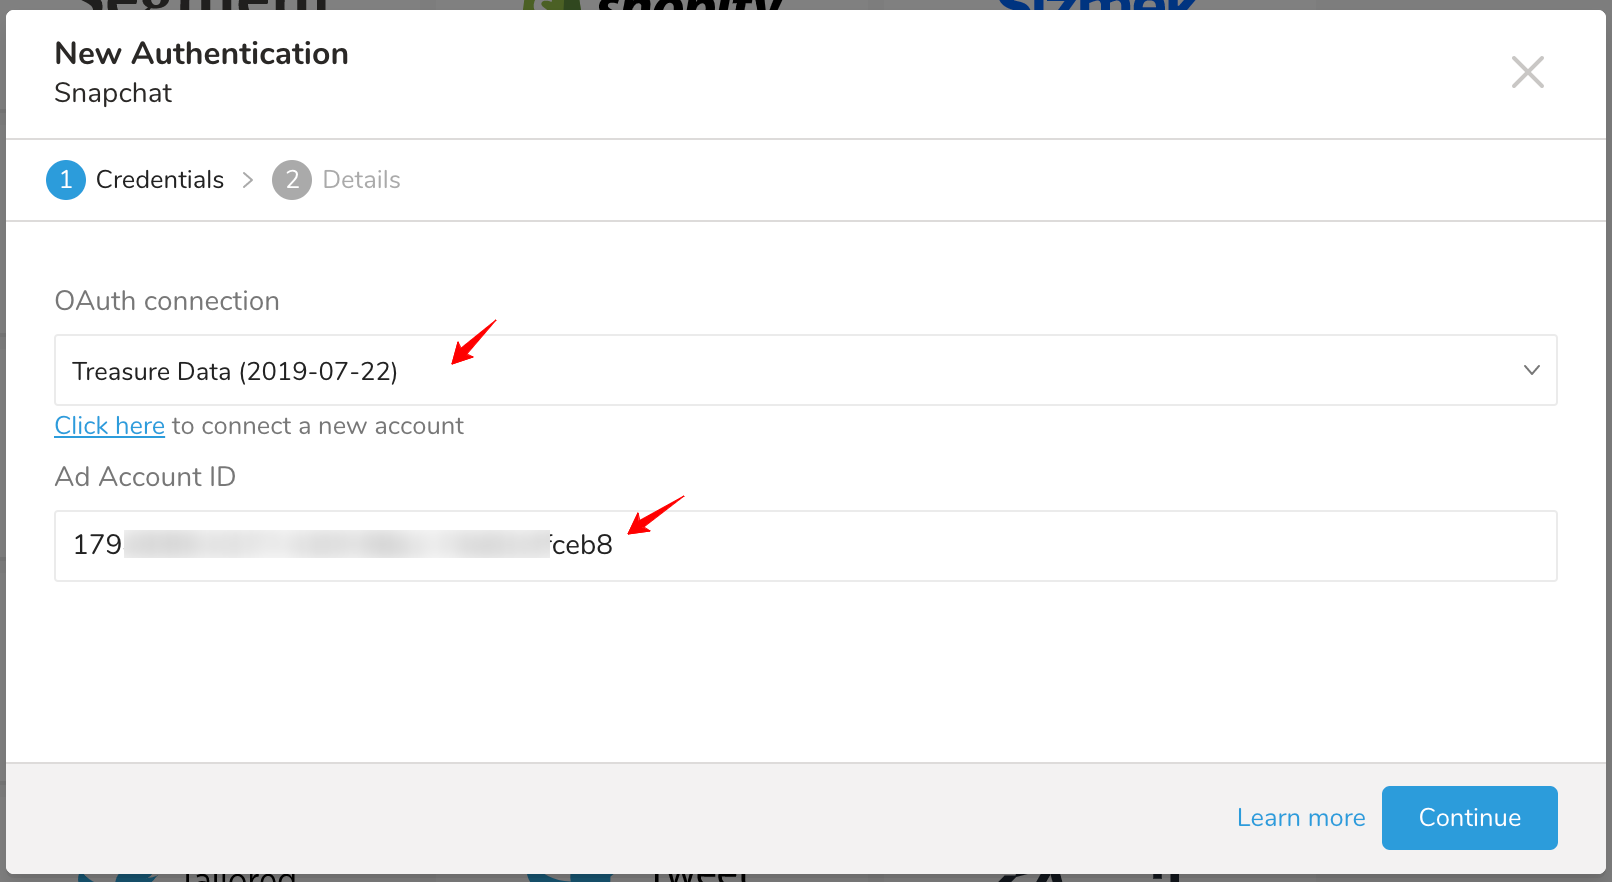
Enter your Ad Account ID. See Appendix: What is my Ad Account ID.
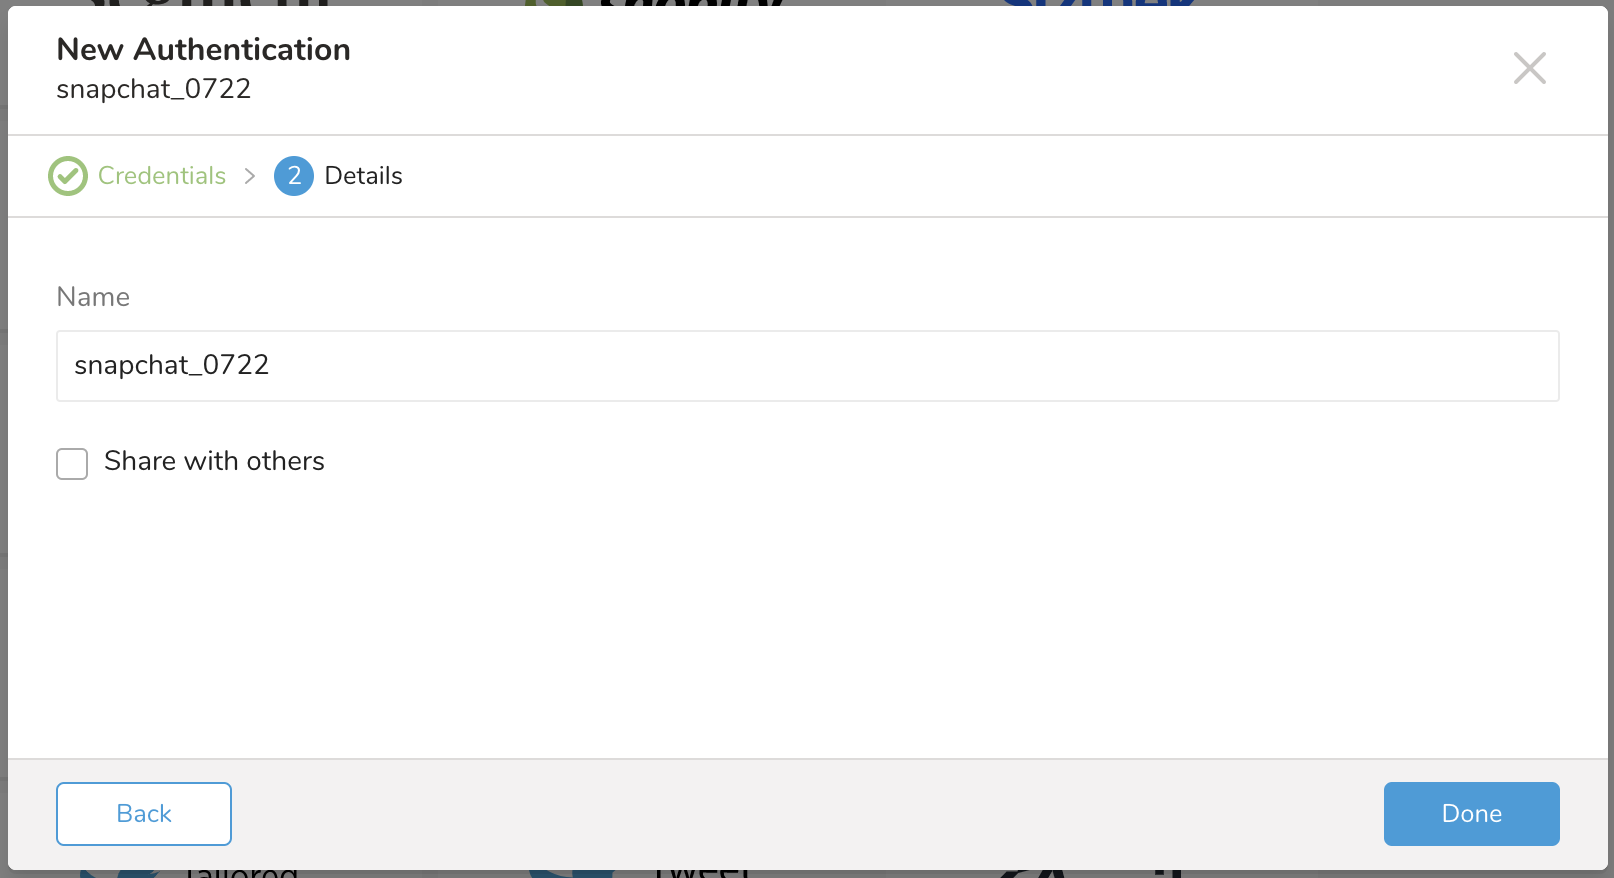
Select Continue and name your new Snapchat connection. Select Done.
In this step, you create or reuse a query and configure the data connection in the query. Sometimes, you need to define the column mapping in the query.
Go to the TD Console. Go to Data Workbench > Queries. Access the query that you plan to use to export data.
Select Export Results, located at the top of your query editor.
The Choose Integration dialog opens. You have two options when selecting a connection to use to export the results:
Use an existing connection Type the connection name in the search box to filter and select your connection.
The dialog opens
Create a new Snapchat Connection. Select New Integration, and select Snapchat from the Type dropdown. You see the following:
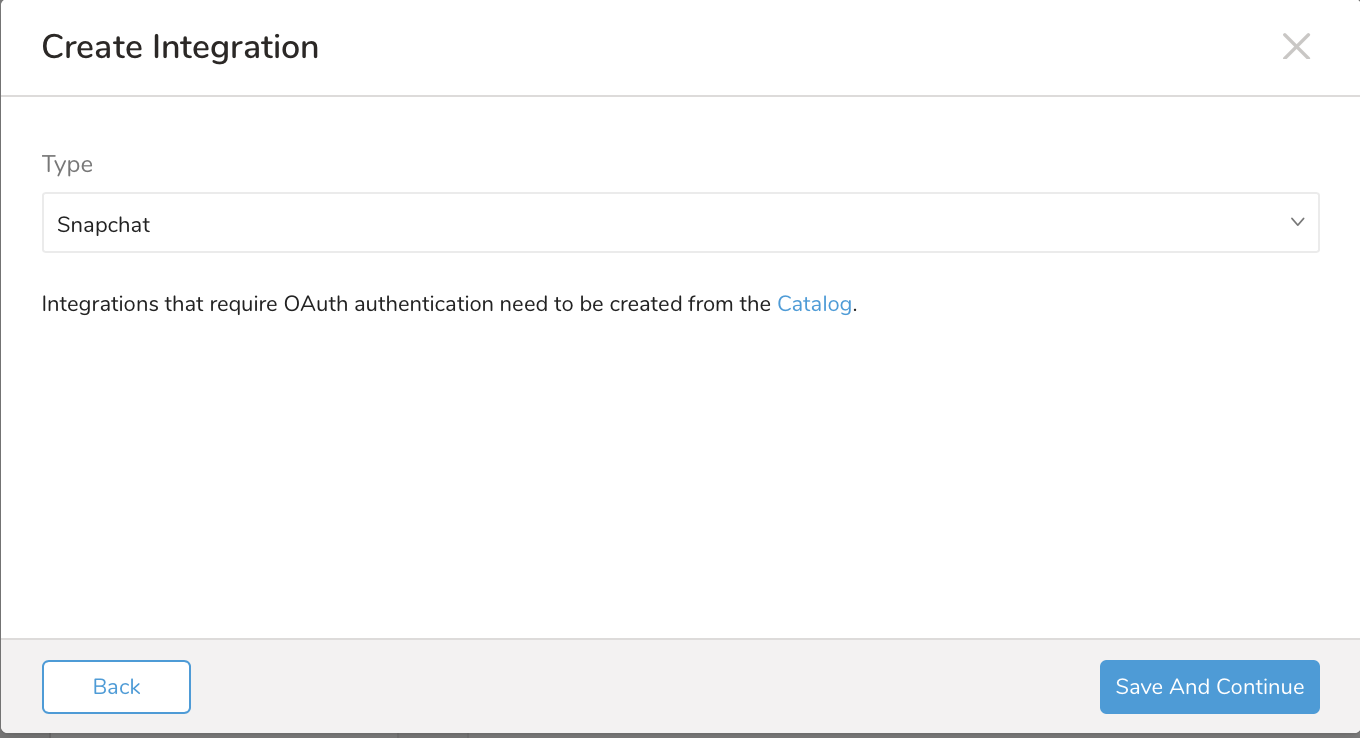
Select Save and Continue. You see:
Complete the steps described in Create a new connection, including the creation of an OAuth connection.
Enter the required credentials for your new SnapChat connection.
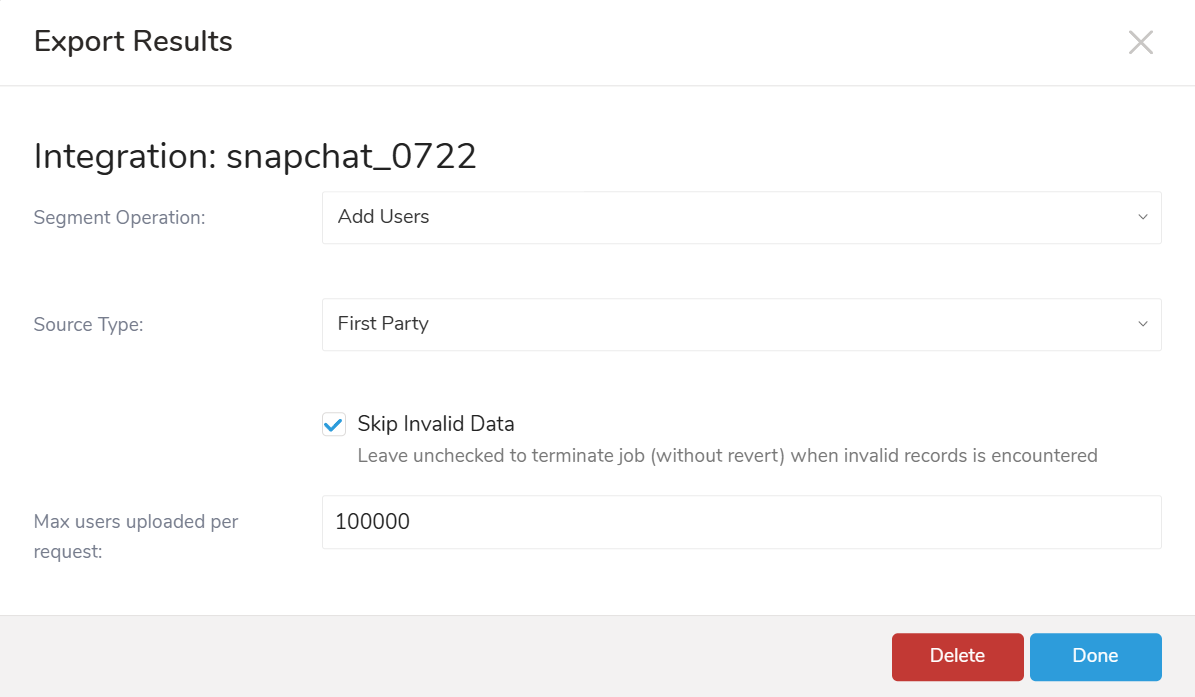
Set the following parameters.
Segment Operation (required): Add Users, Remove Users, Replace Users (remove all users and add new users)
from segments, or Clear Segments Data (remove all users from segments)
Source Type: Export source type. Supported values are
- First Party (Default)
- Pixel
- Mobile
- Foot Traffic Insights
Skip Invalid Data: option to skip invalid rows and segments and to continue importing others. Invalid rows are listed in the job log. If this option is not selected, jobs terminate when an invalid record is encountered, and uploaded data is not reverted.
Max users uploaded per request (required): the maximum number of users uploaded in a single request. The default is 100000. Accepted value from 1-200000. If you specify more than 100000 users per request, you might receive an error message from Snapchat due to the limitation of uploaded users per request. The job splits the upload data into multiple requests based on this parameter. The query requests are processed until finished, and all data is uploaded.
The Snapchat data connector understands and interprets only the following columns and data types. You must modify alias column names to match the following specified columns:
| Column name | Type | Required | Default | Description |
|---|---|---|---|---|
| segment_id | string | optional | if both segment_id and segment_name are specified, the segment_id will be used. | |
| segment_name | string | optional | If the segment_name does not exist in Snapchat.
| |
| segment_description | string | optional | ||
| retention_in_days | integer | optional | 9999 | Set the default as 9999 if 0 or not specified. Accept value from 1 to 9999 |
| id_type | string | required | Must be either
| |
| id_value | string | required | Either SHA256 hashed or raw value of email, phone, mobile_ad_id |
You must include either segment_id or segment_name column in the Query otherwise, your jobs fail.
From Treasure Data, run the following query with export results into a connection for Snapchat:
The following example query uploads all emails to the existing Segments specified by segment_id if Segment Operation is specified as Add Users.
SELECT
 segment_id AS segment_id,
 'email' AS id_type,
 email AS id_value
FROM
 my_table;
The following example query checks for the segment Football fans or creates a new segment with a Retention of 30 days if the Segment Operation is specified as Add Users.
SELECT
 'Football fans' AS segment_name,
 30 AS retention_in_days,
 'phone' AS id_type,
 mobile_phone AS id_value
FROM
my_tableYou can use Scheduled Jobs with Result Export to periodically write the output result to a target destination that you specify.
Treasure Data's scheduler feature supports periodic query execution to achieve high availability.
When two specifications provide conflicting schedule specifications, the specification requesting to execute more often is followed while the other schedule specification is ignored.
For example, if the cron schedule is '0 0 1 * 1', then the 'day of month' specification and 'day of week' are discordant because the former specification requires it to run every first day of each month at midnight (00:00), while the latter specification requires it to run every Monday at midnight (00:00). The latter specification is followed.
Navigate to Data Workbench > Queries
Create a new query or select an existing query.
Next to Schedule, select None.

In the drop-down, select one of the following schedule options:
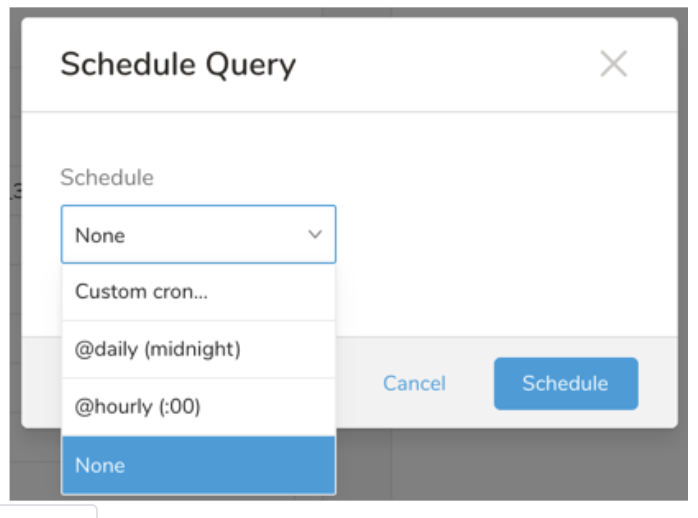
Drop-down Value Description Custom cron... Review Custom cron... details. @daily (midnight) Run once a day at midnight (00:00 am) in the specified time zone. @hourly (:00) Run every hour at 00 minutes. None No schedule.
| Cron Value | Description |
|---|---|
0 * * * * | Run once an hour. |
0 0 * * * | Run once a day at midnight. |
0 0 1 * * | Run once a month at midnight on the morning of the first day of the month. |
| "" | Create a job that has no scheduled run time. |
 *    *    *    *    *
 -    -    -    -    -
 |    |    |    |    |
 |    |    |    |    +----- day of week (0 - 6) (Sunday=0)
 |    |    |    +---------- month (1 - 12)
 |    |    +--------------- day of month (1 - 31)
 |    +-------------------- hour (0 - 23)
 +------------------------- min (0 - 59)
The following named entries can be used:
- Day of Week: sun, mon, tue, wed, thu, fri, sat.
- Month: jan, feb, mar, apr, may, jun, jul, aug, sep, oct, nov, dec.
A single space is required between each field. The values for each field can be composed of:
| Field Value | Example | Example Description |
|---|---|---|
| A single value, within the limits displayed above for each field. | ||
A wildcard '*' to indicate no restriction based on the field. | '0 0 1 * *' | Configures the schedule to run at midnight (00:00) on the first day of each month. |
A range '2-5', indicating the range of accepted values for the field. | '0 0 1-10 * *' | Configures the schedule to run at midnight (00:00) on the first 10 days of each month. |
A list of comma-separated values '2,3,4,5', indicating the list of accepted values for the field. | 0 0 1,11,21 * *' | Configures the schedule to run at midnight (00:00) every 1st, 11th, and 21st day of each month. |
A periodicity indicator '*/5' to express how often based on the field's valid range of values a schedule is allowed to run. | '30 */2 1 * *' | Configures the schedule to run on the 1st of every month, every 2 hours starting at 00:30. '0 0 */5 * *' configures the schedule to run at midnight (00:00) every 5 days starting on the 5th of each month. |
A comma-separated list of any of the above except the '*' wildcard is also supported '2,*/5,8-10'. | '0 0 5,*/10,25 * *' | Configures the schedule to run at midnight (00:00) every 5th, 10th, 20th, and 25th day of each month. |
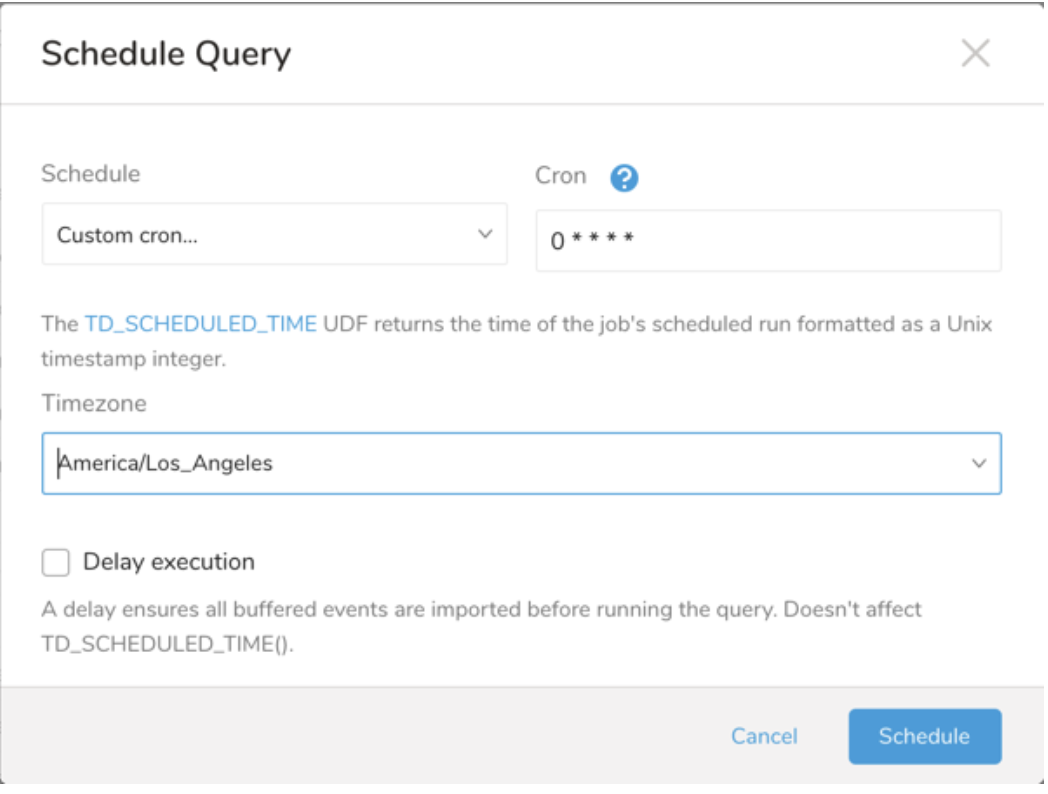
- (Optional) You can delay the start time of a query by enabling the Delay execution.
Save the query with a name and run, or just run the query. Upon successful completion of the query, the query result is automatically exported to the specified destination.
Scheduled jobs that continuously fail due to configuration errors may be disabled on the system side after several notifications.
(Optional) You can delay the start time of a query by enabling the Delay execution.
You can also send segment data to the target platform by creating an activation in the Audience Studio.
- Navigate to Audience Studio.
- Select a parent segment.
- Open the target segment, right-mouse click, and then select Create Activation.
- In the Details panel, enter an Activation name and configure the activation according to the previous section on Configuration Parameters.
- Customize the activation output in the Output Mapping panel.
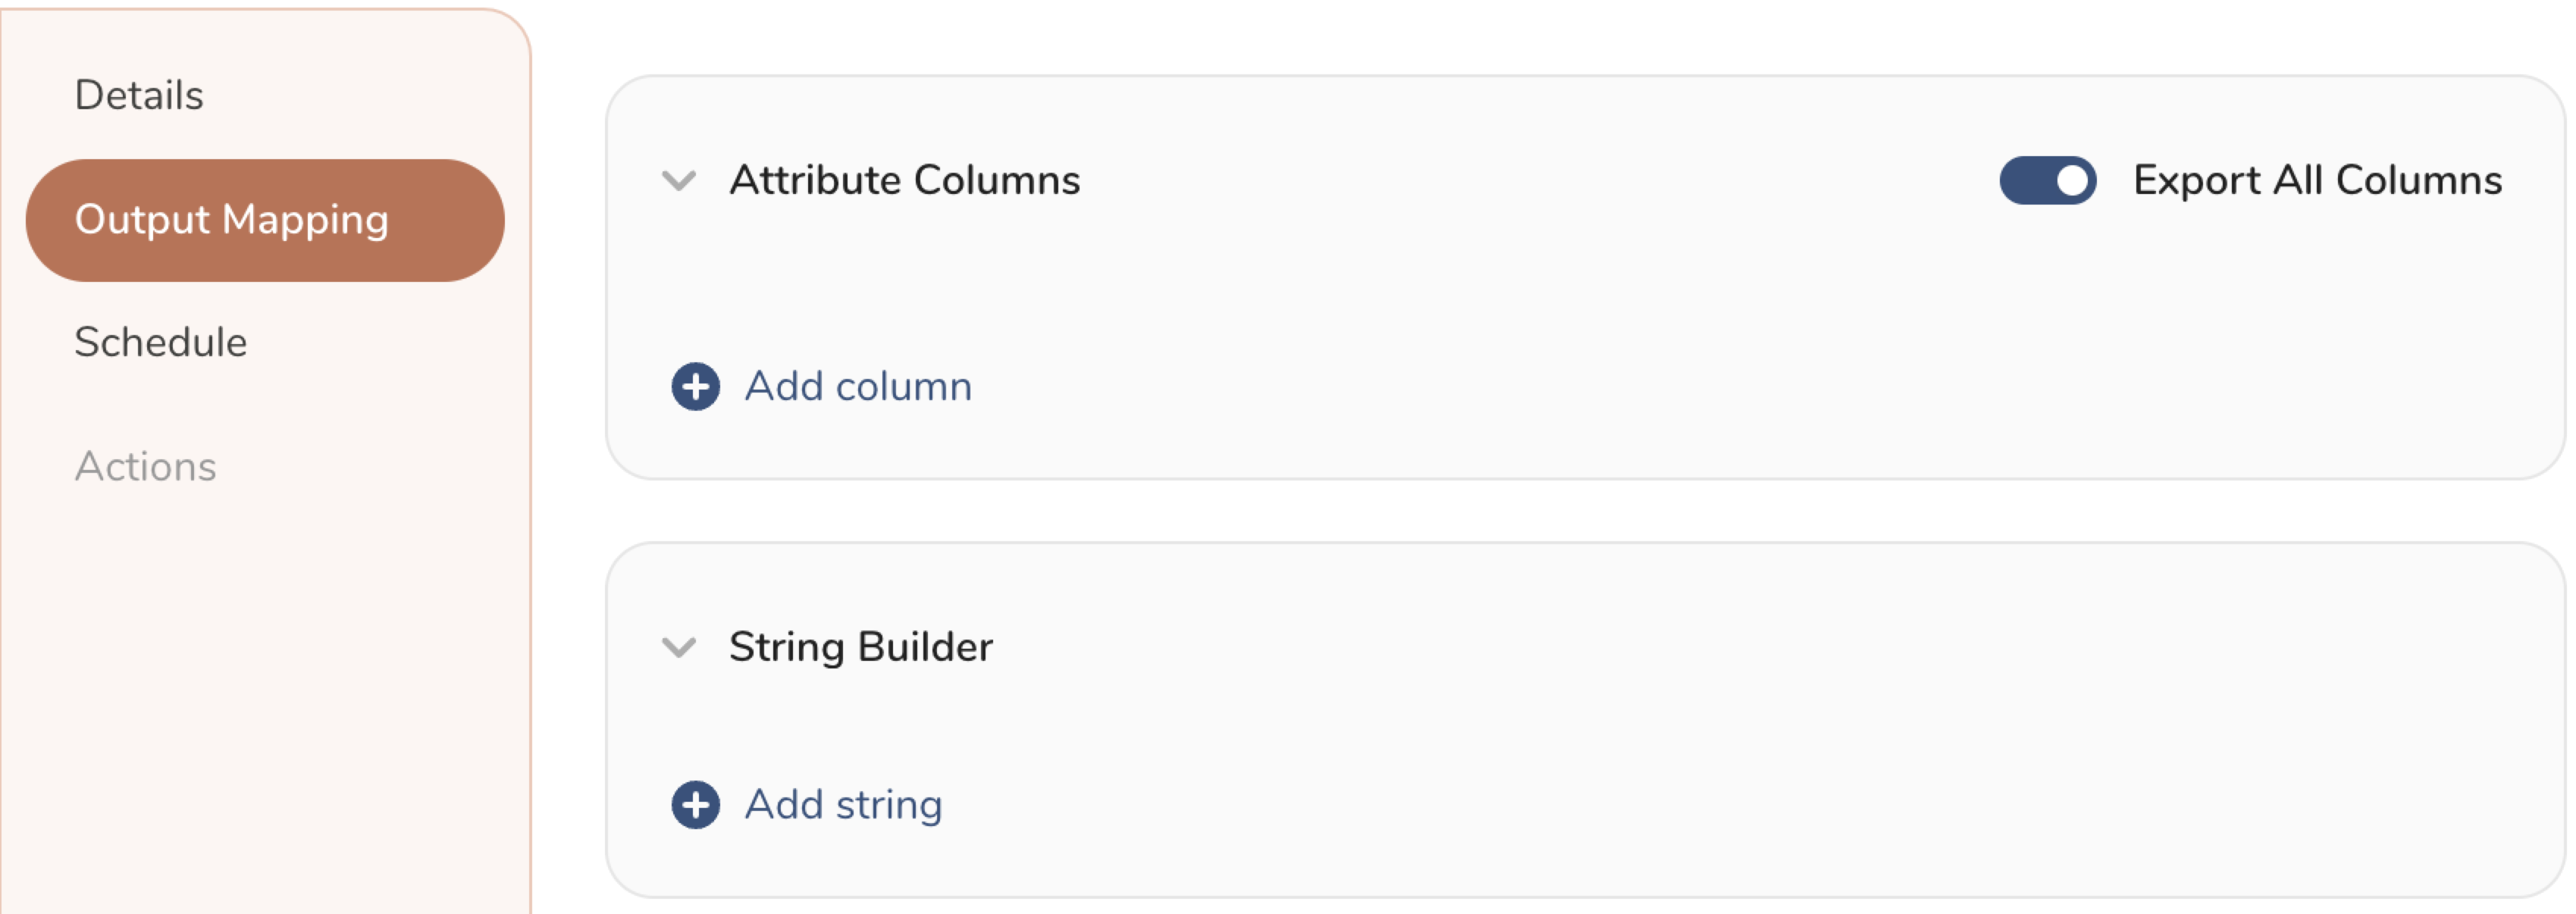
- Attribute Columns
- Select Export All Columns to export all columns without making any changes.
- Select + Add Columns to add specific columns for the export. The Output Column Name pre-populates with the same Source column name. You can update the Output Column Name. Continue to select + Add Columnsto add new columns for your activation output.
- String Builder
- + Add string to create strings for export. Select from the following values:
- String: Choose any value; use text to create a custom value.
- Timestamp: The date and time of the export.
- Segment Id: The segment ID number.
- Segment Name: The segment name.
- Audience Id: The parent segment number.
- + Add string to create strings for export. Select from the following values:
- Set a Schedule.
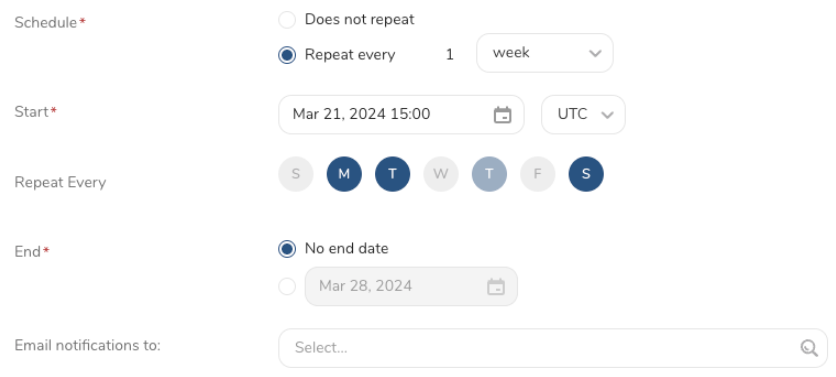
- Select the values to define your schedule and optionally include email notifications.
- Select Create.
If you need to create an activation for a batch journey, review Creating a Batch Journey Activation.
- Snapchat takes up to 72 hours to process and match your uploaded users with its database. When the process is finished, the audience number is updated, and the status is set to Ready.
- After sending requests to remove users from the Audience list, Snapchat may show temporarily uploaded users. You must wait until Snapchat finishes the process of matching and removing. The process can take up to 72 hours. The process is complete when you see the status set to Ready.
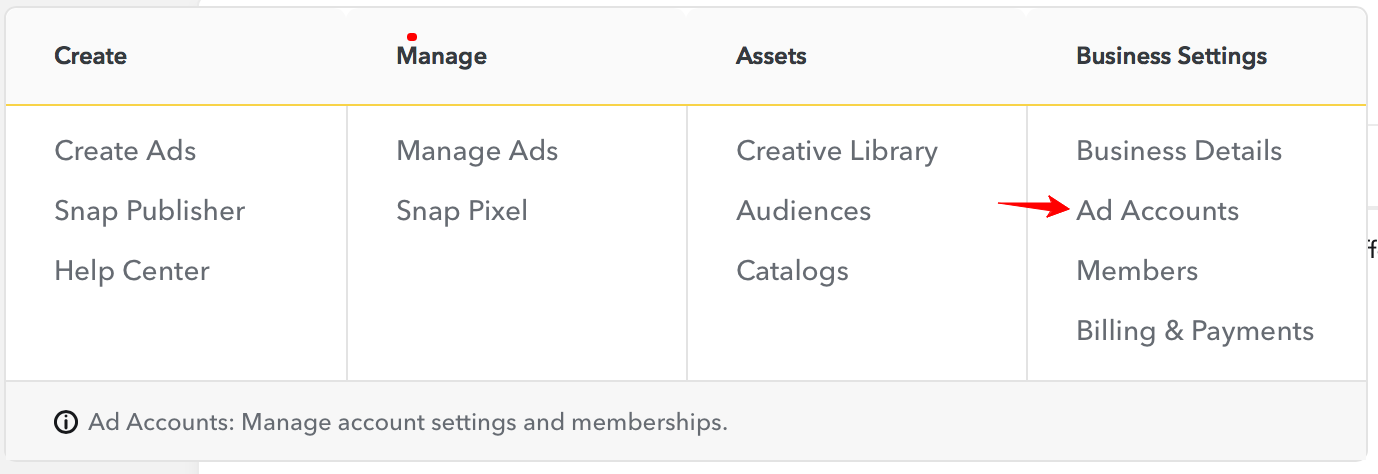
To find your Ad Account ID, log in to your Business account, and navigate to the Ad Account as shown in the following image. From there, you can see your Ad Account ID.
When working with Segments, you need either a Segment name or Segment ID. Here's how to find the Segment ID from your browser:
- Log into your Snapchat Ad Account
- Go to the Audiences section.
- Select an existing Segment
- The Segment ID is on the address bar of your browser as follows:
