- Download the sample project from the following URL
- Extract the downloaded project. For example from the command line you could run:
tar xzvf sftp_pull_push.tar.gz- Navigate to the newly created workflow project directory. For example:
cd sftp_pull_pushUpload the imports/sample_data.csv file to your SFTP server. This file contains 22 records of sample data which we will use to query later.
- Modify the pull_push.dig file and update result_url by replacing values in <...> with the settings of your SFTP server for the export.
_export:
  td:
    database: workflow_temp

+import_from_sftp:
  td_load>: imports/sftp_load.yml
  table: pull_push_tutorial

+export_to_sftp:
  td>: queries/count_rows.sql
  result_url:
    {
      "type":"sftp",
      "host":"<host>",
      "port":<port>,
      "auth_method":"Password",
      "username":"<username>",
      "password":"<password>",
      "user_directory_is_root":true,
      "path_prefix":"export_example.csv",
      "formatter":{"type":"csv"}
}- Modify the sftp_load.yml file with your SFTP connection details for the import.
in:
  type: sftp
  host: <host>
  port: <port>
  user: <username>
password: <password>To run any data connector job in Treasure Data, you must have the database and table you’re loading data into created.
Open the TD Console.
Navigate to Data Workbench > Databases.
If workflow_temp doesn't exist, create a New Database and name it workflow_temp.
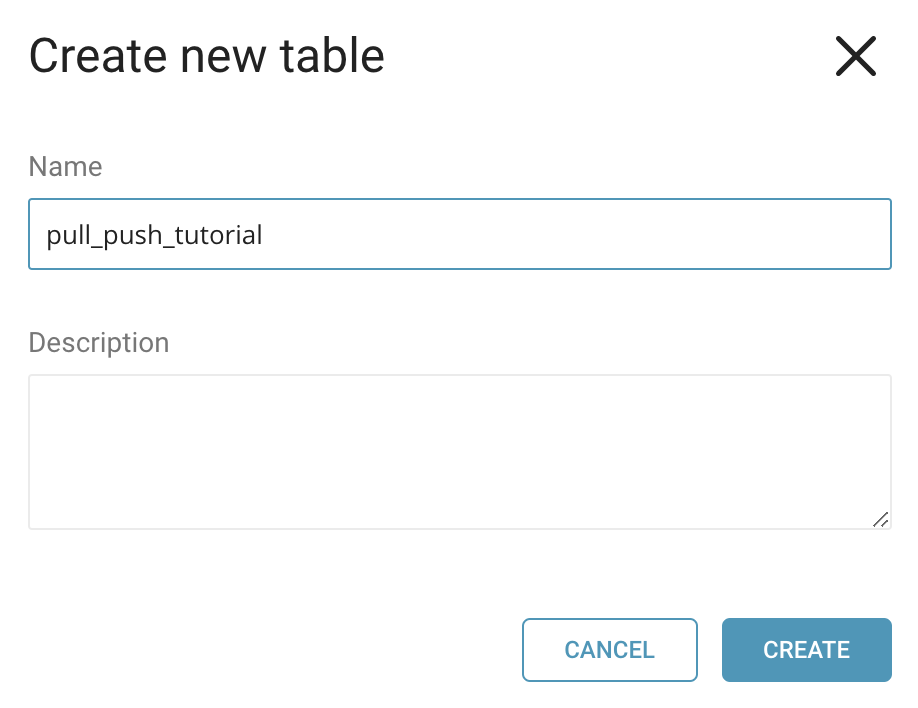
Create a new table and name it push_pull_tutorial.
Alternatively, you can use the following command from where you have the TD Toolbelt installed:
td table:create workflow_temp pull_push_tutorialFrom the TD Console, navigate to Data Workbench > Workflows.
Add a new workflow and name it workflow_sftp_pull_push.
Select a blank template.
In the workflow definition, copy and paste the example files you modified above.
Save and commit the workflow.
Alternatively, to upload the queries and workflow files into Treasure Data:
From the machine where TD Toolbelt is installed.
Open a command window.
Navigate to the sftp_pull_push directory.
Type the following:
td wf push sftp_pull_pushThe necessary files for the workflow are now registered and viewable from within the TD Console. In this example, the project name is sftp_pull_push and the workflow name is pull_push.
From Data Workbench > Workflows > pull_push.
Select New Run.
Review the Run History to watch the execution steps of the workflow.
Alternatively, run the following command to execute the workflow already submitted to Treasure Data:
td wf start sftp_pull_push pull_push --session nowIf the run was successful, you will see a file called export_example.csv in your SFTP server with the results of the query.