# Use the Profiles API With Google DFP Doubleclick for Publishers
You can integrate Treasure Data’s Profiles API Token with Google DFP (DoubleClick for Publishers). This integration allows advertisers to put ads on the segments you have defined in Treasure Data.
* [Prerequisites](/products/customer-data-platform/audience-studio/profiles/use-the-profiles-api-with-google-dfp-doubleclick-for-publishers#prerequisites)
* [Create the Profiles API Token](/products/customer-data-platform/audience-studio/profiles/use-the-profiles-api-with-google-dfp-doubleclick-for-publishers#create-the-profiles-api-token)
* [Name Your New Token](/products/customer-data-platform/audience-studio/profiles/use-the-profiles-api-with-google-dfp-doubleclick-for-publishers#name-your-new-token)
* [Configure the Token](/products/customer-data-platform/audience-studio/profiles/use-the-profiles-api-with-google-dfp-doubleclick-for-publishers#configure-the-token)
* [Add Segments to the Token](/products/customer-data-platform/audience-studio/profiles/use-the-profiles-api-with-google-dfp-doubleclick-for-publishers#add-segments-to-the-token)
* [Integrating the Profiles API Token with Google DFP](/products/customer-data-platform/audience-studio/profiles/use-the-profiles-api-with-google-dfp-doubleclick-for-publishers#integrating-the-profiles-api-token-with-google-dfp)
* [Configure Google DFP for use with the Profiles API Token](/products/customer-data-platform/audience-studio/profiles/use-the-profiles-api-with-google-dfp-doubleclick-for-publishers#configure-google-dfp-for-use-with-the-profiles-api-token)
* [Create JavaScript DFP and Treasure Data Tags](/products/customer-data-platform/audience-studio/profiles/use-the-profiles-api-with-google-dfp-doubleclick-for-publishers#create-javascript-dfp-and-treasure-data-tags)
# Prerequisites
* Basic knowledge of JavaScript and HTML
* Basic knowledge of Treasure Data
* Basic knowledge of Treasure Data JavaScript SDK
* Basic knowledge of Treasure Data Profiles API Token
* Basic knowledge of Google DFP (DoubleClick for Publishers)
# Create the Profiles API Token
## Name Your New Token
1. Open TD Console.
2. Navigate to Audience Studio and select a segment.
3. Select a folder.
4. Select Create New.
5. Select Profiles API Token.
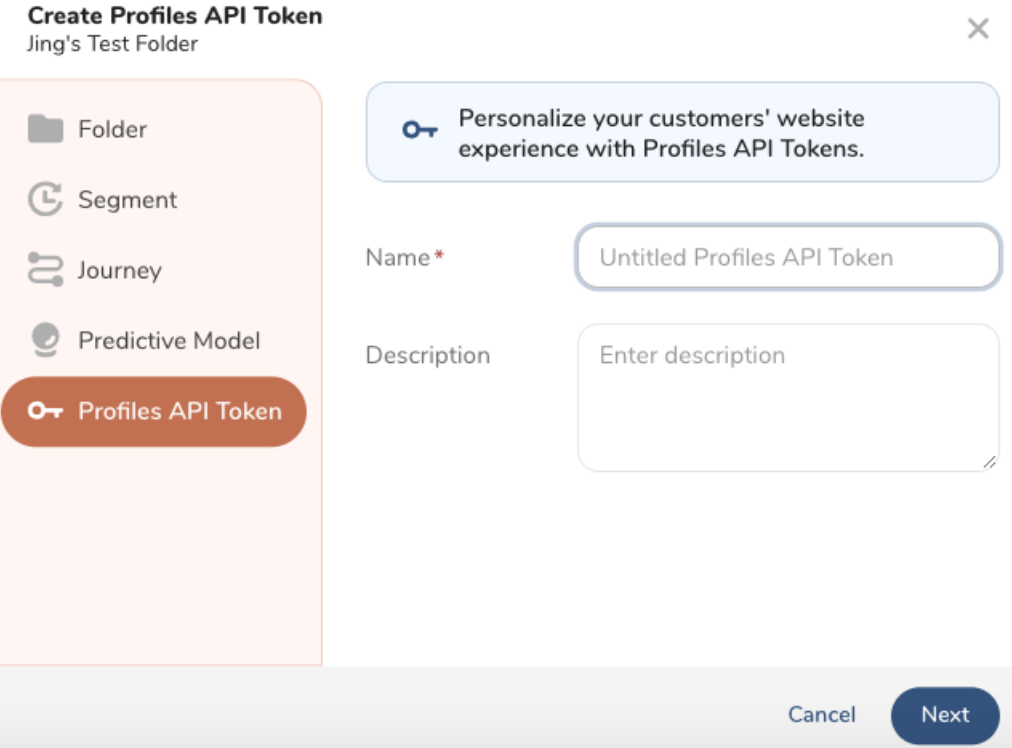
1. Enter a name for your token and optionally enter a description. Select Next.
## Configure the Token
The name and description carry over from when you named the token. You can make changes.
1. Enter a **Lookup Key**.
A Lookup Key is a column with a unique value inside the Parent Segment. This lookup key identifies the correct profile.

**Note:** The lookup key update will take effect once the token workflow finishes.
When using `td_global_id` as the lookup key, the Profiles API retrieves the lookup value from the browser cookie instead of the API request's query param. For testing or verification purposes outside of a browser (eg, Postman), use a different column to pass in the lookup value manually.
1. (Optional) Enter a maximum of five Attributes.
Profile attributes can be returned from the profile token when queried
2. Choose one of the following:
* Select Next to continue and add Segments.
* Select Create to configure the token. (You can add segments later if you want.)
## Add Segments to the Token
1. Choose one of the following:
* After you configure your token, select **Next**.
* Navigate to Audience Studio > Folder > Profiles API Token.
1. Add Segments to your Profiles API Token.
2. Select **Save**.
# Integrating the Profiles API Token with Google DFP
Complete the steps in the following sections to integrate the Profiles API Token with Google DFP:
* [Prerequisites](/products/customer-data-platform/audience-studio/profiles/use-the-profiles-api-with-google-dfp-doubleclick-for-publishers#h1_1644201065)
* [Create the Profiles API Token](/products/customer-data-platform/audience-studio/profiles/use-the-profiles-api-with-google-dfp-doubleclick-for-publishers#h1__441927612)
* [Name Your New Token](/products/customer-data-platform/audience-studio/profiles/use-the-profiles-api-with-google-dfp-doubleclick-for-publishers#UsetheProfilesAPIwithGoogleDFPDoubleClickforPublishers-NameYourNewToken)
* [Configure the Token](/products/customer-data-platform/audience-studio/profiles/use-the-profiles-api-with-google-dfp-doubleclick-for-publishers#UsetheProfilesAPIwithGoogleDFPDoubleClickforPublishers-ConfiguretheToken)
* [Add Segments to the Token](/products/customer-data-platform/audience-studio/profiles/use-the-profiles-api-with-google-dfp-doubleclick-for-publishers#UsetheProfilesAPIwithGoogleDFPDoubleClickforPublishers-AddSegmentstotheToken)
* [Integrating the Profiles API Token with Google DFP](/products/customer-data-platform/audience-studio/profiles/use-the-profiles-api-with-google-dfp-doubleclick-for-publishers#h1__115221623)
* [Configure Google DFP for use with the Profiles API Token](/products/customer-data-platform/audience-studio/profiles/use-the-profiles-api-with-google-dfp-doubleclick-for-publishers#h2__631907321)
* [Create JavaScript DFP and Treasure Data Tags](/products/customer-data-platform/audience-studio/profiles/use-the-profiles-api-with-google-dfp-doubleclick-for-publishers#h2_1416520366)
## Configure Google DFP for use with the Profiles API Token
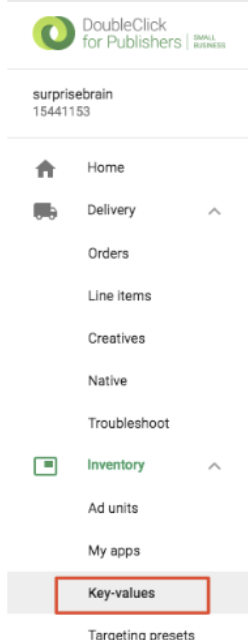
1. In your web browser, navigate to Google DFP.
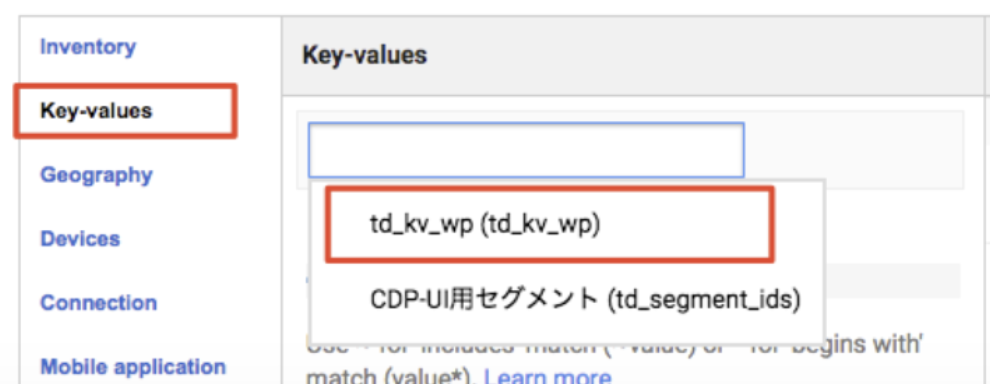
2. Navigate to **Inventory** >**Key-values**.
1. Select New Key.
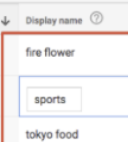
2. Complete the Name and Display name fields.
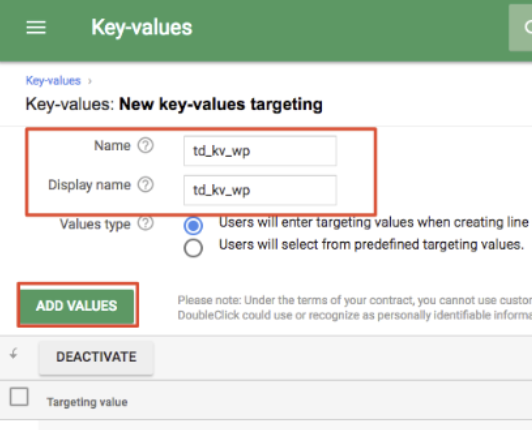
1. Select Add Values.
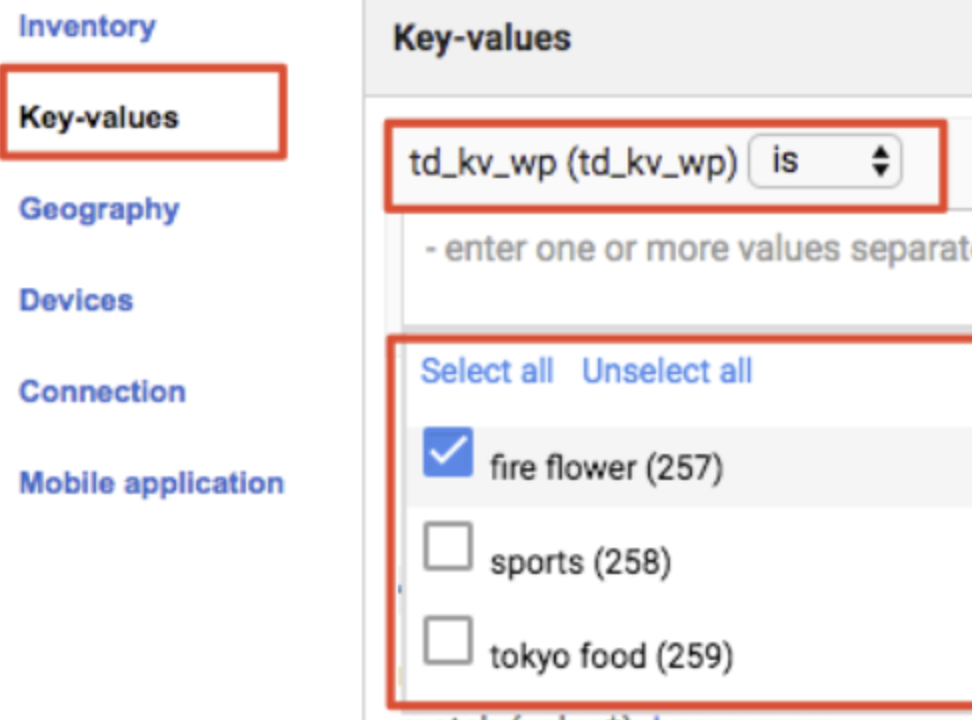
2. List all Treasure Data segment IDs, line-by-line. For example, 257, 258, 259.
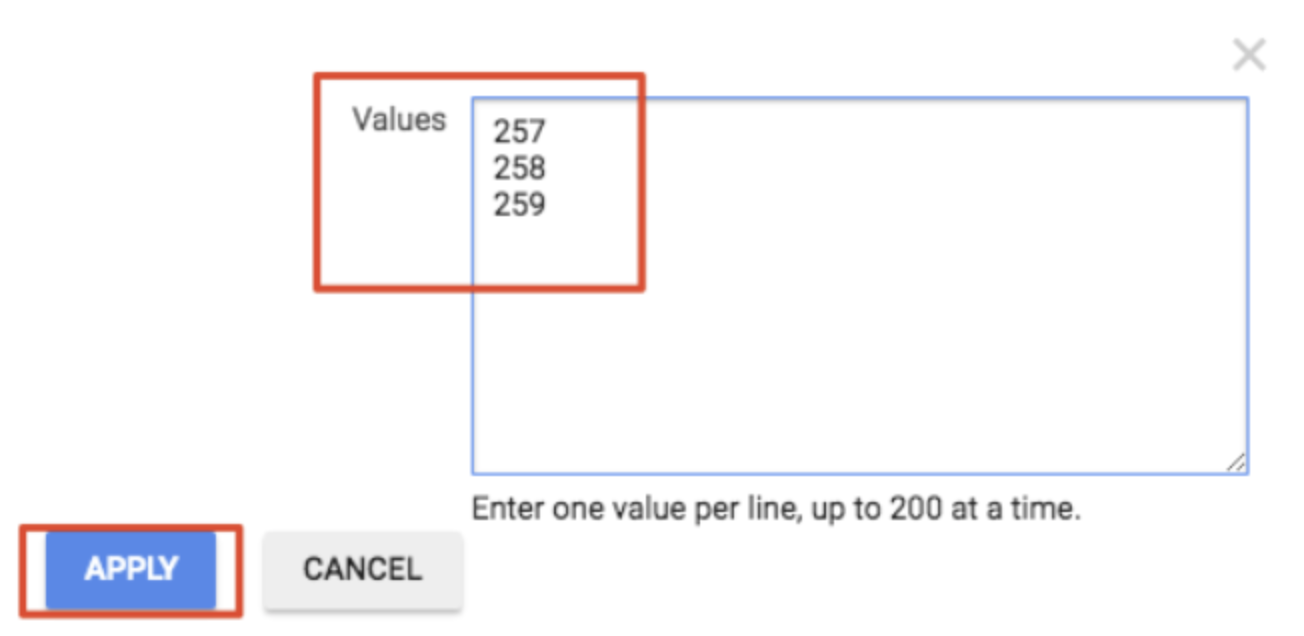
1. Select Apply.
2. Optionally, add Display name to specific segment IDs.
1. Select **Inventory** > **Ad units**.
2. Select Ad Unit.
3. Complete the Code and Name fields.
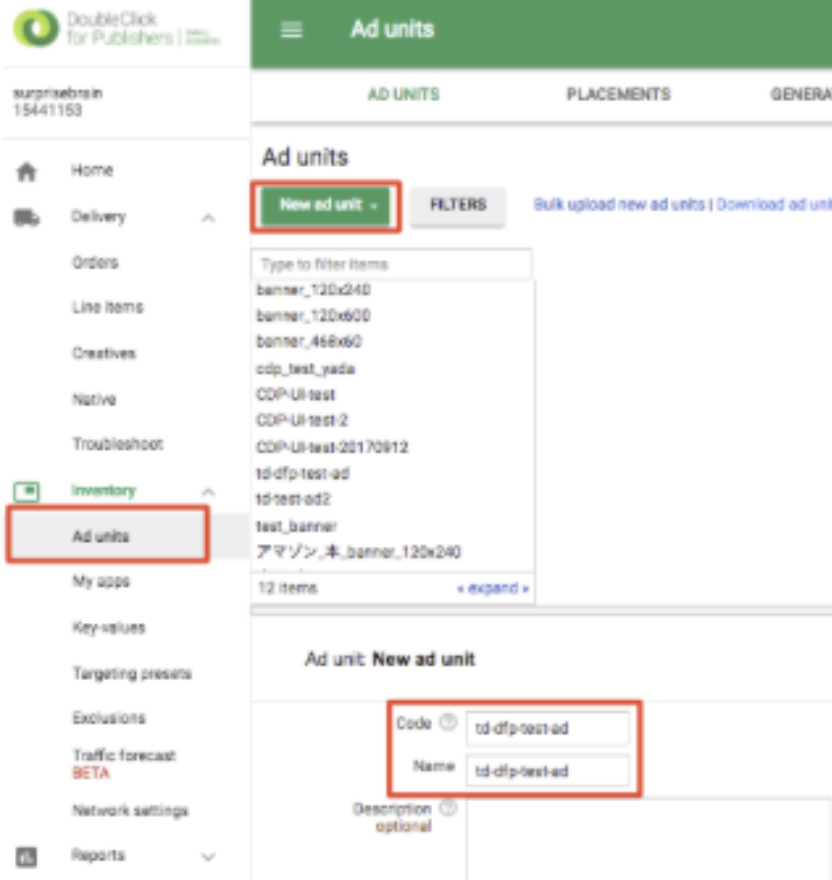
1. Select Save.
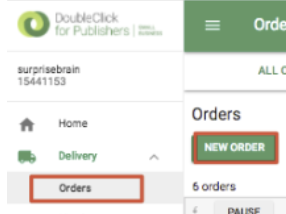
2. Select Delivery > Orders.
3. Select New Order to create a new order.
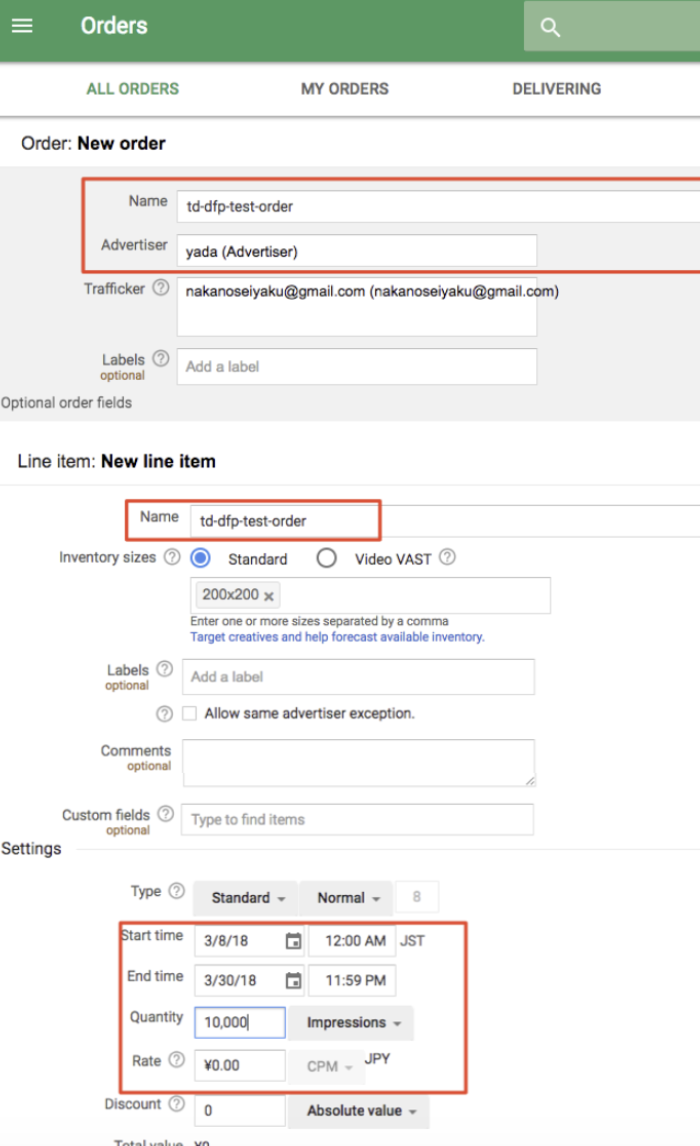
1. Edit the fields. For example, Name, Advertiser, Start time, End time, Quantity, and Rate.
1. Scroll down to locate the Key-values section.
2. Specify the Key-value that you created. For example, td_kv_wp.
1. Select the list of Segment IDS that you created. For example:
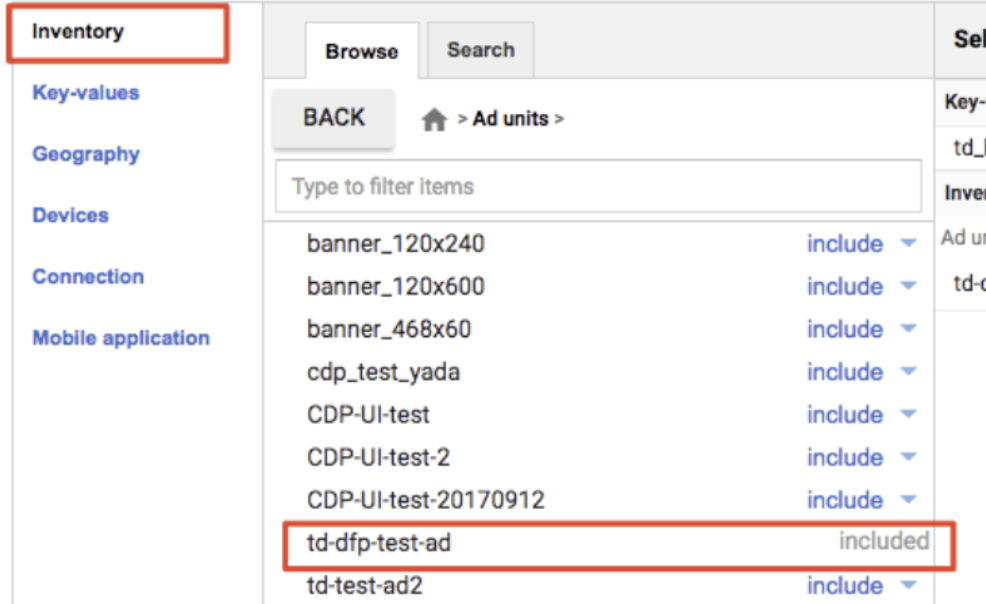
1. Select Inventory.
2. Select the advertisement unit that you created. For example, td-dfp-test-ad. An order object is created. For example:
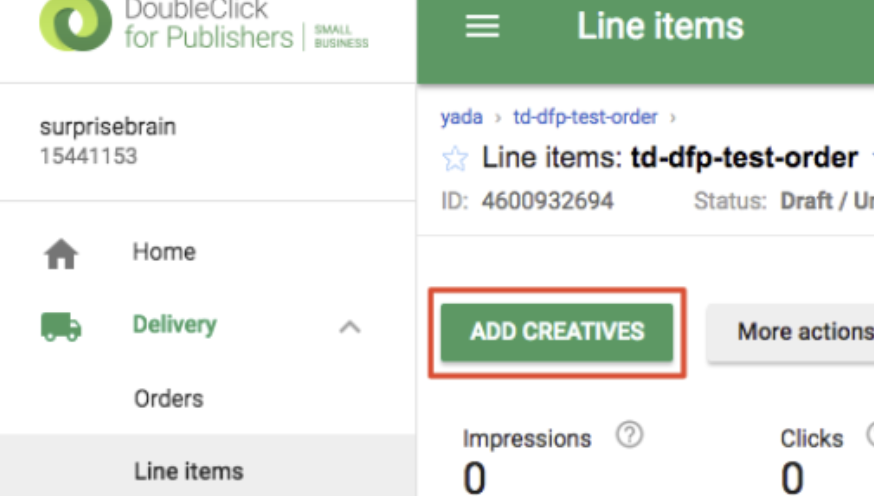
1. Navigate to Delivery > Line items to register the creatives.
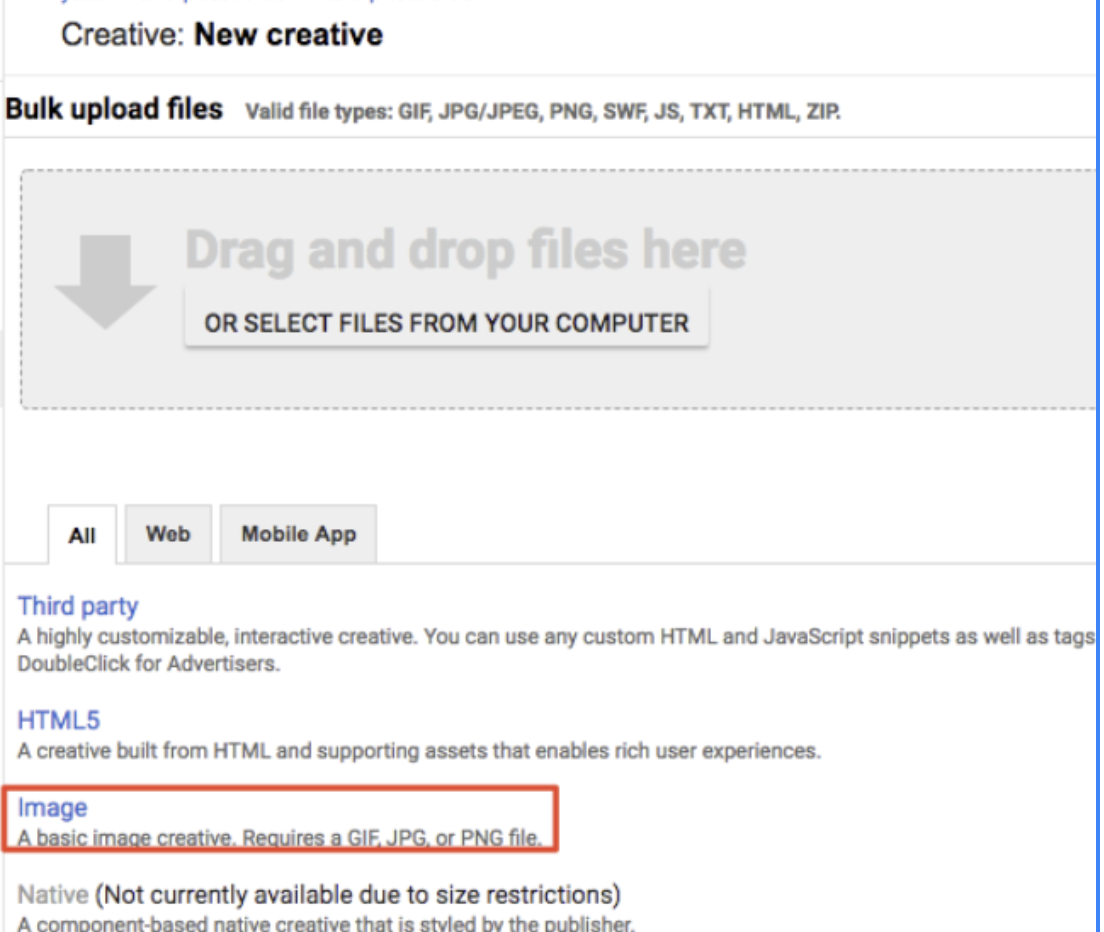
2. Select Add Creatives.
1. Select the creative type you'd like to create. For example, an image creative.
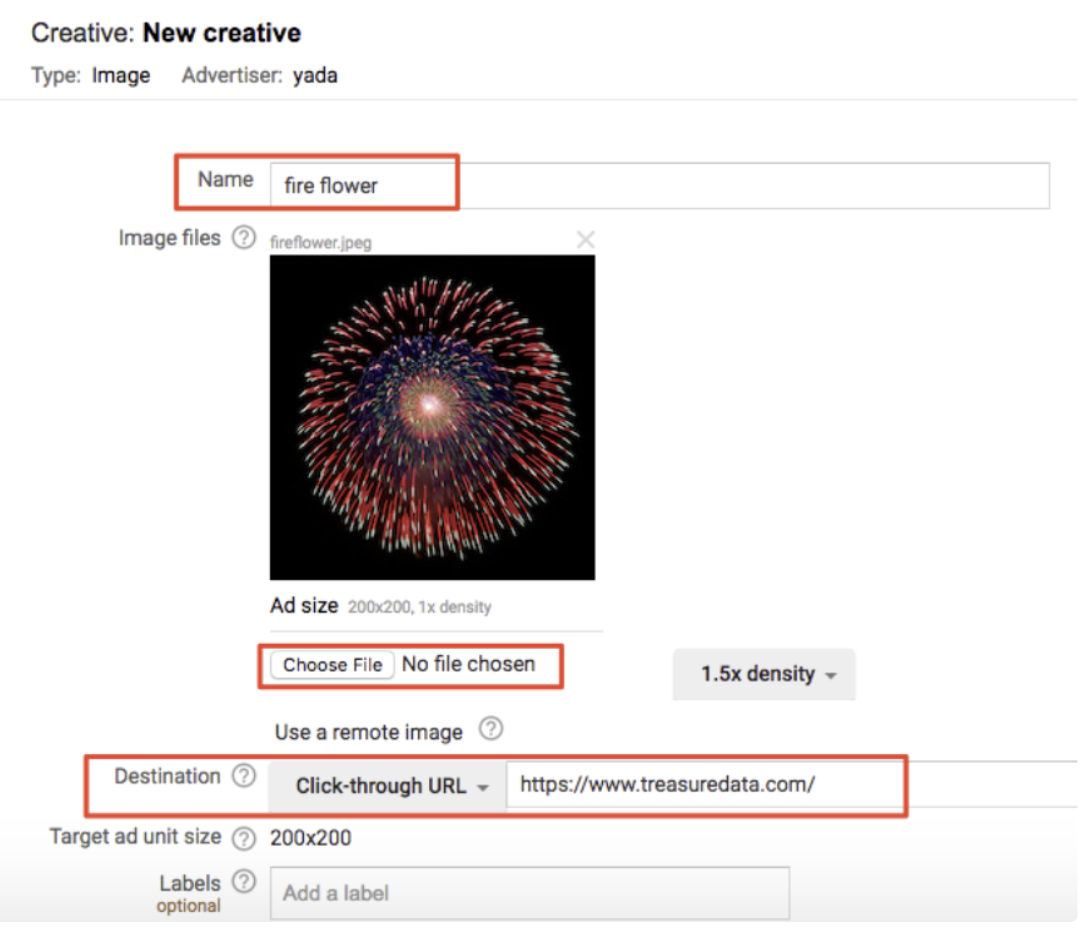
1. Specify the Name and Destination.
2. Upload an image file for the creative.
3. Specify a Destination. For example, https://www.treasuredata.com/.
## Create JavaScript DFP and Treasure Data Tags
To generate Google DFP’s JavaScript tag:
1. In your web browser, navigate to Google DFP.
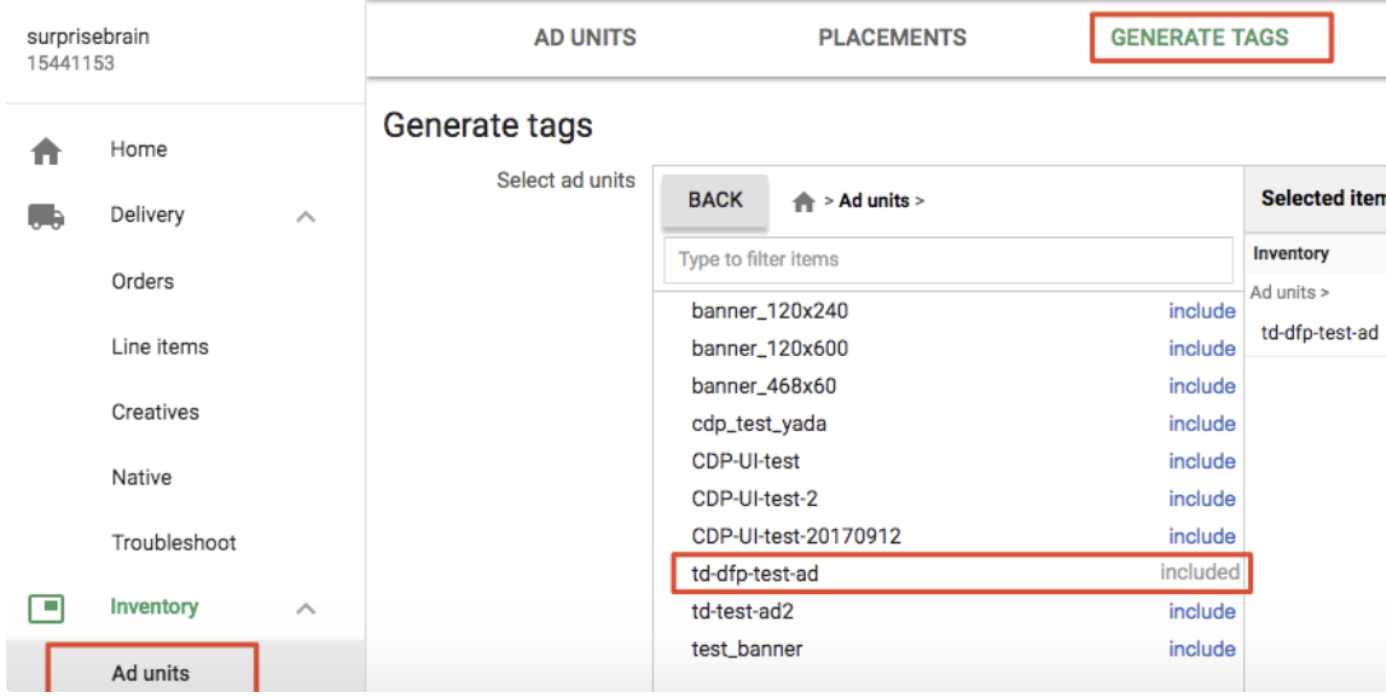
2. Navigate to Inventory > Ad units.
3. Select Generate Tags.
4. Select the advertising units that you created. For example, td-dfp-test-ad.
1. Select the Google Publisher Tag as the Tag Type.
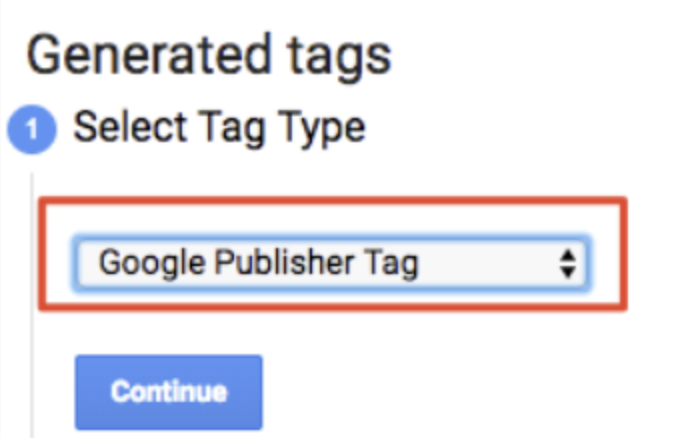
1. Select Continue. A JavaScript tag is generated for the HTML header and body.
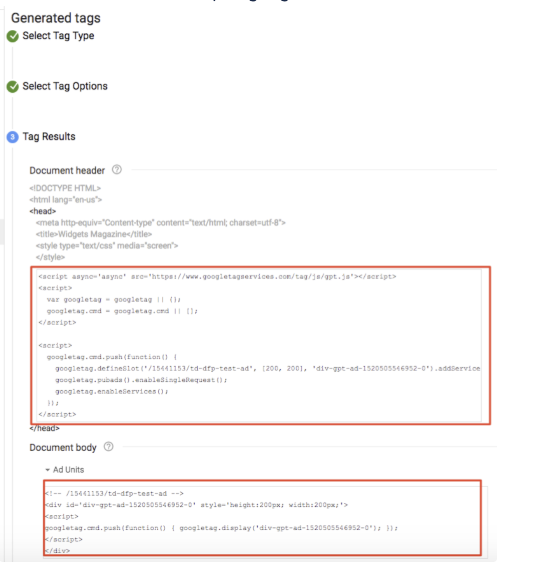
1. Save your work.
**To combine the DFP tag and your Treasure Data JavaScript tag:**
1. Open the file where you want to combine your Treasure Data JavaScript and DFP tags.
2. Call googletag.pubads().setTargeting() function to pass Treasure Data’s segment IDs to Google DFP.
For example, the following HTML contains the integration code between DFP JavaScript Tag and TD JavaScript Tag.
```html
Web Profiles API
Hello Treasure Data!