# Use the Profiles API With Facebook Custom Audience
Create optimized Facebook Ads targeted at the right audience. With the Profiles API Token and Segments, you can make a list of visitors who already access your website or are registered on your website and then send optimized Facebook Ads to them.
What’s the difference between this integration and Writing Job Results into Facebook Custom Audience?
Using Facebook Custom Audience requires user identifier information, for example, email or phone number. The Profiles API integration enables you to send a segment to Facebook Custom Audience without such parameters. Instead, you use Facebook Pixel.
* [Prerequisites](/products/customer-data-platform/audience-studio/profiles/use-the-profiles-api-with-facebook-custom-audience#h1_1644201065)
* [Create the Profiles API Token](/products/customer-data-platform/audience-studio/profiles/use-the-profiles-api-with-facebook-custom-audience#h1__441927612)
* [Name Your New Token](/products/customer-data-platform/audience-studio/profiles/use-the-profiles-api-with-facebook-custom-audience#h2_251609309)
* [Configure the Token](/products/customer-data-platform/audience-studio/profiles/use-the-profiles-api-with-facebook-custom-audience#h2_196158072)
* [Add Segments to the Token](/products/customer-data-platform/audience-studio/profiles/use-the-profiles-api-with-facebook-custom-audience#h1__1028383756)
* [Integrating TD Profiles API with Facebook using Pixel IDs](/products/customer-data-platform/audience-studio/profiles/use-the-profiles-api-with-facebook-custom-audience#h1_99127986)
* [Get Facebook Pixel ID](/products/customer-data-platform/audience-studio/profiles/use-the-profiles-api-with-facebook-custom-audience#h2__2071084009)
* [Set up Javascript on your Website](/products/customer-data-platform/audience-studio/profiles/use-the-profiles-api-with-facebook-custom-audience#h2__509915809)
* [Facebook Javascript Tag](/products/customer-data-platform/audience-studio/profiles/use-the-profiles-api-with-facebook-custom-audience#h3__1142792019)
* [Treasure Data Javascript SDK](/products/customer-data-platform/audience-studio/profiles/use-the-profiles-api-with-facebook-custom-audience#h3_1540807596)
* [Case v1.9.x](/products/customer-data-platform/audience-studio/profiles/use-the-profiles-api-with-facebook-custom-audience#h3__1894618024)
* [Case v2.x.x](/products/customer-data-platform/audience-studio/profiles/use-the-profiles-api-with-facebook-custom-audience#h3__1894614854)
* [Confirm Integration Status](/products/customer-data-platform/audience-studio/profiles/use-the-profiles-api-with-facebook-custom-audience#h2_809358370)
* [Create Custom Audience](/products/customer-data-platform/audience-studio/profiles/use-the-profiles-api-with-facebook-custom-audience#h1__1317660865)
# Prerequisites
* Basic knowledge of Treasure Data
* Facebook Business Account
# Create the Profiles API Token
## Name Your New Token
1. Open TD Console.
2. Navigate to Audience Studio and select a segment.
3. Select a folder.
4. Select **Create New**.
5. Select **Profile API Token**.
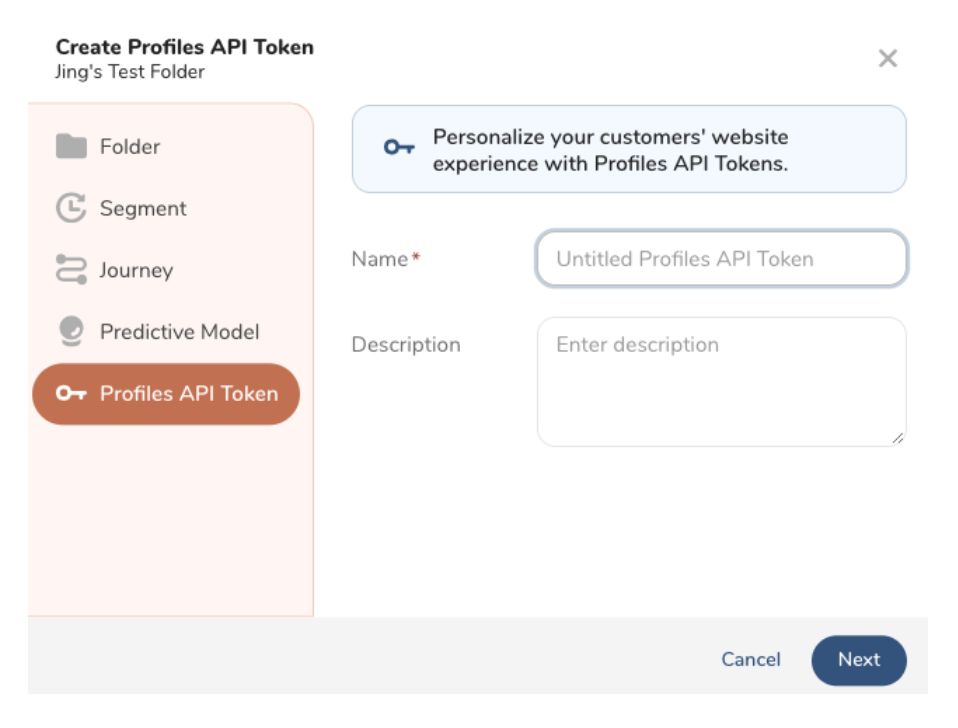
1. Enter a name for your token and optionally enter a description. Select Next.
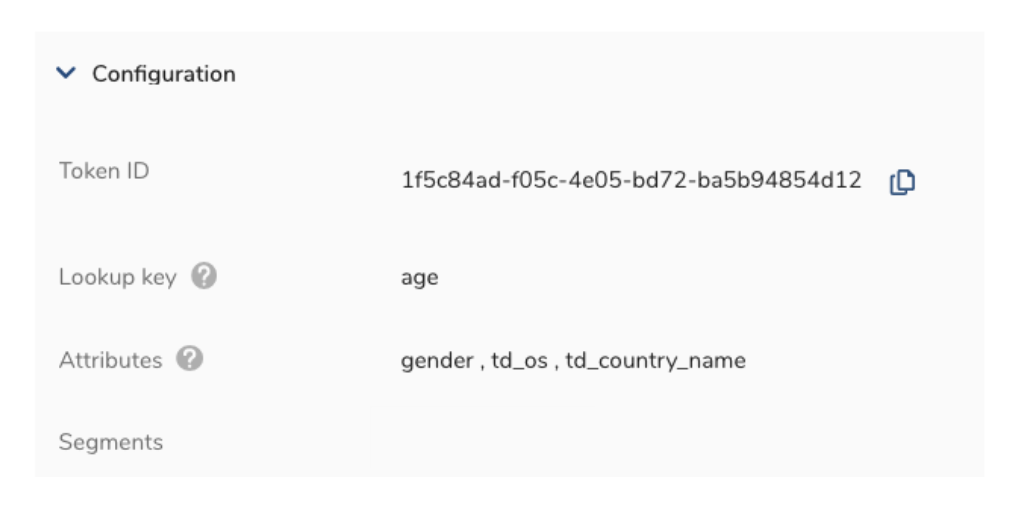
## Configure the Token
The name and description carry over from when you named the token. You can make changes.
1. Enter a **Lookup Key**.
A Lookup Key is a column with a unique value inside a parent segment. This key identifies the correct profile.
The lookup key update will take effect once the token workflow finishes.
When using `td_global_id` as the lookup key, the Profiles API retrieves the lookup value from the browser cookie instead of the API request's query param. For testing or verification purposes outside of a browser (eg, Postman), use a different column to pass in the lookup value manually.
1. (Optional) Enter a maximum of five attributes.
Profile attributes can be returned from the profile token when queried.

1. Choose one of the following:
* Select **Next** to continue and add Segments.
* Select **Create** to configure the token. (You can add segments later if you want.)
# Add Segments to the Token
1. Choose one of the following:
* After you configure your token, select Next.
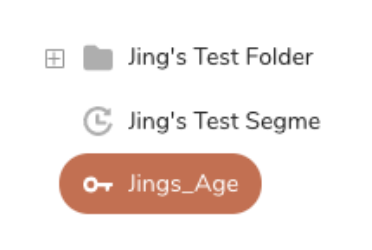
* Navigate to Audience Studio > Folder > Profiles API Token.
1. Add segments to your Profiles API Token.
2. Select **Save**.

# Integrating TD Profiles API with Facebook using Pixel IDs
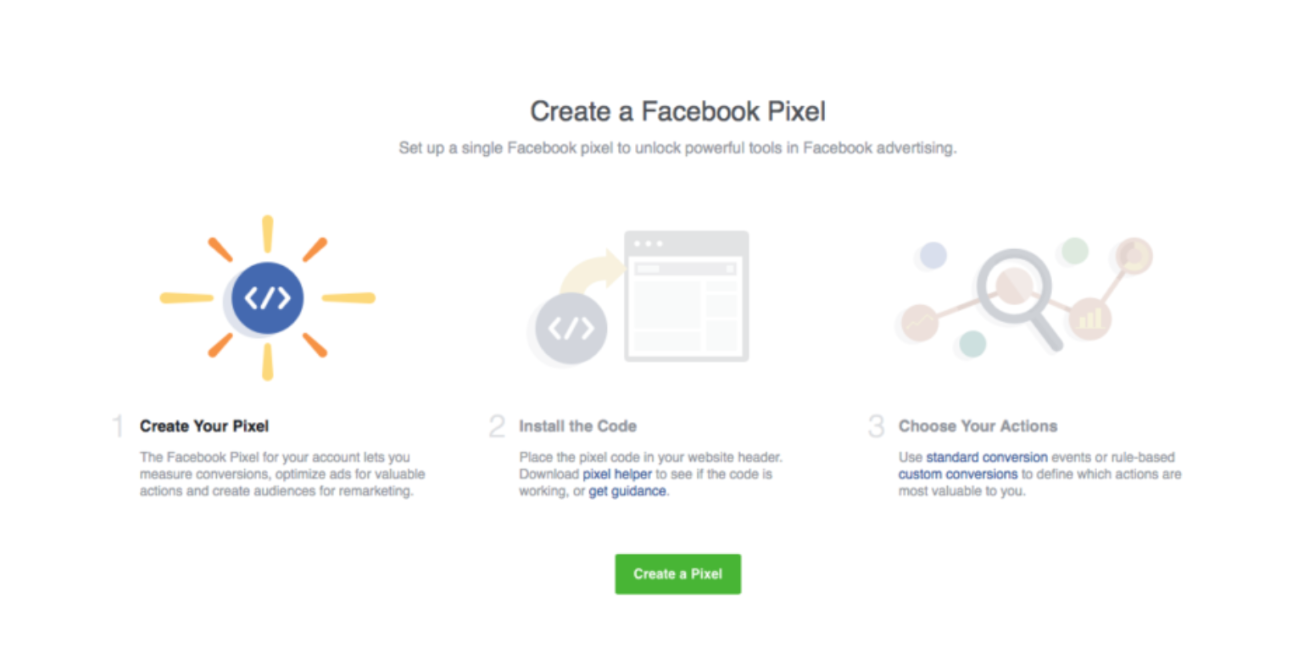
## Get Facebook Pixel ID
Your Facebook Pixel ID is retrieved on your Facebook Business Account.
Refer to [Facebook's documentation on finding your Pixel ID](https://www.facebook.com/business/help/952192354843755).
## Set up Javascript on your Website
### Facebook Javascript Tag
Integrate Facebook Javascript Tag with your website. In the script, replace “YOUR_PIXEL_ID” with your pixel ID.
See more details at: [https://developers.facebook.com/docs/facebook-pixel/implementation](https://developers.facebook.com/docs/facebook-pixel/implementation)
### Treasure Data Javascript SDK
We provide two versions of Javascript SDK. The version you use affects the response format of the fetchUserSegment function, which is used for this procedure. We recommend that you use Javascript SDK version 3.
### Case v1.9.x
The fetchUserSegments function returns associated segment ids when a visitor accesses your website. Adding the segment ids into the fbq function with `trackCustom` parameter will send them to Facebook.
The parameters in the fbq function require; (1): Event Name (any), (2): Column name on Facebook (any), (3): Segment ID from the fetchUserSegment function.
```html
```
### Case v2.x.x
Because JS SDK v2 or later returns a different response format from v1.9 or earlier, you must extract only segment ids from the fetchUserSegments function in an additional logic step. Then, you add the segment ids into the fbq function using the trackCustom parameter to send the ids to Facebook.
The parameters in fbq function requires; (1): Event Name (any), (2): Column name on Facebook (any), (3): Segment ID from the fetchUserSegment function.
```html
```
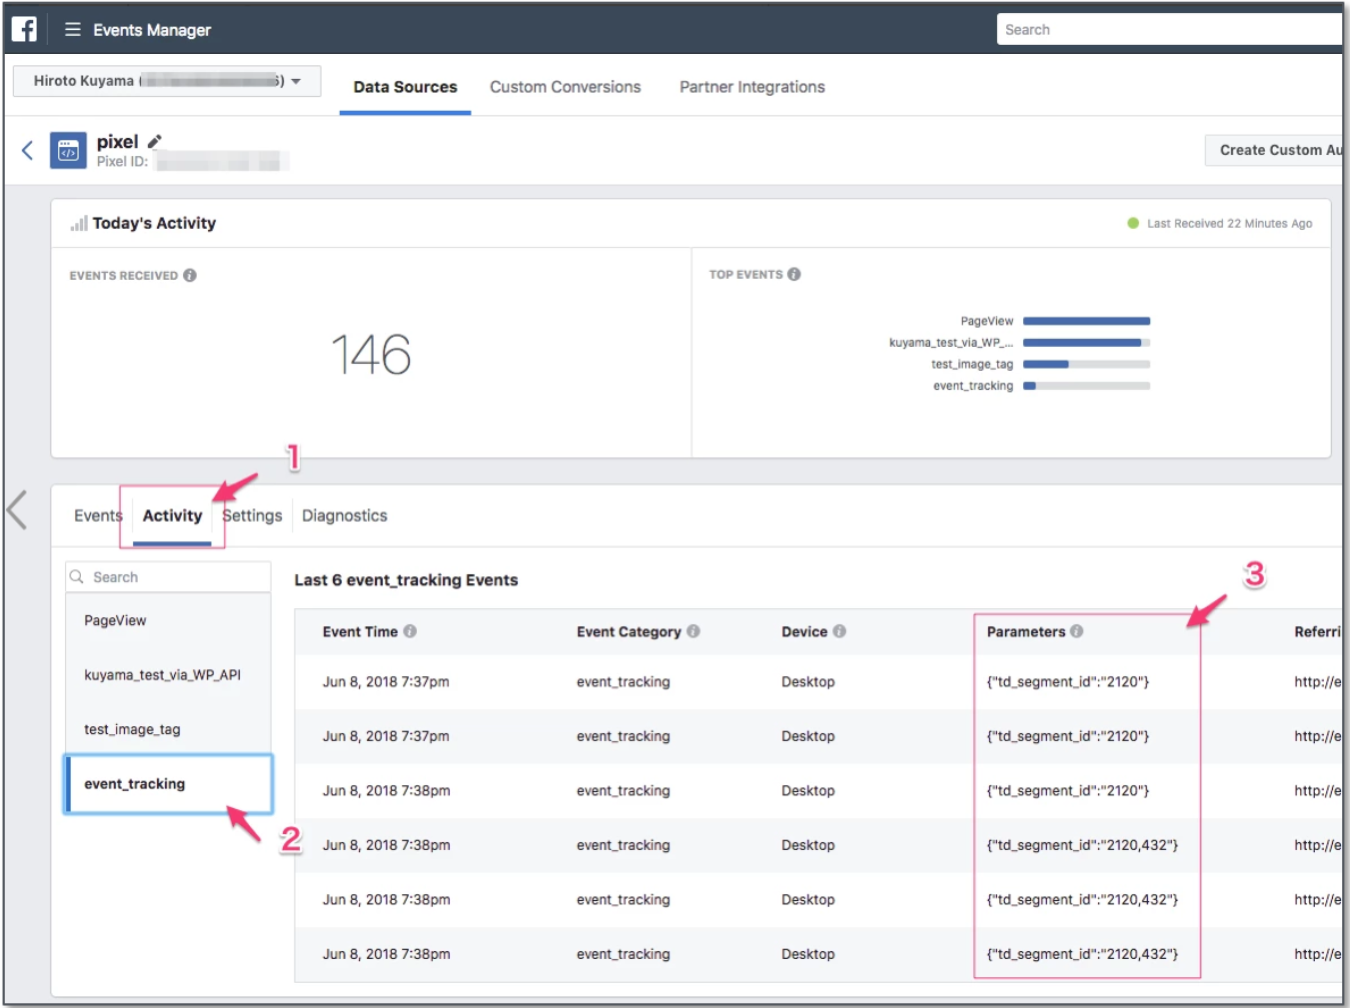
## Confirm Integration Status
After the Javascript integration is triggered, you can see the status of data integration on the Facebook Business Account page.
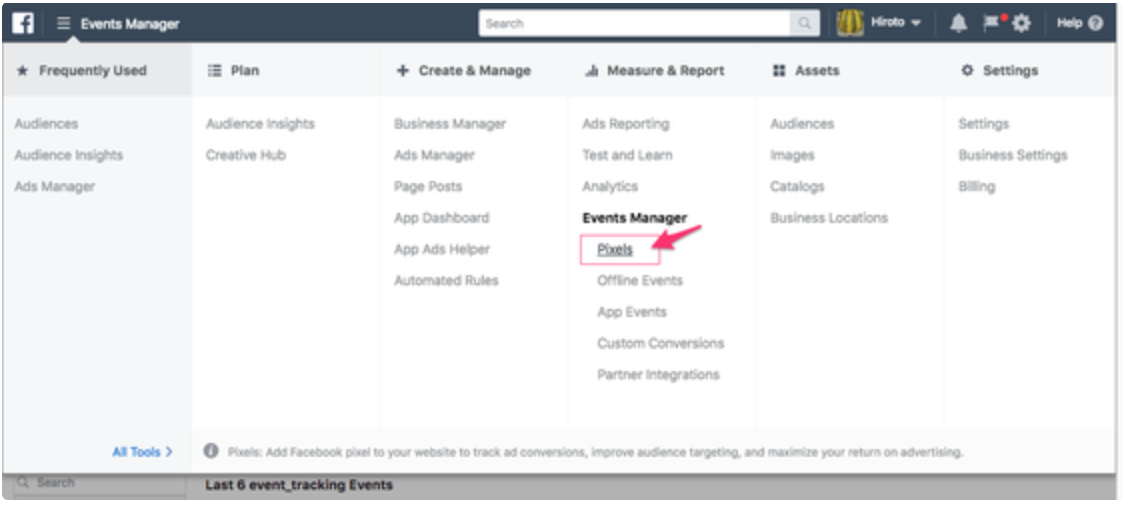
1. Go to the Pixels in the Events Manager section.

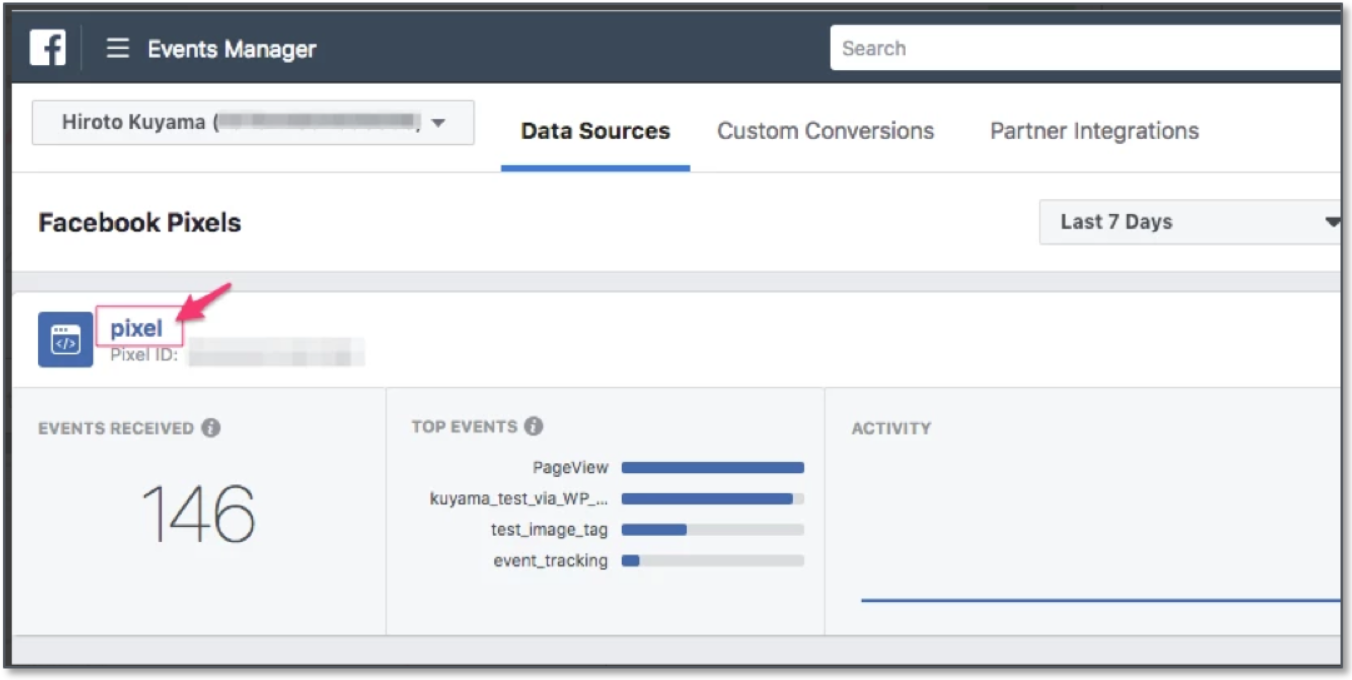
1. Choose a pixel that you integrated.
2. Select the Activity menu and then review the tracking target name you called using the fbq function.
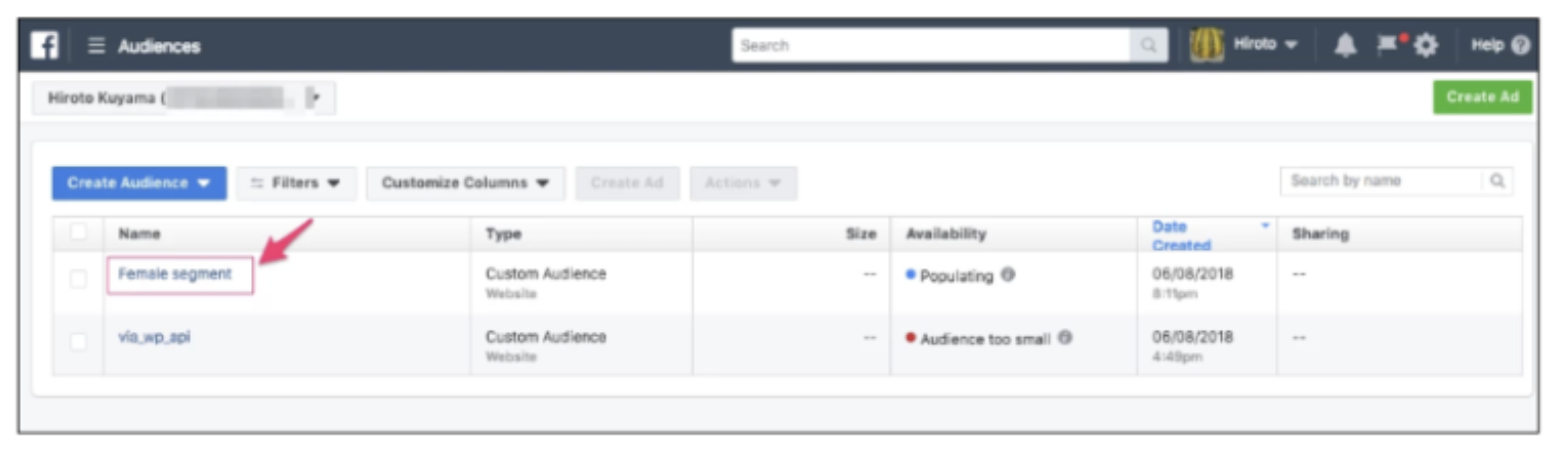
# Create Custom Audience
After the data is stored on the Facebook side, you can create a custom audience by using the data.
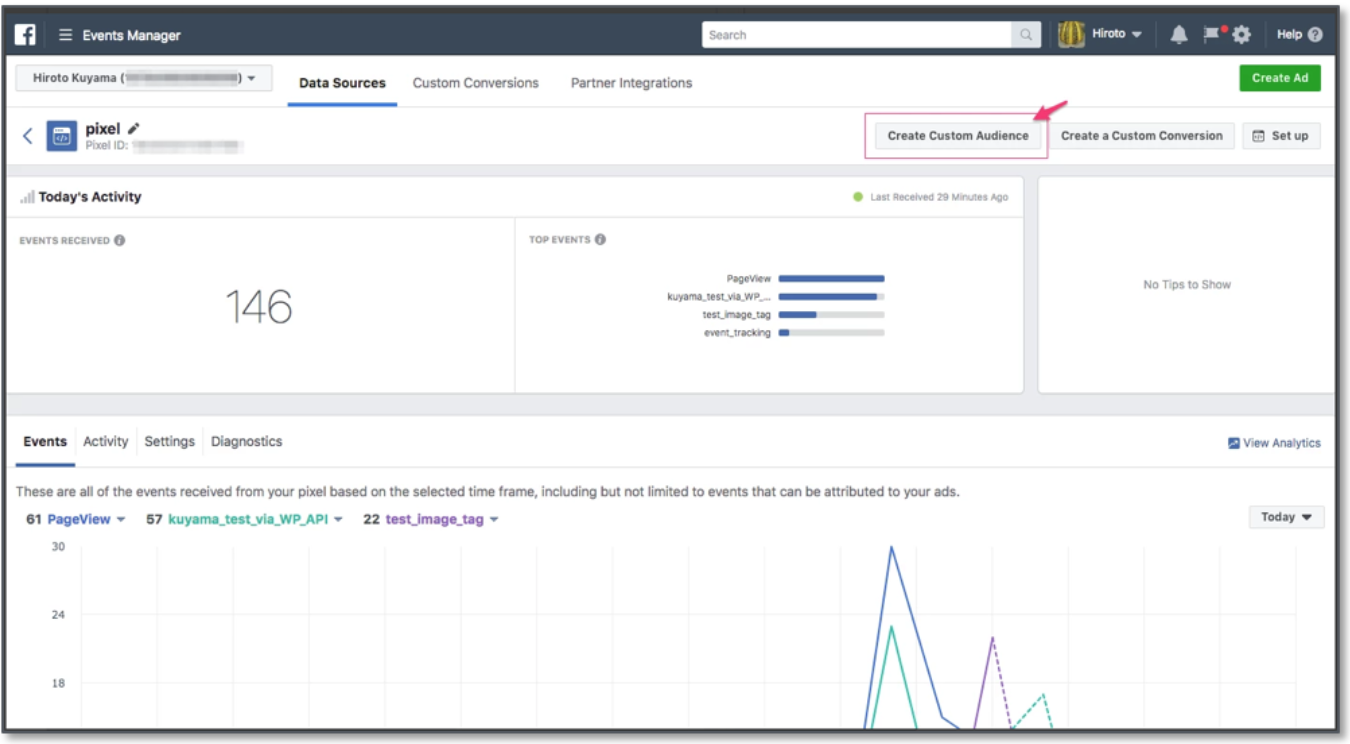
1. Go to Event Managers and select **Pixels**.
1. Select your pixel.
1. Select Create Custom Audience.
1. Choose the conditions for which you want to send ads:
* Select an event name
* Select a condition
* Set your custom audience name.
1. Review the status of your custom audience.
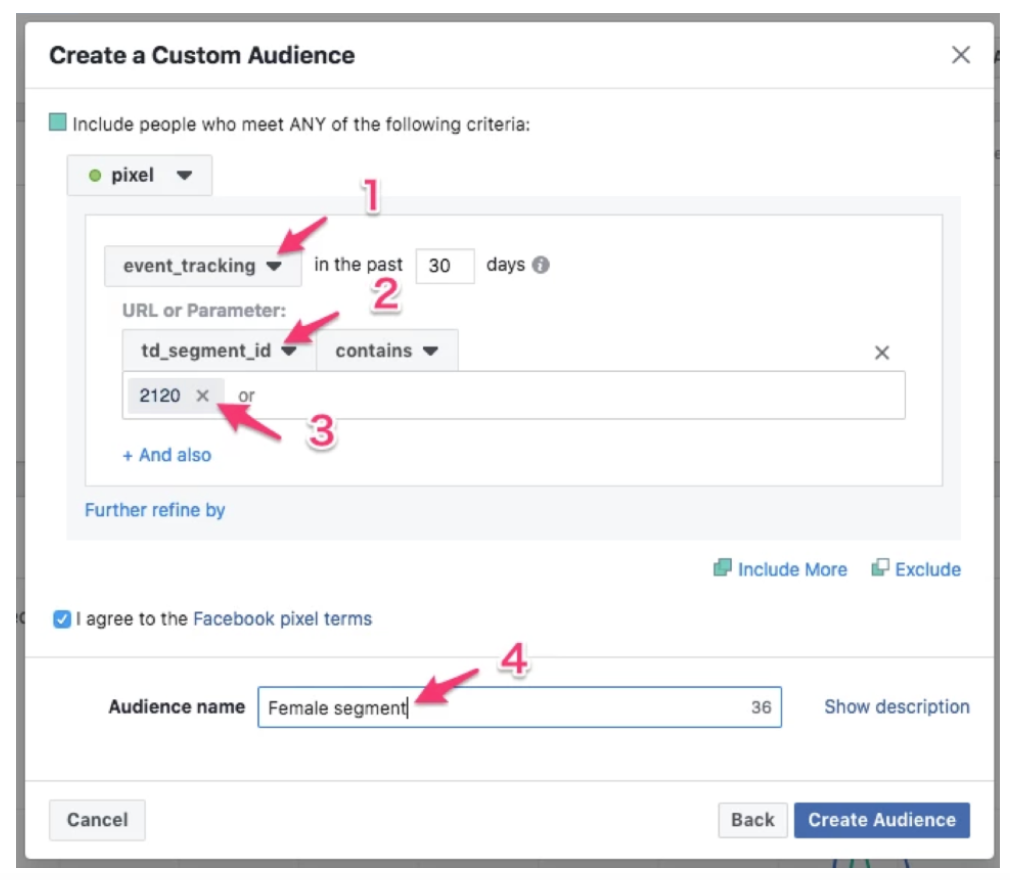
You can see the status of your custom audience.